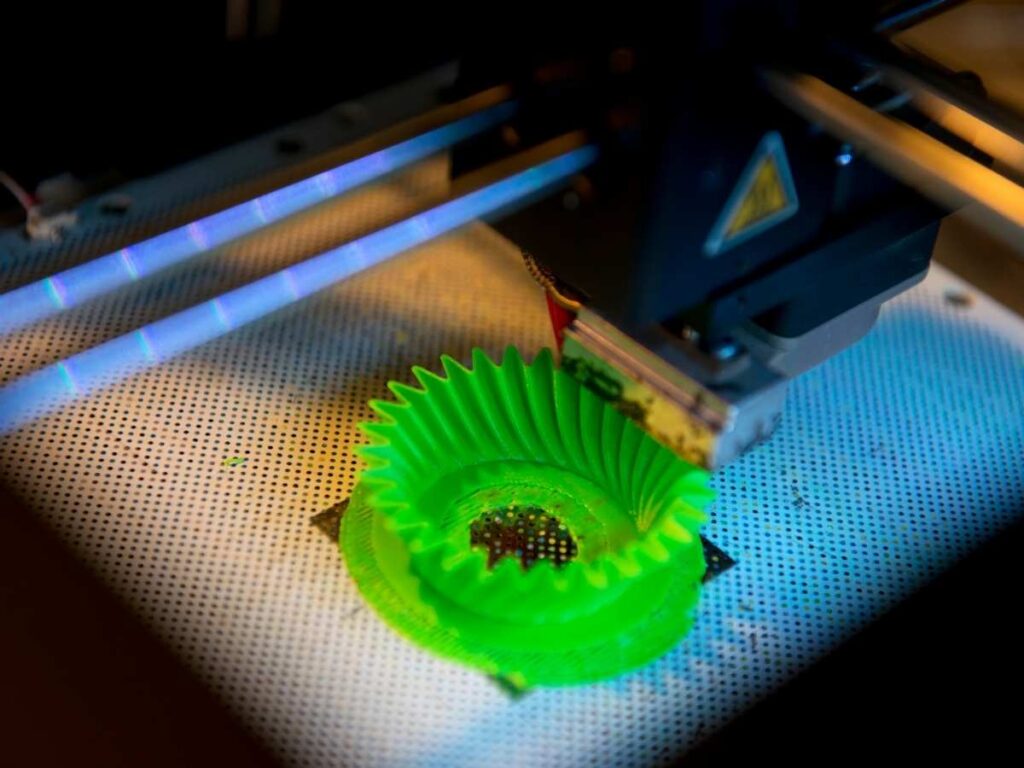
3D printing is a great way to build various objects in the comfort of your own home. But sometimes, the finished product doesn’t look quite how you want or breaks easily. This is especially common when you’re talking about walls that are too thin.
Here’s how to fix 3D printed walls that are too thin in 5 easy steps:
- Identify the main issue.
- Consider filament choice and settings.
- Use supports.
- Look at the adjacent walls.
- Software solutions for optimizing walls.
There are many options to look at to fix thin 3D-printed walls. Most of these involve making some adjustments to the 3D print design or improvements to the printing process. We’ll go through the above steps so that you can print great 3D designs with no issues.
1. Identify the Main Issue
There are some rules you should keep in mind when determining what the correct wall thickness should be.
While it may be tempting for you to eyeball the design or final product to determine if the walls are the correct thickness, there are some ways to optimize things.
You can determine the wall thickness (also known as shell thickness) by measuring the thickness between the outside and inside of a given piece. Walls that are too thin can break easily, whereas thick walls will mean more material has to be used to produce the piece, pushing up the price.
Additionally, overly thick walls can create several further problems. Thick walls can create internal stress causing the object to warp or get distorted. This can mean that you may increase infill or wall thickness to try and solve the issue of thin walls, only to create further problems.
3D printing is often done via layers being printed on top of one another. If the underlying layers or walls are compromised, this means the final product will likely have defects or be unable to be finished.
2. Consider Filament Choice and Settings
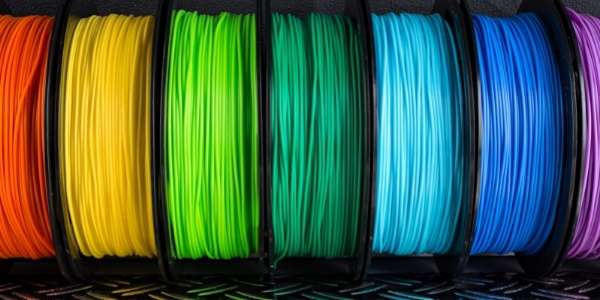
The most common filament materials used when 3D printing objects are PLA, ABS, and Nylon. A minimum wall thickness of 1.5 mm (0.06 in) is recommended when using either of these three filaments,
Other filament options include TPU, Polypropylene, and Polycarbonate. TPU is more flexible than other filaments, and therefore you should set the wall thickness to 2 mm (0.08 in). This rule also applies to other flexible filaments.
Essentially, you should always consider your filament choice when determining what your wall thickness should be.
3. Use Supports
The more complicated the design, the more likely it is that your 3D printed objects will have unsupported pieces that stick out, overhang, or otherwise break or snap easily.
While you can try to thicken your walls, this can cause a number of issues, as discussed above. These issues include production costs, production time, and aesthetic issues.
One solution is to look for overhangs and support them properly with other pieces. An overhang refers to a part that’s not supported by anything below it.
A rule of thumb is to look for an overhang that is over 45 degrees from the vertical. These are the overhangs that likely need supports.
The other type of issue that you can fix through the use of supports is the bridges. A bridge refers to any material that horizontally links two points. If your bridge is longer than 5 mm (0.20 in), it will likely need support.
The 3D printing process attempts to stretch the material between the two points, which means that there’s a chance that your bridges can experience sagging. By printing supports and then cutting them out later, the printing process will go a lot smoother.
4. Look at the Adjacent Walls
The production process of 3D printing involves heat. As the filament is heated up, it goes through thermal expansion, resulting in stresses as various layers press against each other.
This can mean that you notice issues with what you think is too thin a wall when the problem is the additional stress being put onto the wall from the adjacent wall.
Use your 3D printing software to measure the thickness of support structures and adjacent walls. Walls adjacent to each other should be at least 60% of the thickness to prevent issues with thermal expansion.
5. Software Solutions for Optimizing Walls
Specific 3D printing software will look for possible weak points and give you options to fix them automatically. Sculpteo is software for 3D printing that looks for weak or fragile parts in a design and allows you to thicken them to ensure structural integrity.
Horizontal holes spanning over 10 mm (0.39 in) will likely sag during printing. CAD software can search for holes of specific dimensions to alert you to their presence and can be fixed by using diamond or teardrop holes.
This will be an ideal solution because training your eyes to look for weak points won’t be as effective as a computer-based or AI system.
When designing a 3D print object, it’s worth looking at radius curves for internal surfaces. A radius curve refers to the corners of designs. Implementing a radius curve on the inside corners rounds the corners and reduces structural stress, making them more durable.
To implement internal radius curves in your designs, add fillets or chamfers to your design. Fillets are the rounding of corners, and chamfers are 45 degrees cut off a corner.
Fillets at the base of a thin wall will support or strengthen it. The technique is widely used throughout design engineering. These can take several forms in 3D printing, including a miter fillet, convex fillet, and concave fillet.
Chamfers smooth out sharp corners, which will likely also improve 3D print quality. Chamfers are a great way to add support to a 3D design, and they can be done internally, so they’re not visible from the outside.
Chamfers and fillets will help you get around the overhang issue discussed above without adding massive amounts of production time or cost to your project.
Final Thoughts
You can successfully 3D print objects at home with the help of these design tips and tricks. They will help you avoid having thin or warped walls in your 3D print without spending money on a test print.
- Written by:
- Ben
- Last updated:
- 11/19/2023
About Ben
I started 3D printing since 2013 and have learned a lot since then. Because of this I want to share my knowledge of what I have learned in the past years with the community. Currently I own 2 Bambulab X1 Carbon, Prusa SL1S and a Prusa MK3S+. Hope you learn something from my blog after my years of experience in 3D printing.