3D printing has become so affordable that plenty of hobbyists are purchasing printers to create all kinds of custom decor, nifty gadgets, and cool figures. Of course, in order to print anything, users need slicing software, such as Cura. But what do you do if Cura shows red parts on your design?
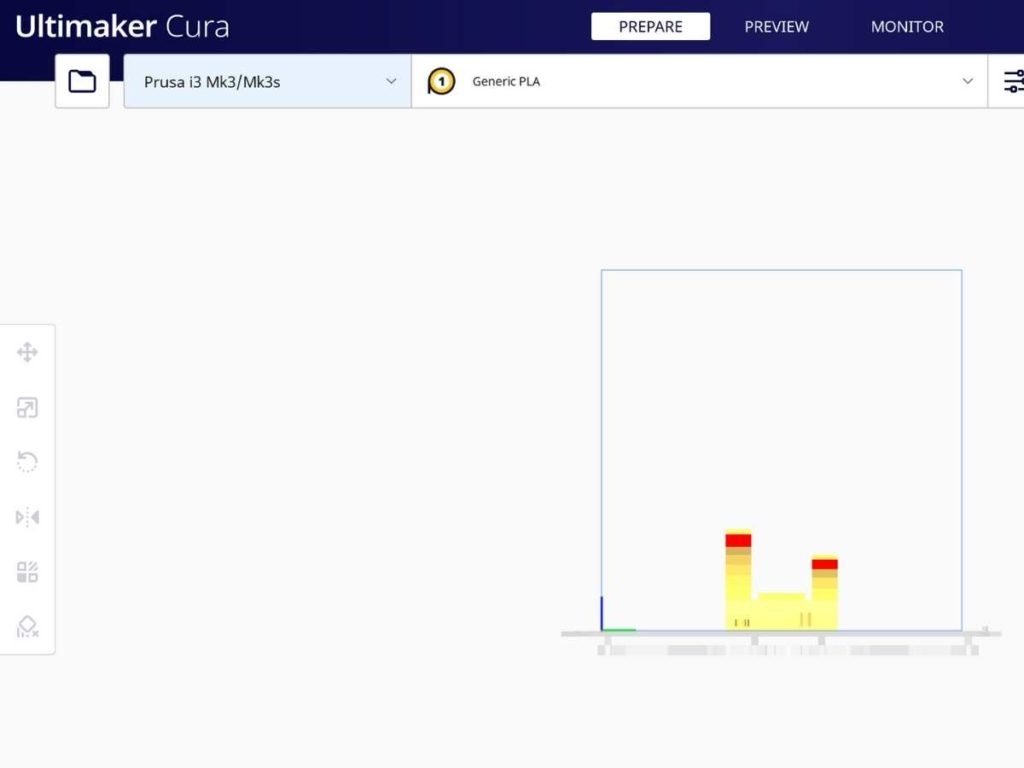
Red in a Cura model indicates the program has detected an overhang or internal issue. This means the Cura software thinks that the red part of your model needs support for it to print well. The idea is to inform you of any issue before you print and potentially waste filament on a faulty design.
This article will discuss some things you need to keep in mind when you run into red portions in your model, what can cause it, and how to fix those errors.
Things To Know About Red Cura Models
Cura is a fantastic piece of software and one that’s used the world over. In fact, it often tops the list of best slicing software because it’s beginner-friendly and great for more advanced users.
It’s not uncommon to see designs appear with red areas that Cura deems unfit to print, but some newbies may not know how to fix the issue.
That’s especially true if you got the design from Thingiverse rather than creating it yourself.
So, let’s look at five of the most common reasons you’ll see red on a Cura model and how to fix the issues.
1. Parts Marked As Overhang Need Support To Print Well
Overhang in a Cura model means that the software has determined part of your model may need some support to print it correctly. So, without support structures, the red parts of your model may become deformed during printing.
Long, extruded shapes, like the long point of a tower, and parts that may be hanging midair are examples of what could be considered overhangs.
When a part of your model has an angle of over 45 degrees from the vertical, it may also need support structures.
Deformation can happen simply because the filament’s unsupported weight is sagging. Or the part may accidentally get nudged into an unwanted position because of the moving printer nozzle.
The unsupported part may even fall over.
You’ll need to add support until Cura deems the print strong enough to go ahead to fix this issue. Luckily, Cura will help you with this.
2. Supports for Your Model Can Have Different Placements
Support structures for the red areas can be generated under the “Supports” tab. When they’re rendered, you’ll be presented with two options for your “Support Placement”:
- Touching build plate: The support is printed directly to the build plate from one portion of your model. This works for parts that are located above the build plate.
- Everywhere: When the part of your model that needs support has no clear line down to your build plate, “Everywhere” supports are what you’ll need. These supports go from one part of your model to another.
Once you choose the right supports and click to generate them, they’ll appear cyan. You can check their placement by changing “Solid View” to “Layer View.”
Another option aside from straight and vertical line support structures is the “Tree Support.”
As its name suggests, the supports are shaped like hollow branches of varying sizes that can curve and twist from the build plate to the part of your model that needs support.
3. Red Can Mean Your Model Is “Not Manifold”
Overhang isn’t the only thing that causes your model to appear red. Several other issues fall under the error that your model is “not manifold.”
Though they may seem alright in a virtual model on a computer, Cura may think they’ll become errors when printed.
Some of these errors are:
- Holes: Of course, some models have intentional holes, like windows in a house. However, some voids may make it impossible for you to print your design.
- Separate Objects: This is when parts of your model hang midair with nothing connecting them. Imagine a fishing pole: there needs to be a line connecting the rod to the hook; otherwise, the hook would fall. Without the line, the hook would be a “separate object.”
- Self-intersecting: If you were to punch a wall, your fist would be stopped by the surface unless you manage to punch a hole through it. In a virtual model, you could easily have the appearance of your fist through a wall, but in reality, two objects cannot exist in the same space at the same time.
- Inner faces: Cura slices a model to turn it into G-code, the type of code the 3D printer understands as instructions to manufacture your model. Now imagine a cube with a smaller cube inside. The software won’t be able to slice the layers into code because it detects two outer surfaces when there should be just one.
- Overlapping geometry: This time, imagine that those two cubes are the same size but occupy the same space. Your printer won’t be able to print this.
4. A Simple Setting May Accidentally Make Your Model Red
This isn’t a common error, but check your Materials Settings if your model doesn’t seem to have these other errors and you can’t spot what may be wrong.
Under “Materials Management,” you can find a setting that shows your filament color. For example, red may somehow be selected for your filament color. So, it’s just a matter of changing the color to another one of your choice.
5. You Can Use Other Programs To Fix Errors in Your Model
When your model is red, you can open it in a different program to “repair” errors that may cause you trouble in printing.
Here are a few options:
- Microsoft 3D Builder: Import the “broken” model into the software by clicking “Add” then “Load Object.” If the software detects errors, a notification will appear. Click it. Once repaired, save the repaired file. Check that your file format is set to the STL file format.
- Slic3r: It has a “Repair STL file” under the “File” tab, select this option and import the file you want to repair. When you open it again in Cura, the model should be fixed.
- Meshmixer: This isn’t a guaranteed fix, but you can still try. Open your model. Under edit, you should find the “Make Solid” option. Doing this could solve the issue.
- Fusion 360: This has features from Meshmixer and Netfabb Online Service, where you can import/upload your model to have it fixed. This 3D modeling software is extensive and integrates CAD, CAM, CAE, and PCB into a single platform. It runs on a subscription that you can sign up for monthly, annually or every three years.
Conclusion
A red model in Cura means that the software detects errors that could prevent it from printing correctly. The most common being overhang, the other being that the model is “not manifold.”
Generating support structures should solve the issue and prevent deformation when printing. Models with errors can also be fixed with other downloadable software or online.
- Written by:
- Ben
- Last updated:
- 11/23/2023
About Ben
I started 3D printing since 2013 and have learned a lot since then. Because of this I want to share my knowledge of what I have learned in the past years with the community. Currently I own 2 Bambulab X1 Carbon, Prusa SL1S and a Prusa MK3S+. Hope you learn something from my blog after my years of experience in 3D printing.