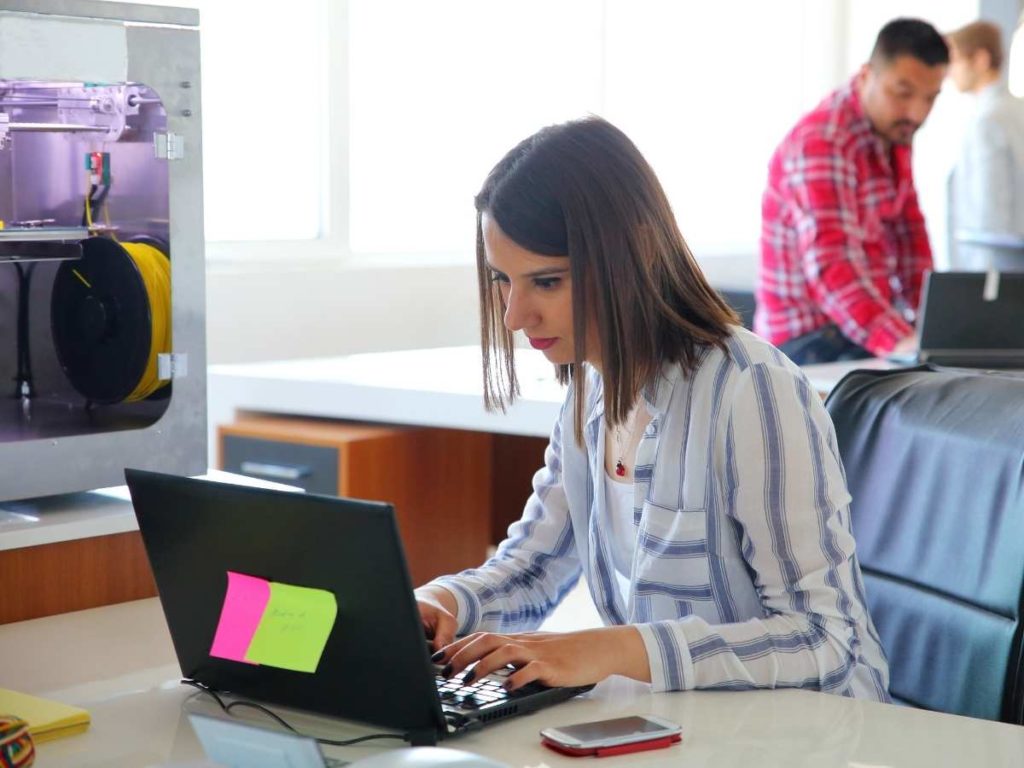
PrusaSlicer is a 3D printer program that helps you slice, edit and export 3D files from your computer to your printer. It is a great final step to confirm your model on the computer before you print it. However, can you print directly from PrusaSlicer?
You can print directly from PrusaSlicer. To do so, import your 3D model into the PrusaSlicer program, and choose the settings you want to print. Then, transfer the file from PrusaSlicer to your printer using a printer application, SD card, flash drive, or USB cord, and it will print.
This article explains how to print directly from PrusaSlicer and the PrusaSlicer application, no matter what direct print method you use. Then, I have included some resources to help you learn even more about printing from PrusaSlicer and how to get the most out of this program.
Ways To Directly Print From PrusaSlicer
Direct printing is an excellent benefit of PrusaSlicer. The program lets you alter your model right before you print it, and there are lots of settings and features in PrusaSlicer that will help you customize your print, so it prints how you want.
This section explains the three ways you can set up to print from PrusaSlicer directly.
Printing From PrusaSlicer With an SD Card or Flash Drive
First, you can use an SD card or a flash drive to print from PrusaSlicer directly. Using an SD card or flash drive is the most reliable way to get your files from PrusaSlicer to your printer as long as you take care of the SD card or flash drive.
Once you transfer the PrusaSlicer files onto your card, plug the card into the printer and print. Make sure you format your SD card or flash drive so the printer can read the files and print the object correctly.
Printing From PrusaSlicer With a Printer Application
Another option is to use a printer application that controls your printer from your computer. With printer servers, like OctoPrint or MatterControl, you can remotely send files to your 3D printer from PrusaSlicer.
Using one of these programs is the fastest way to print directly from PrusaSlicer. Once you set up the printer application with PrusaSlicer, all you need to do is hit the print button. Then, your printer will start. No need to leave your computer!
Printing From PrusaSlicer With A USB Connector
You can also use a USB cord to connect your computer with your printer so you can directly print from PrusaSlicer.
However, this method is not the best since the signals sent from the computer are not always reliable. The printer may receive the wrong information, or some information may be missing, which will result in an incorrect print.
If you do not want to risk this happening, you should use an SD card, flash drive, or web interface.
How To Print Directly From PrusaSlicer
So, you know you can print directly from PrusaSlicer, but how do you do it? Let’s go through the steps together:
- Import your model. First, you need to import the model of the object you want to print into PrusaSlicer. Importing it is easy because all you need is to drag and drop it into the program.
- Check things over. Then, you need to make sure your model still looks right, and nothing changed when you imported it. The most common change is the orientation which you can fix using the Rotate Tool.
- Select your printer in PrusaSlicer. Once you verify that your object is ready, it is time to print! Make sure to select the printer you want to print to if you have multiple printers in your PrusaSlicer system.
- Then, you need to choose the print speed, temperature, cooling method, and a few other settings to satisfy the print you want to have. If you are unfamiliar with or unsure of the print settings you want, PrusaSlicer can help. They have many preselected settings that you can use based on your printing material. They also have an entire page with the recommended settings by material for reference.
- Next, you have to choose the size of your layers. Smaller layers will give you a more detailed print, but it will also take much longer for your object to print.
- Review the code (intermediate/advanced printing). The last step before you can print is to preview the G-code before you print. The G-code allows you to take one last look at your model and make sure everything looks right. You should look at the individual layers, the object’s shape, and any areas that do not connect to the rest of the model. This step is essential so you do not have to reprint if anything is wrong.
Finally, you can print your object using PrusaSlicer!
Learn More About PrusaSlicer
The resources in this section will help you learn more about PrusaSlicer, how it works, and how you can print from it.
First, the book 3D Printers: Troubleshooting Printer Problems (available on Amazon.com) is a great book to reference whenever you have questions like this one about directly printing to your 3D printer. If you ever need help connecting your computer to your 3D printer or transferring files from programs like PrusaSlicer, this book will help you.
Next, this video on Youtube from The First Layer gives an in-depth tutorial on how to install and print on PrusaSlicer to help you get started:
Finally, this Youtube video tutorial shows you how to set up your PrusaSlicer with your printer application like OctoPrint, which is the easiest and most efficient way to print directly from your PrusaSlicer, and any 3D printer in general:
Final Thoughts
You can print directly from PrusaSlicer to your printer. All you need to do is transfer the file ready to be printed from PrusaSlicer using a printer application, an SD card, a flash drive, or a USB cord.
Using a printer application is the fastest and easiest way to print directly from PrusaSlicer since all you have to do is click print, and the file transfers remotely. In addition, using PrusaSlicer to slice and edit your 3D model is easy to do if you need to before printing.
- Written by:
- Ben
- Last updated:
- 11/11/2023
About Ben
I started 3D printing since 2013 and have learned a lot since then. Because of this I want to share my knowledge of what I have learned in the past years with the community. Currently I own 2 Bambulab X1 Carbon, Prusa SL1S and a Prusa MK3S+. Hope you learn something from my blog after my years of experience in 3D printing.