PrusaSlicer is one of the more popular slicer programs used in 3D printing, with a range of modification settings, compatibility with most file formats, and comes as the default software for most Prusa printers. However, sometimes you may struggle with low bed adhesion or warps, and you may need to add a raft or brim to stabilize the print. So, do you add rafts and brims in PrusaSlicer?
You can add rafts and brims in PrusaSlicer by following these steps:
- Set the separation distance under build plate adhesion.
- Print the raft bottom layer.
- Set the raft top layer.
- Set the raft contact Z distance and raft expansion.
- Set the correct brim type.
- Add your desired brim width.
- Set the correct brim separation gap.
This article will outline the settings required for creating the perfect rafts and brims in PrusaSlicer. I’ll also guide you on using rafts and brims to stabilize your prints.
Setting Rafts in PrusaSlicer
Let’s go over the four simple steps to add rafts in PrusaSlicer.
1. Set the Separation Distance Under Build Plate Adhesion
Before you can start printing the raft, you’ll need to set the correct separation distance. The separation distance is the distance between the raft’s top layer and the print. You’ll need to fix it at a different rate each time based on the material you’re printing.
The optimal separation distance should be between 0.1-0.35 mm (0.004-0.014 in). However, you can set it higher or lower based on the material you’re printing with. If you’re printing with less adhesive material, it’s better to lower the raft separation distance for better adhesion.
The separation distance will determine how effective the raft sticks to the print. It will also affect how easily you can remove the raft from the print and the adhesion bed. Therefore, setting the separation distance optimally is crucial for printing with rafts and brims.
2. Print the Raft Bottom Layer
The raft’s bottom layer is the layer that sticks the raft to the print bed. Since you’ll be using a raft for better adhesion and more stability in your prints, it’s always ideal to have a more robust and thicker bottom layer on your rafts.
For more stability, print the bottom layer at a slower print speed. Once you’re done with one layer, add another bottom layer for a thicker base. This will give better stability to your print, especially if you’re printing with a material that warps, like ABS.
3. Set the Raft Top Layer
The raft top layer is the layer that forms the bottom layer of the print. When printing this layer, focus on quality rather than size. The thickness of this layer is not as important as the smoothness. If your top layer isn’t smooth, it could cause many problems, including warping.
The best way to print a quality top layer is to use high-quality filament and print slower. There’s no point in trying to save time with the base if it damages your final print.
Here are some quality filament materials for printing with:
- PLA: This high-quality AmazonBasics PLA 3D Printer Filament (Amazon.com) has better adhesion and creates durable prints. You won’t need a complicated raft with most PLA prints.
- ABS: If you’re printing with ABS, you’ll need to have a raft or brim for support as it has a higher chance of warping. However, when printing with this AmazonBasics ABS 3D Printer Filament (Amazon.com), the chances of printing errors decrease significantly.
4. Set the Raft Contact Z Distance and Raft Expansion
The Z contact distance is the vertical distance between the raft and print. This distance is usually less than 1mm but will be rounded off to 1mm (0.04 in) when printing. The correct Z contact distance will help you quickly remove the object from the raft’s top layer when you’re done printing.
The raft expansion distance is how wide you want the raft’s base to be. This should be wider for when printing bigger or taller objects. However, it’s better to have a thicker base than a wider expansion for better quality prints.
You should adjust the settings based on the printing material with both the raft contact Z distance and expansion distance. If you’re printing with a soluble interface, you can set the raft contact Z distance at 0. Similarly, if you’re printing with PLA instead of ABS, set a shorter raft expansion distance.
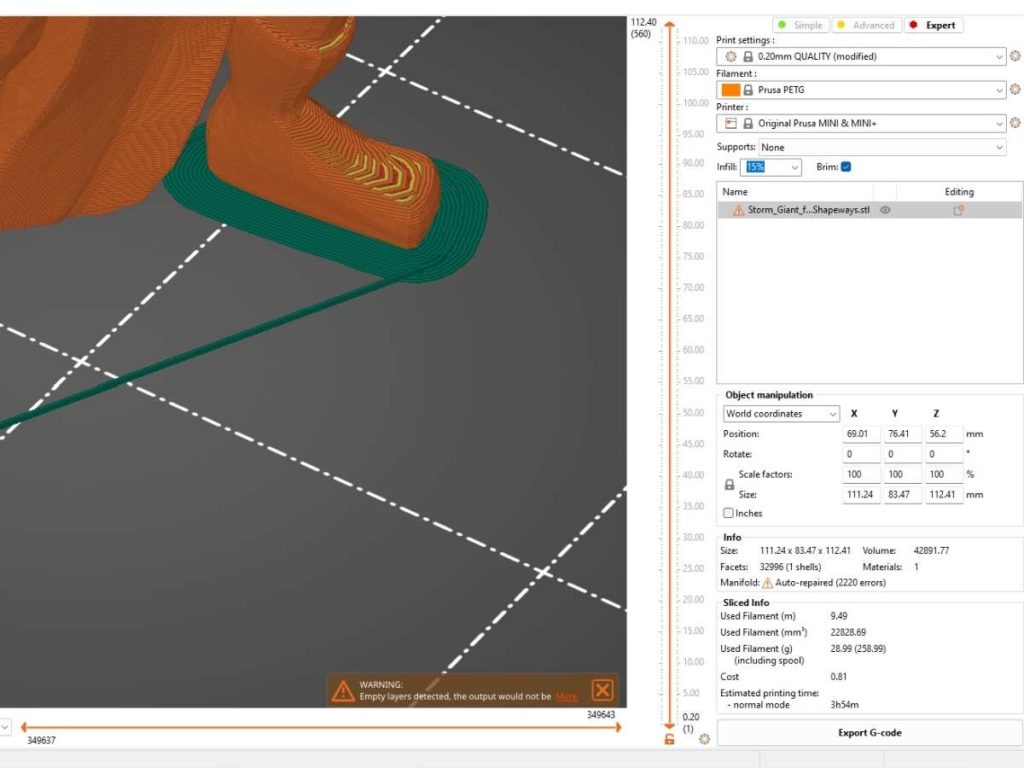
Adding Brims in PrusaSlicer
If you want to add brims in PrusaSlicer, do the following:
5. Set the Correct Brim Type
Brims are fundamentally different from rafts and can be set in different types. These include outer, inner, or dual brims.
Set the correct brim type based on the print design, height, material, and other print factors. For the best printing results, set both outer and inner brims. However, the brim setting will often be based on your object design.
6. Add Your Desired Brim Width
The brim width will be the width of the material to be printed around the object’s base. In most cases, the optimal brim width will be more than 3mm (0.118 in), but you can set it as high as you prefer for better adhesion.
7. Set the Correct Brim Separation Gap
The separation gap will be the distance between the brim and object bases. This gap should be set correctly to remove the object from the brim easily. As with setting rafts, this gap should ideally be 0.1mm (0.004 in).
Check out this video to see how to add rafts and brims to your object:
Conclusion
Brims and rafts can give optimal support for your prints. They help reduce warping, elephant foot, and other adhesion problems in 3D prints. However, it’s essential to have optimal printing rafts and brims settings to avoid printing errors.
The material, raft, and brim separation distance and base thickness all play an essential role in determining the final print quality. PrusaSlicer has built-in settings for printing rafts and brims, with various options for creating solid brims and rafts.
- Written by:
- Ben
- Last updated:
- 11/23/2023
About Ben
I started 3D printing since 2013 and have learned a lot since then. Because of this I want to share my knowledge of what I have learned in the past years with the community. Currently I own 2 Bambulab X1 Carbon, Prusa SL1S and a Prusa MK3S+. Hope you learn something from my blog after my years of experience in 3D printing.