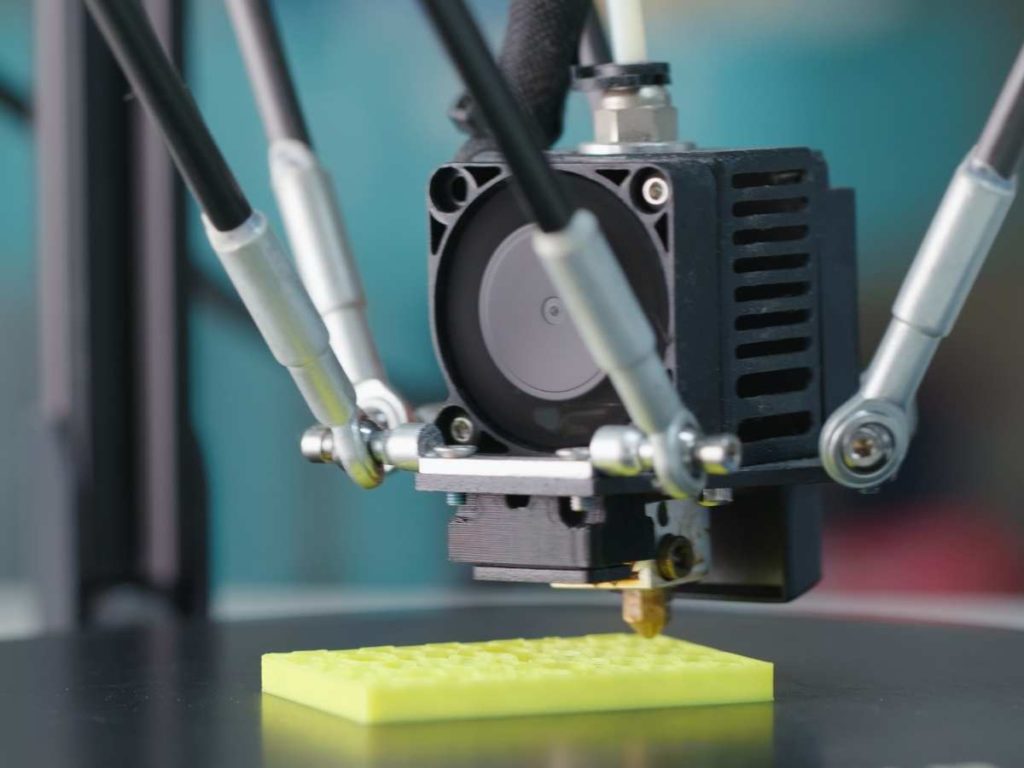
Infill plays a crucial role in 3D printing. The density, or what we refer to as the infill percentage, determines to some extent how strong, heavy, flexible, and resilient an object will be. But should you ever use 100% infill?
You should never use 100% infill. Most slicer programs use 20% as standard infill to get models with medium strength, low weight, and efficient print time. It’s important to note that 100% infill will provide better mechanical properties or strength than models with sparse infill (30%-60%).
This article will look at various factors you should consider when choosing the best infill percentage. I’ll teach you how infill affects the strength, durability, tenacity, and flexibility of a 3D model and let you know the other factors that can affect the same properties.
Important Factors To Consider When Choosing Infill Density
1. The Purpose of the 3D Printed Object
The amount of infill you use depends mainly on the object you are making and how you want to use it.
Generally speaking, most 3D printed objects are not made with a solid interior.
If you make an object for display and not for regular hands-on use, 10-20% infill should suffice. On the other hand, 50-80% should be a good infill density if you require structural strength from an object.
Use the recommendation below to choose the appropriate infill percentage based on the purpose or requirement of your project.
- 0-15%: Non-functional or decorative pieces: If you make a piece for representation or exhibition purposes, strength and tenacity don’t matter. You can make a display model with 0% infill if it doesn’t have a large flat surface on top. However, if the top does have a large flat surface, consider adding some infill (10-15%) to support it.
- 15-40%: Light-use Pieces: Also known as standard prints, these models will be used frequently but not for load-bearing purposes. Examples in this category include toys and masks. Again, you can do this without infill if you add more perimeters, but that depends on the model’s design.
- 40-80%: Heavy-use Pieces: Functional, load-bearing models like nuts, bolts, replacement parts for machines need to be extra strong. However, if you go as high as 100% infill it will add some mechanical benefit. Experts will advise you to consider 50-60% infill and then double up on the perimeter to make your model strong instead of stiff and heavy.
2. Your 3D Object’s Infill Pattern
When it comes to the strength and tenacity of a 3D model, the infill pattern plays just as crucial of a role as density does.
Different layouts hold different properties that determine a model’s strength, flexibility, and shape. The idea is to choose a pattern that gives the maximum durability using the least amount of material.
Let’s see where a few infill patterns fit best to understand this more:
- Decorative piece. The best infill pattern for non-functional models is lines and zigzags. These patterns provide the required strength and hold the structure together, but they come out of the nozzle easily and quickly.
- Standard models. Use patterns like trig-hexagons, triangles, and grids for moderate-function models. They are complex, requiring more printing time (25% more), but they provide better strength. The triangle and trig-hexagon patterns are best applied to moderate load-bearing models when applied perpendicularly on the model’s walls.
- Functional models. Functional models are subjected to high-stress levels, requiring high load-bearing capacity. The best patterns to provide that kind of strength include octet, cubic, gyroid, and cubic division. The gyroid pattern gives exceptional rigidity because it has a three-dimensional structure to hold the model from all sides.
- Flexible models. Finally, the best infill patterns for flexible models are concentric, cross3D, and cross.
So, the lesson here is that if you can use the correct infill pattern on a model, you won’t need so much infill density to achieve the required strength and durability.
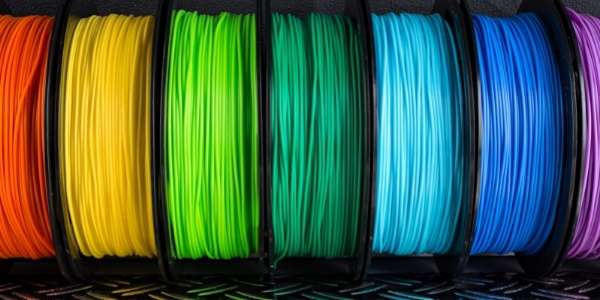
3. The Type of Filament You Use
How much infill you use also depends on the filament you are using.
You can maximize the strength of a model by using a higher quality filament like ABS and PETG.
For example, if you make a small to medium kid’s toy using ABS, you can use 0% infill. Doubling up on the walls can make it stronger, but adding thick infill will not add anything besides weight and cost.
On the other hand, if you make machine replacement parts or other load-bearing models with the same filament, you need to add 20-50% infill to strengthen it, even if you double up on the walls. The point is, choose your filament wisely when printing a model because it will affect the strength, stability of the model, and the overall cost of production.
Still, you might want to consider using denser infill on objects made with more delicate filaments such as PLA, which can benefit from some structural integrity.
4. The shape of the Model You Want To Print
Last but not least, you should consider the shape of the model you are making.
You may want to ask yourself:
- Does it have large flat surfaces?
- Are there corners and edges that need infill to stay in shape?
- Are there extended or protruding features connected to the model?
Please consider adding infill if your answer to the above questions was yes.
Infill density adds strength between vertices and joints, stabilizing the shape or design of a model. That means you can also use variable infill percentage, where you will start with low infill density and increase as the model’s weakness calls for it.
Final Thoughts
Adding infill inside your 3D model is an excellent way to define the shape and add mechanical strength to a model. However, that doesn’t mean you should go all out with 100% infill. Too much infill is a waste of plastic, time, and money because it has no value addition.
If strength is a critical factor in your model, 30-80% infill will suffice as long as you also consider the other four elements, which are:
- The purpose of the object
- Infill pattern
- Type of filament
- The shape of the model
- Written by:
- Ben
- Last updated:
- 02/24/2023
About Ben
I started 3D printing since 2013 and have learned a lot since then. Because of this I want to share my knowledge of what I have learned in the past years with the community. Currently I own 2 Bambulab X1 Carbon, Prusa SL1S and a Prusa MK3S+. Hope you learn something from my blog after my years of experience in 3D printing.