The Cura slicer can take a long time to process some models. Many people new to 3D printing have a lot of issues with the program running slowly or taking absurd amounts of time to slice. However, there are ways that you can speed it up!
Here’s how to make Cura slicer faster:
- Upgrade to the newest version of Cura.
- Disable the plugins you don’t use.
- Upgrade your PC’s RAM.
- Reduce the 3D model resolution.
- Scale the 3D model down.
- Optimize the 3D model settings.
These slicer software adjustments are quick and easy to make but significantly impact how your slicer software runs. They put less of a demand on your computer so that you can run the program smoothly. You’re sure to notice a difference right away, so let’s speed things up and go through the steps together!
1. Upgrade to the Newest Version of Cura
If you want to speed up your slicing times, the first thing you’ll want to check is what version of Cura you have on your computer.
Cura often releases new updates to their software. If you’ve never updated your copy, the odds are that it’s out of date. The developers search for glitches and ways to optimize their programs constantly.
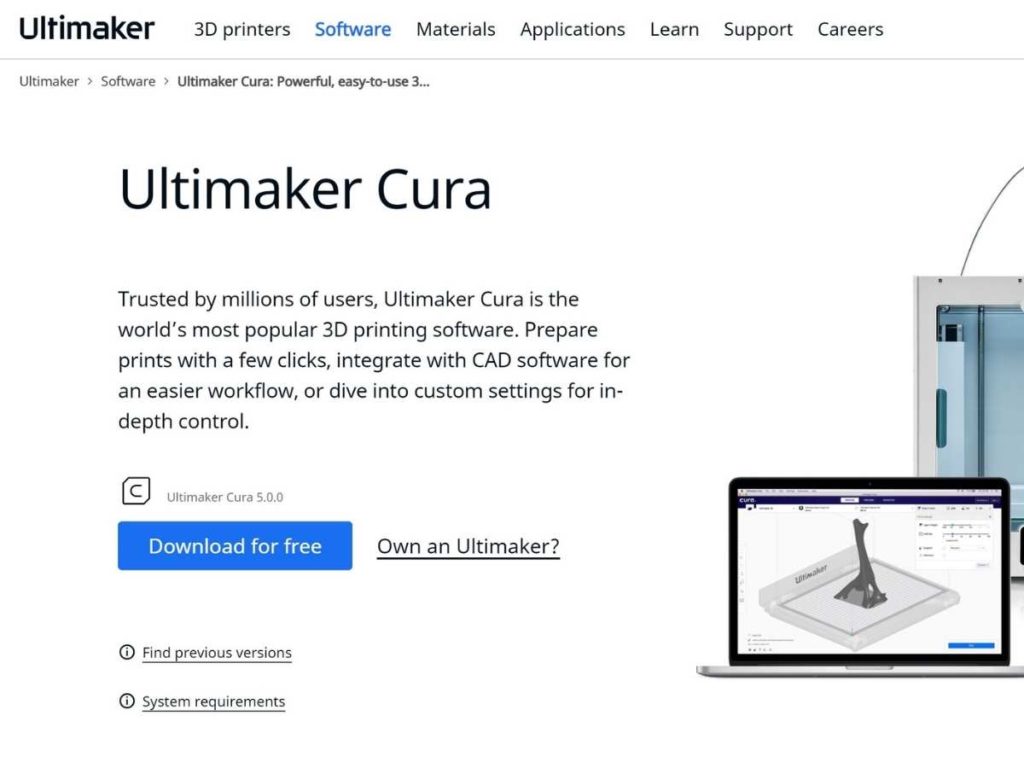
If you’re looking for the newest version of Cura, you can find it on Ultimaker’s website. You can find the current version listed on the page at the top.
If your version doesn’t match the latest one, it’s a good idea to download it for better performance. Sometimes, upgrading the software is all you need to fix Cura running slowly.
Having the newest version means fewer glitches, and the software will run a lot better. Plus, you might get some new features with each update, too!
2. Disable the Plugins You Don’t Use
Next, you’ll want to check your plugins and disable any of them that you may not need for your current project.
If you have a lot of plugins that you don’t use or don’t work anymore, it’s best to disable them. Plugins can use memory, slowing down the software. Disabling your network plugins can drastically improve speed.
To disable the plugins you don’t use, go to “Marketplace,” then open the “Installed” menu. From there, find the plugins you don’t use and uncheck the boxes beside them to disable them.
Many users have issues with the network and wireless plugins slowing down their Cura programs. However, if you’re using an SD card to print, you won’t need them anyway.
After opening the “Installed” menu, go to “UM3 network printing” and “Octoprint network.” Uncheck all of your plugins to disable them.
You may also have other wireless plugins that you don’t use, but those are the most common ones. Ensure that you untick any box next to a plugin that mentions “network” for the best results.
So, overall, cleaning up your plugins can allow your computer to focus more on slicing.
3. Upgrade Your PC’s RAM
If Cura is taking up all of your computer’s memory, it isn’t going to run well. Plus, if you have other programs open in the background, it’s going to get even slower. Some people need a computer with more RAM to run everything they need to 3D print.
It’s easy to check how much RAM your computer is using. Open the Windows Task Manager on a PC while you have Cura open to see how much memory it’s using.
You can upgrade your computer’s RAM, even without a lot of computer hardware knowledge. Your computer will limit how much RAM it can handle, but adding even a little can significantly help Cura’s performance.
You’ll have to install another component into your computer to up the RAM capacity.
When adding a new part to your computer, you need to ground yourself to avoid a static discharge, which could harm you and your computer. As long as you do this, installing the parts should be simple!
Cura System Requirements
You’ll need to know how demanding Cura is and if your computer can meet its requirements. Cura should run on low-end hardware unless you’re using large 3D models.
According to Ultimaker, these are the minimum requirements to run Cura:
- 4GB RAM
- 550MB disk space available
- Intel Core 2 or AMD Athlon 64
- 1024 x 768 display resolution
- OpenGL 2 or OpenGL 4.1
However, Ultimaker does recommend that you use better hardware to get the most out of Cura. Here are their recommended system requirements:
- 8GB RAM
- 600MB disk space available
- Intel Core i3 or AMD Athlon 64
- 1920 x 1080 display resolution
- OpenGL 4.1
If your PC isn’t currently meeting those requirements, it’s likely time to make an upgrade. You can upgrade specific parts of your main printing computer, so you don’t have to purchase an entirely new one. However, you could benefit from a new one if your current PC is more than five years old and doesn’t meet the minimum requirements to run Cura.
Today, most laptops have at least 8GB RAM, meaning they can efficiently run Cura.
If you’re using a computer with 4GB, it should still run. Still, it might be very demanding on your laptop- especially if you try to run other programs at the same time. Many people prefer to have more than enough RAM to use the software to its best potential.
4. Reduce the 3D Model Resolution
Lowering the resolution of the 3D model should help Cura slice faster. You don’t need to lower it much to reduce the file size, so don’t go overboard! Reducing the resolution too far could cause your final print to lose some details.
You can adjust the resolution by changing the layer height, which is the Z-axis of the model. In Cura, you can find the resolution settings by going to “Preferences,” “Configure Cura,” “Profiles,” then finally “Configure settings visibility.”
In this menu, you can lower the resolution. The smaller the number, the higher the resolution, so you’ll want to raise it some.
Most Reliable Resolution for 3D Printing
Many people prefer to use a resolution of 10 microns, or 0.01mm, on the XY-axis for their print. The Z-axis should then have 50 microns or 0.05mm for the resolution. However, 100 microns can provide you with a better quality print.
If the resolution is too high, the computer may struggle to load it, making it feel laggy when interacting with the object.
5. Scale the 3D Model Down
Reducing the model’s size can also help significantly in speeding up Cura.
More extensive models take a lot longer to slice because the program has to process more information. Larger models also have more supports and infill for Cura to manage.
You can enhance the slicing times in Cura by scaling down the models. It’s also easy to reduce the size of your models, so make sure to give it a try! Snap scaling allows you to shrink the model in 10% increments when you drag the object.
Hold down the “shift” key while scaling the model to activate snap scaling. However, you can also use uniform scaling or the scale tool to reduce the size to what you want. Even slightly lowering the 3D model size in Cura can make a huge difference in how well it runs!
Reduce the File’s Size
Cura doesn’t have a file size limit, but when it’s too large, you’ll notice everything slows down. The larger the file, the more RAM you need to work with it efficiently.
Luckily, it’s usually simple to reduce the size of the file. You can use a third-party program like Meshmixer to handle it for you. However, you can also reduce the mesh density in the 3D modeling program.
You can also change the tolerance level in an STL export. The tolerance adjusts the mesh but won’t make your print look bad. It’s good to have a tolerance of 0.01mm. Anything smaller a printer can’t handle. Plus, the file size becomes a lot larger.
Additionally, lowering the resolution of the 3D model will decrease the size of the file. You want the file to stay under 50MB for Cura to run efficiently. However, some printers will need the file size to remain small, while others can efficiently work with larger files.
Overall, you can have a small file size for your 3D object and still get a fantastic final print! A tolerance of 0.01mm is best- anything smaller is too detailed, and anything larger can look pixelated.
6. Optimize the 3D Model Settings
Lastly, optimizing the settings on your print will help increase the program’s speed. These settings can cause your object to be too detailed for the software to load quickly:
- Short layer height.
- Dense or intricate infills.
These factors make your file size larger and harder to manage, too, so you’ll want to adjust them when you can.
Start by changing the layer height to 0.2mm. This height is perfect for use with Cura. Then, lower the infill density unless you need a really strong print.
If you’re using the Cubic infill, it can use a lot of memory in Cura. Switching to the Grid infill will help Cura slice faster and not be as laggy. This infill is also suitable for a vast range of 3D projects.
Overall, you’ll want to check your settings when it feels like your computer is running slowly. The infill and layer height can make your model more complex, making it more difficult to render on the screen quickly.
Other Reasons Why Cura Slicer Could Run Slowly
Slicing should be fast, most of the time. Several issues can cause it to run slower than it should. Your computer hardware could be part of the problem if it’s not advanced enough for 3D printing. However, reducing specific settings puts less of a demand on the hardware.
When it comes to Cura, these are the issues most likely to cause it to run slowly:
- The STL file is too large
- The 3D model is too large, making it use a lot of memory
- You’re using too many plugins
- The plugins don’t work as intended
- There is too much infill or support
- The layer height is too low, causing too many layers
- Your PC has network issues
- Your PC is already slow on its own
Correcting these issues can take some time, but you’ll get better results. When your 3D is too large and has a high resolution on top of that, it takes up a lot more space in your PC’s memory- causing it to have to “think” harder to run, which slows everything down a lot.
Resolving many of these issues also opens up more RAM for Cura to use towards the model and slicing. That way, it doesn’t lag as much, and you can have a faster performance overall.
Can You Make a 3D Printer Print Faster?
You can make a 3D printer print faster. You’ll need to change the default printing speed, use a larger nozzle, and lower the infill density and model thickness while maximizing the amount of material the extruder puts out.
However, printing faster doesn’t mean that your print will turn out well. It’s best to print slowly to get the best possible results. The nozzle is more likely to run into issues if you go for speed.
You should print slowly but focus on making your Cura slicer program run faster. When the software’s at its best, it’s much easier to work with and makes it easier to get a smooth, quality print.
Conclusion
When Cura runs well, you’re sure to benefit! It won’t be as frustrating to use, and you can focus more on your 3D models. If, after updating to the most recent version of the software, it still runs slowly, consider changing your settings and taking time to adjust your 3D models.
Here’s a recap of what you can adjust to get the most out of the Cura slicer:
- Lower the resolution of your 3D print model.
- Scale the model size down.
- Optimize the model by changing the layer height and infill settings.
- Written by:
- Ben
- Last updated:
- 11/23/2023
About Ben
I started 3D printing since 2013 and have learned a lot since then. Because of this I want to share my knowledge of what I have learned in the past years with the community. Currently I own 2 Bambulab X1 Carbon, Prusa SL1S and a Prusa MK3S+. Hope you learn something from my blog after my years of experience in 3D printing.