Many people have come across the challenge of losing all their settings after updating Cura. It takes quite some time to test Cura settings and tweak them to match your preferences, and losing them means starting over; hence, many people avoid updating it. However, there are some steps to follow while updating your app to prevent the loss of your settings.
Here’s how to update Cura without losing your settings:
- Search for Cura <version> download on your browser.
- Click on the link from ultimaker.com.
- Scroll to the bottom, then click on ‘Download for Free.’
- Click on ‘Download for Free’ on the following webpage.
- Choose your OS and wait for the download to start.
- Right-click the installer and select ‘show in folder.’
- Right-click it and choose ‘Run as administrator.’
- Select Yes or No to uninstall or keep the older version.
- Read the next dialog box, then click on uninstall.
- Click No next so as not to remove your configuration files.
- Choose “I agree” on the license agreement dialog box.
- Choose a destination folder, then click Next.
- Select your preferred components, then click on install.
- Click on Finish to close the wizard.
The rest of this article will give an in-depth explanation of the steps highlighted above. If you would love a great description on how to update Cura, this article is an excellent resource for you; read on!
1. Search for “Cura <Version> Download” on Your Browser
Open your browser and write “Cura (the version you would like to download) download” in the search bar.
2. Click on the Link From Ultimaker.com
In most cases, the first search result is always from ultimaker.com, the creators of Ultimaker Cura. Clicking on the link will lead you to their web page to download the app.
Alternatively, you can click here to get the latest version of Cura.
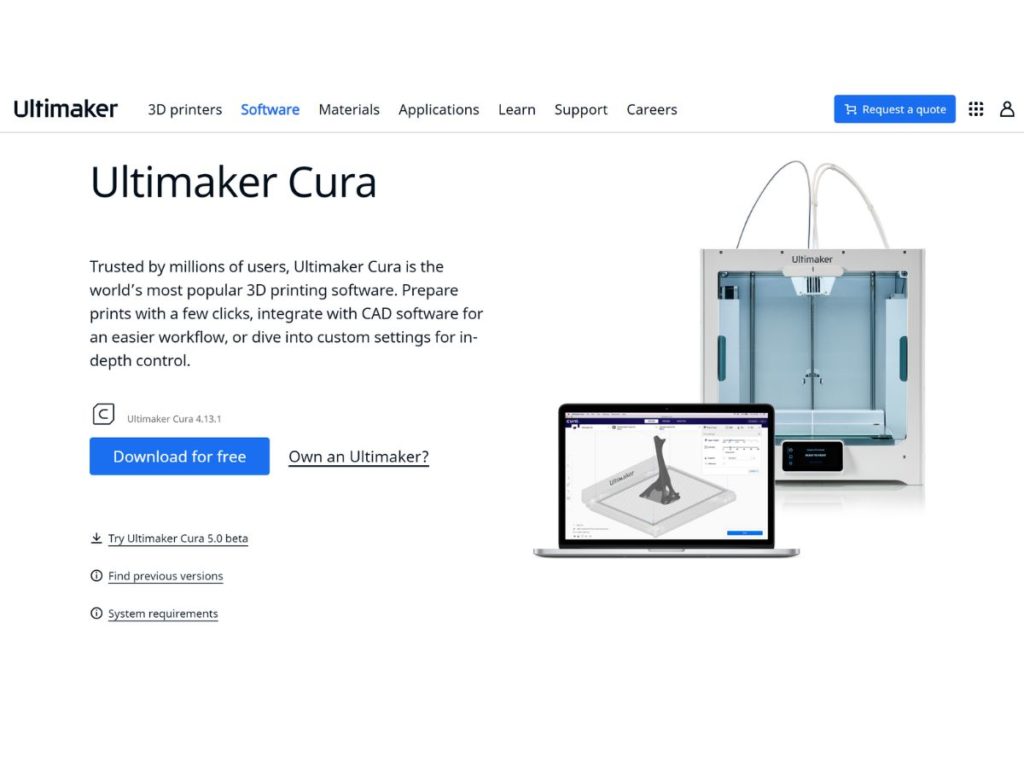
3. Scroll to the Bottom, Then Click on “Download for Free”
Once you get to the Ultimaker website, you’ll have to find the download. The download button is at the bottom of the webpage that you land on when you click the link from ultimaker.com. Please scroll down and click on it.
4. Click on “Download for Free” on the Next Webpage
Clicking the button at the bottom of the website’s page leads you to another webpage that gives you the version you are downloading together with two options.
The first option is the “Download for free” button, while the other option is a link for the full Ultimaker suite. Click on the download button.
5. Choose Your OS and Wait for the Download to Start
The webpage gives download options for three operating systems:
- Windows, 64 bit
- Linux, 64 bit
- macOS, 64 bit.
After selecting the operating system you are using, your download will begin.
6. Right-Click the Installer and Select “Show in Folder”
This step will lead you to the folder where your computer stored the installer. From there, you should click on the installer and open it with your computer. Once you do, your computer will start up the download process.
7. Right-Click It and Choose “Run As Administrator”
After you open the installer, a window will pop up asking for permission to download the software. Click on ‘Run as Administrator.’
Then, your computer will prompt you to answer whether you would like to allow the app to make changes to your computer. Click on Yes.
8. Select Yes or No to Uninstall or Keep the Older Version
The following dialog box asks whether you would like to uninstall the old version before installing the new one.
If you already have an old version of Cura on your computer, you should click “Yes” since keeping old versions will take up space. In addition, uninstalling the old version will not uninstall your settings and profiles.
9. Read the Next Dialog Box, Then Click on Uninstall
If you chose yes in the previous dialog box, your computer will ask you if you’re sure that you want to uninstall the older version. When it does, click uninstall after reading the new dialog.
If you are not uninstalling your old version, then you can skip this step.
10. Click No When Asked Whether to Remove Your Configuration Files
This step is what makes the difference between whether you will still have your settings and profiles in the new update or not. Most people who lose their settings click the yes option without reading the dialog.
Clicking yes will make Cura delete your configurations, while clicking NO will maintain them.
11. Choose “I Agree” on the License Agreement Dialog Box
After uninstalling the older version, the Cura setup wizard for the new version pops up on your screen. Click next to continue with the installation.
You must accept the license agreement before you can install the new version.
12. Choose a Destination Folder, Then Click Next
The folder you select is the folder on your computer where the wizard will install the new version. Most people select their desktop or application folders, but you can download it straight onto your computer user profile, too.
Alternatively, you could click on the checkbox that reads ‘Do not create shortcuts’ then Next. Clicking on the checkbox will prevent the creation of shortcuts.
13. Select Your Preferred Components, Then Click on Install
There are 14 components given, and you can select as many as you want. How many features you should choose heavily depends on how many slicers you use.
14. Click on Finish to Close the Wizard
After the installation is complete, leave the checkbox titled “Run Ultimaker Cura” marked. Marking this checkbox makes Cura start immediately when the installation process is over.
Now that you have completed the installation process click on Finish to close the setup wizard. You can now use the new version of Cura!
If you still have questions or want an easy walkthrough, be sure to follow these steps with this Youtube tutorial for updating and reinstalling Cura:
Conclusion
Following these steps will ensure you keep your settings and profiles even after updating Cura to the latest version.
The most significant mistake people make when updating that makes them lose their settings is clicking on the Yes option in step 10. Clicking on No will ensure you keep all your data.
- Written by:
- Ben
- Last updated:
- 10/25/2023
About Ben
I started 3D printing since 2013 and have learned a lot since then. Because of this I want to share my knowledge of what I have learned in the past years with the community. Currently I own 2 Bambulab X1 Carbon, Prusa SL1S and a Prusa MK3S+. Hope you learn something from my blog after my years of experience in 3D printing.