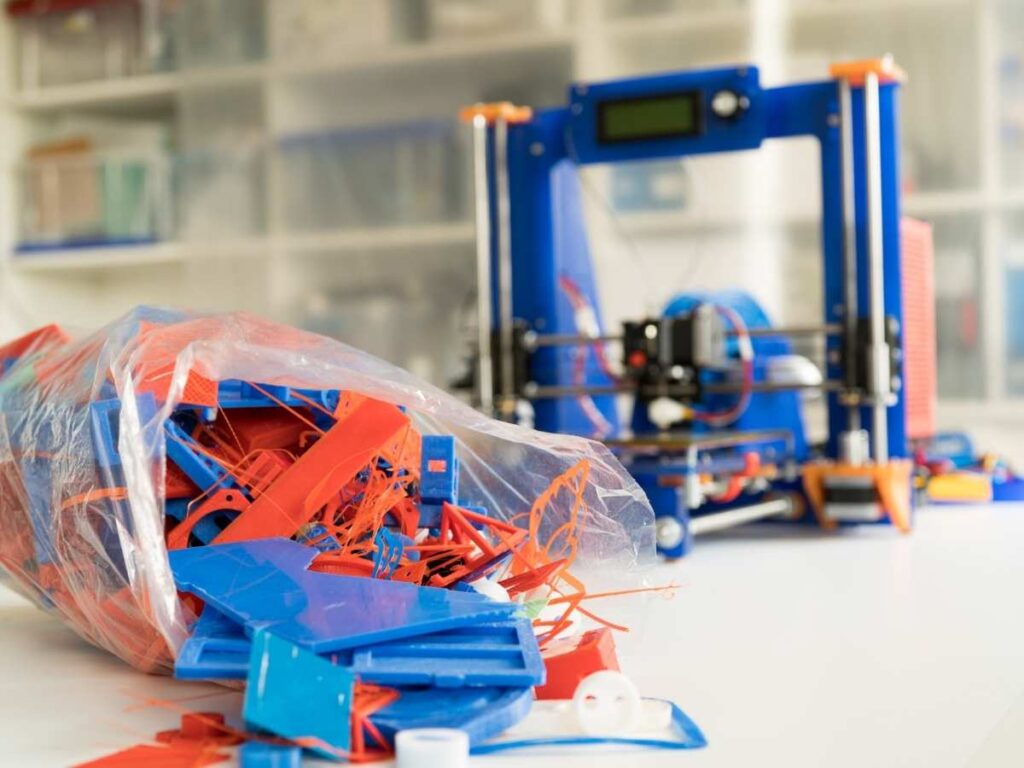
When working with a 3D printer, you tend to generate a lot of printed scraps and waste. You want to make sure that you have methods to dispose of the excess material responsibly. Luckily, it’s pretty easy to take care of your 3D scraps.
Here are 10 things to do with 3D printed scraps and waste:
- Collect printer scraps in a metal container.
- Make a plastic brick or rod.
- Make an ABS slurry.
- Take the plastic to a recycling center.
- Compost your PLA.
- Meltdown failed prints for reuse.
- Make a DIY filament recycling machine.
- Give them to a friend.
- Donate them.
- Combine failed projects.
This article will cover all of the ways to reuse your 3D printer scraps. You can generate a lot of plastic debris, so make sure you don’t throw everything out! If you want to learn more about reusing your materials, be sure to continue reading.
1. Collect Printer Scraps in a Metal Container
Before you can use your 3D printer scraps, you need to make sure that you have a metal bowl or other container to hold all of your rubbish. You want to make a habit of collecting your scraps- always throw them in the bowl instead of in the trash bin.
It’s essential that this metal container is safe to put in the oven.
For example, you could use the Meleg Otthon sheet pan from Amazon.com. It consists of heavy-duty stainless steel and is very easy to clean after you use it. The high sides are also great for heating your plastic scraps.
Once the container is full, you can easily use the materials as you wish. Many people lightly heat the materials in their oven, then press other items into the softened scraps.
This process creates a mold that you can use for many different crafts, such as making resin items. Many people use this to make jewelry and other small items, such as guitar picks.
Overall, you want to make sure that you have somewhere safe to store all of your leftovers. 3D printers make a lot of scraps, and you may have some failed projects.
You want to keep everything in one location to avoid losing it or accidentally throwing it out.
2. Make a Plastic Brick Or Rod
Next, you can create a plastic brick or rod, which is better when you have one type or color of scrap. You’ll want to take all of the materials and place them on a cookie sheet, then heat them at a low temperature in your oven.
The final result is a flat sheet of plastic, otherwise known as a plastic billet. If you have a spare bread pan, you can also fill it up with leftover plastic.
Once you have the billet, it provides a ton of uses. You can carve it and shape it by hand into anything you want. You also can chop this brick into tiles, shape it into a door wedge, or save it to meltdown later.
You can also combine different colored materials and experiment with mixing patterns. There are some beautiful designs that you can replicate with your own billets.
3. Make an ABS Slurry
You can also use your scraps with acetone to make an ABS slurry. You can only do this with Acrylonitrile Butadiene Styrene (ABS) filaments, which use oil in their composition. When you have scraps of this kind, you can make various adhesives.
The acetone eventually evaporates, which leaves you with a solid plastic piece. Because of this, many people choose to always have some ABS slurry on hand while they work on projects.
You can create three different types: ABS juice, ABS glue, and ABS slurry. These mixtures work to stick parts together or fill in holes in the printed details.
Let’s take a look at how to make the slurry.
Making Your Slurry
You can make your adhesive mixture using the following tools:
- Scrap materials
- Scissors
- Acetone
- A glass jar with a lid
The process is straightforward. You’ll want to adjust the mixture’s consistency until you reach the thickness you want for your project.
Here’s how to prepare your adhesive:
- Use the scissors to cut the scraps into tiny pieces.
- Pour the acetone into the jar. If you add more, it will make the mixture thinner.
- Slowly add the parts to achieve the consistency you need.
- Put the lid on and swirl the mixture.
- Allow it to sit for about eight hours.
- Occasionally open the cover to reduce the pressure in the jar.
After eight hours, you’ll have your adhesive. If it’s not the texture and strength you want, add more acetone to make it thinner or more scrap to thicken it. You will need to swirl the mixture and allow the jar to sit.
It may take a few tries to get the consistency you want, so don’t hesitate to experiment.
You can also follow this video tutorial to make your slurry:
Let’s now look at how you can use these different materials.
ABS Juice
ABS juice is the thinnest of the three. It’s best for connecting parts together, improving adhesion, and lowering the odds of warping. Many people spread it over the print bed to keep it from warping or making your future projects odd sizes.
ABS Glue
Glue is a little bit thicker than ABS juice, as its primary purpose is to bind parts together. You can use it to repair a broken print or assemble multiple pieces.
It’s powerful, so you shouldn’t have to worry about the print falling apart after you use it.
You can adjust the consistency of the adhesive by changing the amount of acetone and plastic that you mix. You can choose to work with either a thicker or thin glue, depending on your work project.
Overall, you’ll want to try different ratios to find the consistency that suits you the most.
ABS Slurry
Finally, make an ABS slurry. This option is often the thickest and works best as a filler. You can use it to strengthen seams, fill holes or gaps, and add more plastic to the print. If you want to sand down the piece later, you can use a slurry to add more material to your work beforehand.
4. Take the Plastic to a Recycle Center
Local recycling should also be an option for most people.
Ensure that your local recycling center accepts ABS and PLA plastics, which your printer should use. Not every place can take these materials, so always check with the center before you attempt to drop them off.
If your center doesn’t take it now, it may occur in the future. These plastics are more and more popular each day, so there’s always the chance that they could accept them in the future.
5. Compost Your PLA
Did you know that polylactic acid (PLA) is compostable? This type of plastic consists of various plant sugars, which can break down under the proper conditions.
You need to make sure that you build the proper compost environment. PLA won’t break down unless it’s under high heat. If you have compost in your garden, you need to make sure it’s hot and moist.
It takes a long time for any type of plastic to compost entirely. However, if you can commit to this method, you can help the environment by dealing with your 3D scraps in a green way.
6. Melt Down Failed Prints for Reuse
When one of your prints fails, don’t throw it out right away. You can always melt down the printing material and reuse it. Doing so will save you a lot on printing costs since you won’t constantly buy materials.
Plus, many people don’t use the first print.
First, you need to break down the print by smashing or cutting it. Then, place it in the oven until the pieces melt. You’ll want to know exactly what type of plastic you have since they have different melting temperatures.
7. Make a DIY Filament Recycling Machine
If you print many 3D projects, you’ll want to make sure that you have a filament recycling machine. These tools make it simple to repurpose your plastic scraps. You can even recycle 100% of a failed piece with this method.
Start by cutting or smashing the project into tiny pieces, then melt down the plastic. From there, you extrude the material into a filament, which you coil onto a new roll.
Extruding is simple, as you just push the warm plastic through a small hole. This process forms a new filament that you can then use for printing once it cools fully. If you don’t want to make your filament extruder, you can always buy your own.
However, you have plenty of options when it comes to DIYing your own.
If you want to learn to make one, the Homemade DIY 3D Printer Filament Extruder project on Instructables offers a basic tutorial. The final project extrudes filament in 1.75 mm (0.06”). Still, you can adjust it to extrude filament in 3 mm (0.12”), making it an excellent option for most people.
8. Give Them to a Friend
Finally, you can consistently offer your scraps to someone you know who also enjoys using their 3D printer. You might want to ask first because they might not know what to do with the scrap or don’t have the space for it at home.
When it comes to 3D printing projects like these, one man’s trash is another man’s treasure, and someone is sure to have use for your 3D materials. Overall, it’s better to ask around instead of throwing out your scrap.
The odds are that another printer could make use of them, even if you aren’t sure what to do with all that extra plastic.
9. Donate Them
Many schools and libraries have 3D printers today. If you know there’s one near you, why not reach out to them? These groups might want to take your scrap materials off your hands. The instructors could teach others how to make 3D prints before they try using the “fresh” plastic.
Overall, many groups with 3D printers would be interested in taking your scraps off of your hands. Not every institution will have a substantial budget for these sorts of projects, even if they have access to a 3D printer.
They may appreciate having the scraps to practice printing with.
Make sure that you contact the institution before you show up with 3D plastic scraps, as not everyone will be able to accept them, even if they really want to. You should know their policies and rules for donations ahead of time.
10. Combine Failed Projects
Finally, you can always try to combine your failed projects into something new. You can use ABS slurry to adhere several different parts together. From there, you can also carve away the plastic and sand down your piece.
This type of project relies on parts that you already have available. However, if you save all of your plastic, you’re sure to have a ton of material at your disposal.
You can always break down, melt, construct, and combine your plastic, so don’t throw it out.
Additionally, you can cut apart the piece, then turn it into an ABS slurry. This method allows you to create an essential adhesive for connecting your printed plastic parts!
In short, you don’t want to toss a project just because it didn’t turn out as you’d hoped. You can use the failed project as a learning experience, then create something entirely new from it. It’s always worth storing your projects somewhere safe.
Store Scraps For Future Use
Make sure that you store them for future use instead of throwing them away. You can keep a lot of plastic out of the landfills and save money by reusing your plastics.
Overall, you have many different options. I’m confident that you can come up with some creative ways to recycle your scraps. If you want to learn more about 3D printing, I recommend that you browse my site, as there’s plenty there to discover.
- Written by:
- Ben
- Last updated:
- 11/23/2023
About Ben
I started 3D printing since 2013 and have learned a lot since then. Because of this I want to share my knowledge of what I have learned in the past years with the community. Currently I own 2 Bambulab X1 Carbon, Prusa SL1S and a Prusa MK3S+. Hope you learn something from my blog after my years of experience in 3D printing.