When it’s finally time to replace your 3D printer’s nozzle, it can be challenging to determine what tools to use and how careful to be. However, changing the nozzle should take less than a minute as long as you have the right-sized wrench and know what you are doing – and I’m here to tell you exactly what to do.
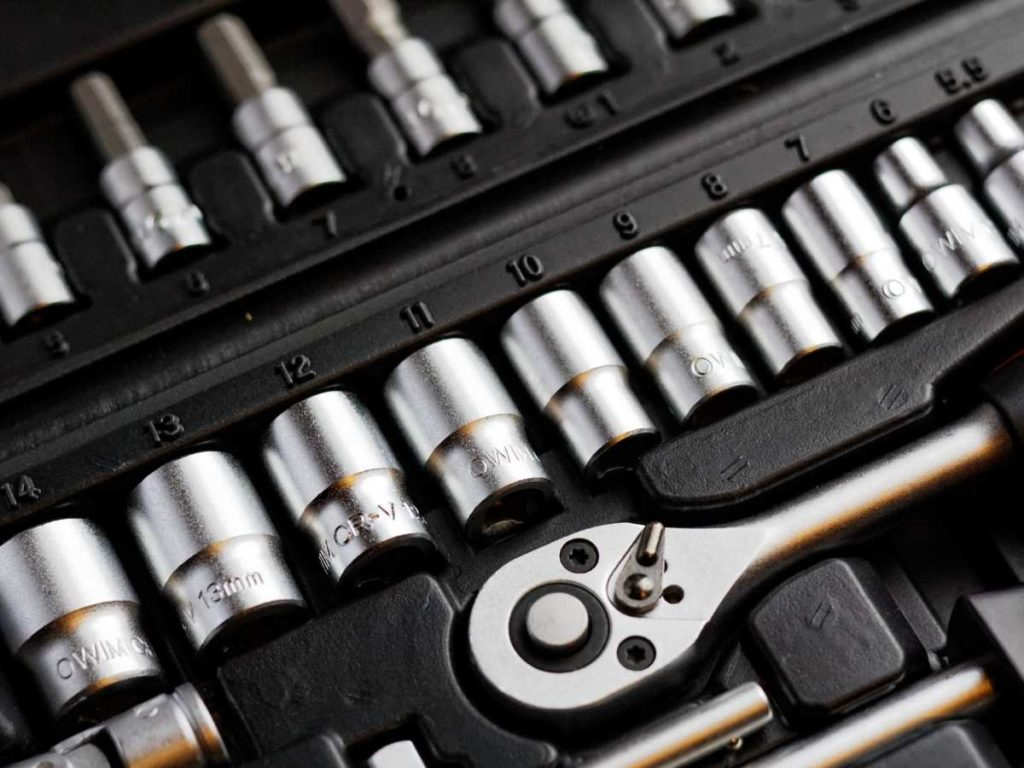
The size wrench you need to replace a 3D printer nozzle is usually a size 7 mm (.28 in) hex socket or a 16 mm (.63 in) adjustable wrench. One of these tools should be able to remove the nozzle, no matter what diameter it is. Removing the nozzle is easy, but be careful because it can be hot.
These tools are relatively cheap, so you should be able to buy one if you don’t have one already. Keep reading when you’re ready to replace your 3D printer nozzle! Everything you need to know is below.
Wrench Size for Replacing 3D Printer Nozzle
Before replacing the 3D printing nozzle, you’ll want to ensure you have the right tools. While 3D printing nozzles can differ in size, you should be able to remove them with either a 7 mm (.28 in) hex socket wrench, pliers, or a 16 mm (.63 in) adjustable crescent wrench.
As long as you can safely grab the nozzle (and get a firm enough grip), you should be able to remove it. Once it’s out, you can use the same tool to add the next nozzle you want to use.
Overall, you’ll need to use a tool to grip the nozzle comfortably and securely. Otherwise, you could end up hurting yourself or damaging the machine somehow.
When Should I Change a 3D Printer Nozzle?
You’ll also need to know when you should change the nozzle. Luckily, there are some signs that your current one is wearing out. It’s essential to keep your nozzle in good condition if you want the best final results for your prints.
You should change a 3D printer nozzle when it shows signs of wear. These include poor layer bonding, lots of strings, or frequent clogs. Nozzles wear out over time, so you might need to replace them more often if you print often or frequently use filaments that require higher print temps.
If you don’t print all that often, you can get away without changing your nozzle for a long time. The material you print with also impacts the nozzle’s longevity. For instance, carbon fiber filaments are harder than PLA, causing more abrasion damage to the inside of the tip over time.
In most cases, you can expect to replace a brass nozzle about every three to six months. However, if you run the printer constantly each day, you’ll need to replace it every month. How much you use the nozzle drastically impacts its lifespan.
How To Change a 3D Printer Nozzle
Okay, so now that you know when and why to change your printer’s nozzle, let’s get the job done!
Here’s how to change a 3D printer nozzle:
- First, you’ll need to have a tool to remove the nozzle. You’ll need an adjustable wrench, pliers, or a hex wrench as recommended above. Your printer probably came with these parts included, but you may have to get some at a hardware shop or online if not.
- Then, start by heating the nozzle using PLA or ABS preheat settings. Most people should use the PLA setting, although you should use ABS if you often print at high temperatures.
- Give the machine a few minutes to preheat. It’s much easier to remove the nozzle tip when it’s warm, although you’ll need to be very careful while handling it. You’ll also need to take care with how you remove the tip, so you don’t damage the other parts.
- Next, Move the z-axis up so you can see the nozzle easily. It should be high enough to reach up and comfortably touch it with the wrench. If it’s too high or low, you’ll have difficulty removing it.
- Use the crescent wrench to grab the heater block just above the nozzle. Secure the crescent wrench, then use the hex wrench or pliers to twist off the nozzle. It will fall, so make sure nothing is below it. You don’t want it to touch anyone or anything that could catch fire.
- Lastly, install the new nozzle by putting it in the hex wrench. From there, you can thread it back into the hotend. If you don’t want to do this while it’s still hot, it’s OK to let it cool down. Make sure you don’t tighten it too much as this can easily damage the hotend.
If you want to see how to change the nozzle, this short YouTube video covers all of the steps:
How To Tell if a 3D Printer Nozzle Is Worn Out
Sometimes, your printer nozzle can wear out much earlier than expected. You’ll want to check for common signs of wear and tear often. Here are signs your nozzle is worn out:
- There are grooves, scratches, or dents near the hole.
- The nozzle diameter is broader than it should be.
- The tip looks shorter or sanded down.
- There are print blobs and uneven layers.
- The nozzle under-extrudes.
If you need to replace your nozzle, it shouldn’t cost too much. Most of these parts are reasonably priced and easy to install. Many people buy multiple nozzles of different diameters at a time, so they have various options for making their prints.
I recommend checking out the XINKYD 3D Printer Nozzles (available on Amazon.com). This kit comes with wrenches, cleaning needles, and various nozzle tips. It’s not that expensive, and you even receive 50 tips and a box to keep them in. The nozzles are also compatible with many printer models.
Overall, you’ll need to replace a worn-out printer nozzle. Letting it go for too long will only worsen the problems, impacting your prints.
Final Thoughts
You’ll need a crescent wrench and a 16mm (.63 in) adjustable hex wrench to remove a 3D printer nozzle. You’ll need to feel comfortable working with the printer while hot. Plus, you don’t need to tighten it too much- just enough for it to stay in place. You can always tighten the new tip when the hotend cools down more.
Overall, you’ll need to change the nozzle at some point. Whether installing a new nozzle or swapping out the current one for one with a different diameter, it’s good to know how to do it.
- Written by:
- Ben
- Last updated:
- 11/16/2023
About Ben
I started 3D printing since 2013 and have learned a lot since then. Because of this I want to share my knowledge of what I have learned in the past years with the community. Currently I own 2 Bambulab X1 Carbon, Prusa SL1S and a Prusa MK3S+. Hope you learn something from my blog after my years of experience in 3D printing.