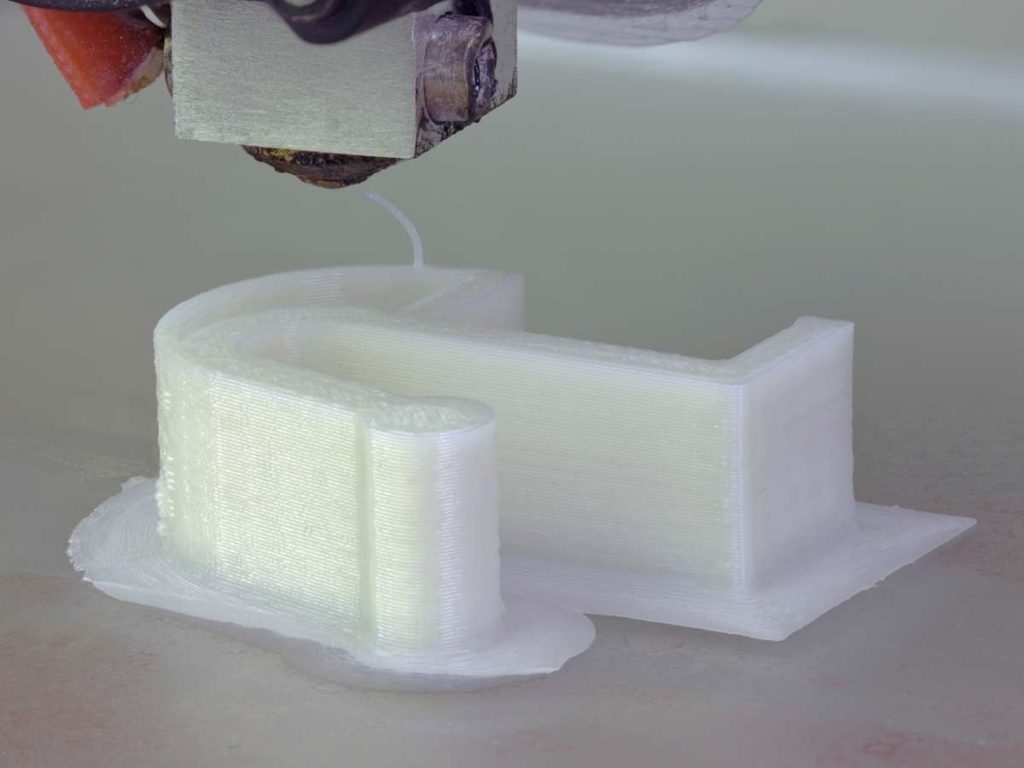
3D print rafts can facilitate better first layer adhesion and a stronger foundation for your model, especially if the object has a limited surface area at its base. However, you must prepare a model or its design and the slicer settings to prevent a few common 3D print raft problems.
Here are 5 common 3D print raft problems:
- The raft does not adhere to the bed.
- The 3D print raft warps or deforms.
- The model sticks firmly to the raft.
- The object’s first layer turns out messy.
- The model’s base lacks a smooth finish.
You may encounter one or several 3D print raft problems for a specific model, subject to the type of filament and FDM printer you use. This post explains the typical causes and appropriate fixes so that you can save on filament and avert failed prints.
1. The Raft Does Not Adhere to the Bed
Many modern 3D FDM printers have heated beds. You may not need a raft on heated print beds because first-layer adhesion problems are rarer than with older 3D printers. However, a model with slender foundations or fewer contact points may require the foundational support of a raft.
Interestingly, a raft may not stick to the bed as you desire, despite it being a solution for poor first layer adhesion. This problem has a few probable causes, depending on the material. For example, PLA and ABS require different printing temperatures, and they don’t adhere identically.
Also, the print bed material you have plays a role. Besides, you may need to use an adhesive for some print beds. Furthermore, a clogged nozzle or filament extruded at lower temperatures may not deposit an appropriate first layer of the raft that can bond firmly with the print bed.
How To Fix a Raf not Adhering to the Bed
Check for hardware problems and incompatible software settings for the filament, printer, and design. Detect the main cause to choose the required solution.
Here’s a checklist and corresponding fixes:
- Check the nozzle, hotend, and extruder, and clean them.
- Review the printing temperature and increase the setting, if necessary, for the filament.
- Inspect the filament extrusion and increase the flow rate or multiplier.
- Review the fans’ cooling effect on the filament, thus curing. Change the fans’ speeds,
- Use a printer enclosure to prevent the interference of room temperature and airflow.
A 3D print raft’s base is the first layer, even if it is not a part of the final object, as you remove it later. Hence, this base is vulnerable to the same issues as a 3D model’s first layer if you print it without the raft. In effect, the general best practices for the first layer apply to the raft, too.
2. The 3D Print Raft Warps or Deforms
An ABS 3D print raft is more vulnerable to warping or deformation than PLA. However, both the filaments and a few others can have warping, layer separation, and other deformations in the raft.
Generally, a 3D print raft warps or deforms due to the following causes:
- Weak first or base layer adhesion to the print bed.
- Lack of adhesive on a 3D print bed that requires some glue.
- Unusually slow or improper curing of one or more raft layers.
- High printing speeds for the raft’s base, middle, and top layers.
- External influences, such as ambient temperature and airflow.
How To Fix 3D Print Raft Warps or Deformations
Detect the cause of raft warping and choose one of the following solutions accordingly:
- Use an adhesive on the print bed area where you will have the model’s raft.
- Review printing or extrusion temperatures and regulate the fans’ speeds.
- Reduce the 3D printing speed for the raft’s base and middle layers.
- Prevent ambient temperature and airflow from warping or deforming the filament.
You must use a slow speed for a 3D print raft’s base, which is the first layer on the bed. A rule of thumb is reducing the speed to less than 50 mm/s (1.96”/s). Choose around 30 mm/s (1.18”/s) for the first or bottom layer of the raft. Also, make this layer thicker than those atop it.
Printing too fast may not extrude sufficient filament throughout a raft’s layer. Thus, a part of the raft may deform, and another portion may force a layer or more to warp while curing.
3. The Model Sticks Firmly to the Raft
A 3D model sticking firmly to the raft is usually due to an inaccurate air gap or separation distance and excessive bonding. Ideally, you should have a tiny space between the raft’s top layer and the model’s first or base layer.
Also, you must avoid filament overheating during and after extrusion. Otherwise, the raft’s top layer may fuse and strongly bond as it cures with the model’s base layer. Lack of sufficient cooling and thus curing of the raft’s top layer can cause this problem, too.
How To Fix the Model Sticking to the Raft
Here are the steps to prevent a 3D model from sticking firmly to the raft:
- Slightly increase the raft’s air gap or separation distance in your slicer settings.
- Facilitate better curing of the raft’s top surface by increasing the layer fan’s speed.
4. The Object’s First Layer Turns Out Messy
The raft replaces the purpose of the 3D print bed for the model. Thus, a raft must be perfectly flat and leveled. Also, you cannot have gaps and other anomalies on the raft’s top layer. Else, the filament deposited for the model’s first layer will not be flawlessly aligned and bonded.
How To Fix the Object First Layer Turning Out Messy
You can prevent a messy first layer by using optimum infill or a flat and solid top for the raft. A reliable raft is a solid slab, not a thin sheet or mesh of filament with gaps, holes, or deformed top layer. Reliable rafts need more filament, but that is the cost of preventing failed prints.
5. The Model’s Base Lacks a Smooth Finish
Almost every 3D printer user encounters rough bases on models created atop rafts. Unlike the print bed, a raft’s top surface will bond with the model’s base layer to varying extents. Thus, a perfectly smooth or mirror finish is not always possible for every 3D model.
How To Fix the Model’s Base Lacking a Smooth Finish
The two critical factors of a 3D print raft affecting a model’s base finish are its top layer’s height and line width. The thumb rule is using lower layer height and thinner line width for a smoother finish. Also, a smooth finish makes it easier to remove the 3D print raft from the model.
A raft’s base and middle do not affect the finish of a model’s bottom surface unless you use only one or two layers. Ideally, you should have multiple layers at the raft’s base, middle, and top. A raft’s top layers should have the least height or thickness and line width among the three levels.
Here’s how you can attain a smooth finish for your model on its raft:
- Check the raft’s top layer height and reduce it to 0.1 mm (0.003 inch) or lower.
- Check the line width for the raft’s top layer and keep it at or below 0.35 mm.
A bit of trial & error is unavoidable due to the quality differences among filaments. Also, you must find a sweet spot for the layer height and line width for the selected air gap or separation distance. These bespoke settings are interrelated and thus practically impossible to generalize.
- Written by:
- Ben
- Last updated:
- 11/17/2023
About Ben
I started 3D printing since 2013 and have learned a lot since then. Because of this I want to share my knowledge of what I have learned in the past years with the community. Currently I own 2 Bambulab X1 Carbon, Prusa SL1S and a Prusa MK3S+. Hope you learn something from my blog after my years of experience in 3D printing.