Resin is one of the most durable, seamless media to 3D print with, but that doesn’t mean that it won’t need supporting structures to help it print well. Supports are crucial to all 3D printing projects, and that includes resin printing.
Supports are beneficial for successful resin 3D printing, especially when printing “floating” objects such as limbs, spikes, and curving tubes. Going without a support system can result in failed or weak models, and it could even break your 3D printer.
So, let’s talk more about the best ways to use supports for resin 3D printing. I’ll teach you why it’s crucial always to use supports, and I’ll help you determine what kinds of supports will work best for your 3D models.
When To Use Supports in Resin 3D Printing
Supports offer additional stability and strength to whatever you are printing. Additionally, they also allow you to print objects that won’t have contact with the base of your model.
All 3D-printed objects can benefit from the use of supports. That said, items that float in mid-air like spikes, swords, bending lines, and limbs need the use of supports the most. That’s because every part of your project should be in direct contact with the build plate to avoid warping, falling, printer damage, or a print error.
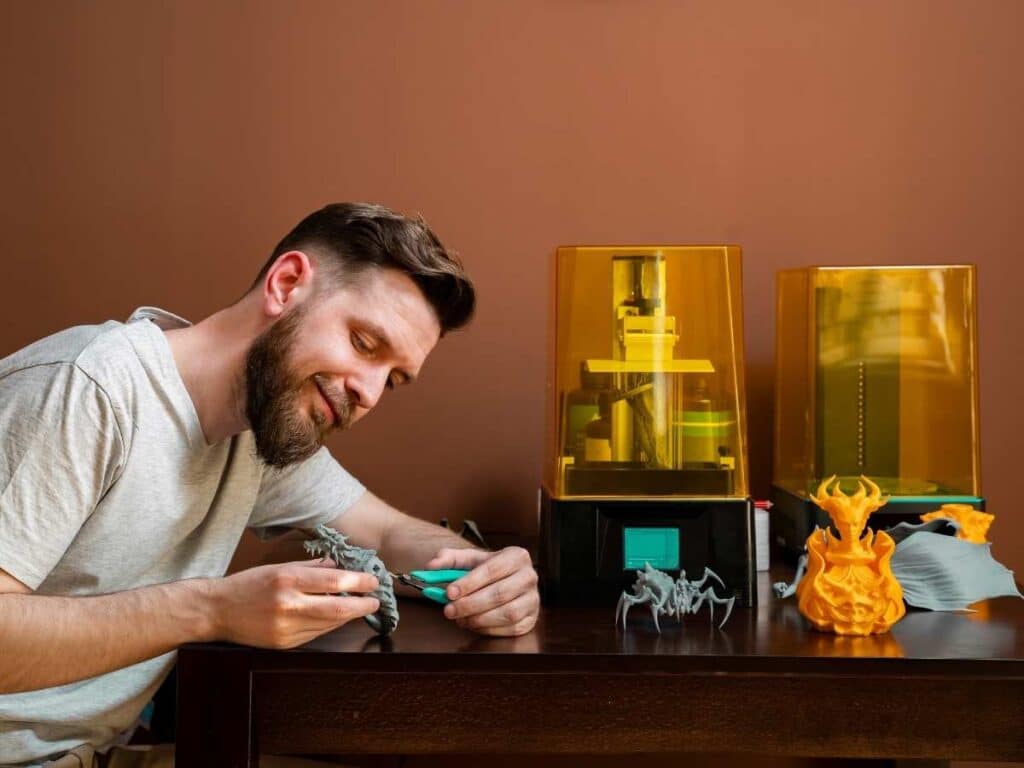
Although resin is more durable than other printing mediums, it still requires support systems to print correctly. Part of this has to do with the way that resin 3D printers work.
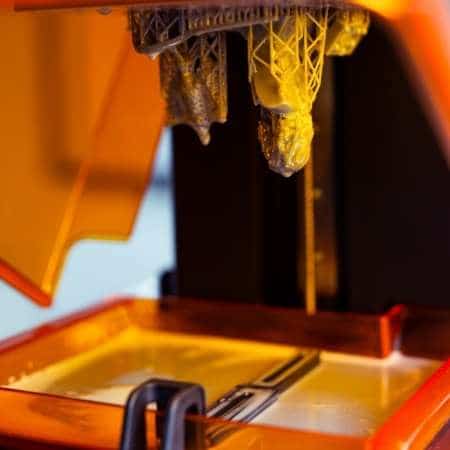
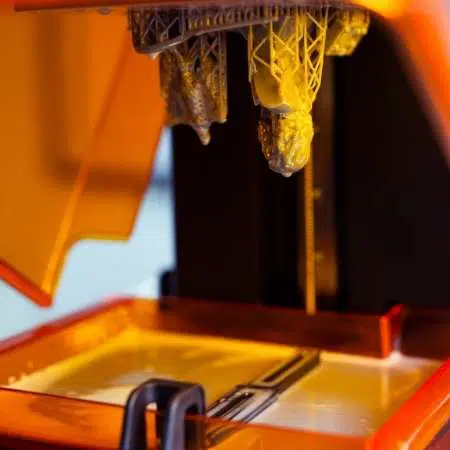
Resin 3D printers print objects upside down on a build plate that rises every time a layer is built.
When the resin is still in liquid form, it’s soft and pliable until it’s treated with UV light and film in your printer.
Without supports that connect objects to the build plate, thin and “floating” objects like horizontal lines and limbs may start to do one of two things.
In the best case, without supports, your model may start to droop or warp, which could result in a messed-up model, singed edges, weak joints, or a toppling structure. That’s because, in the printing process, you start with liquid resin that needs to cure before it becomes durable and rigid.
For other objects with “floating” parts, a lack of supports can cause the cured resin to stick to the screen of your 3D printer.
For example, imagine you’re printing a figurine of a person without supports. The print should do fine on the legs and hips of the model, but when it gets to the person’s fingertips, your printer will start to have difficulty.
Without any supports, the fingertips of your model will print, but they won’t stay attached to the build plate or the rest of your model, which means that they’ll sink to the bottom of your resin vat and harden on the surface of your UV screen.
If you leave your printer to complete the figurine, your model won’t have any arms, and there’ll be significant, hardened resin chunks glued to the print screen. In the worst-case scenario, your printer will ultimately break beyond repair since it could fuse with the laser screen.
So, designing scaffolding is the only way to ensure that the object stays structurally sound in some cases.
In addition, using supports when printing any model can reduce the chance of having noticeable layer lines, saving you tons of work in the long run.
When using resin without supports, most people learn to pause the printer regularly during the first few layers of printing to allow the material to cool and cure. However, doing so can result in rigid, unattractive layer lines that’ll reduce the strength of your object.
So, to avoid having to reprint your model or replace your 3D printer, you should always use supports. Supports don’t require that much extra material if you design them correctly, and they could save you tons of resin since you won’t have to keep reprinting failed models.
How To Choose the Best Supports for Your 3D Print
Using supports when printing any object can save you from failures and glitches, but only if you design the right supports for your models.
All models need a PAD or raft and rotation to succeed. Others may need thick support tips, or tree supports to keep them from warping or falling off the build plate.
So, let’s talk more about what kinds of supports to use with certain model types.
Use a Basic PAD for All Models
A PAD is the resin-printing equivalent of a raft, a multi-layered base that keeps your print strong and affixed to the build plate.
PADs are incredibly crucial to 3D printing since a resin printer molds your object while it’s suspended upside-down. To stay attached to the build plate, you’ll have to form a strong base that defies gravity, and that’s where PADs come in.
Without a PAD, your model may come unstuck from the build plate, which could cause a wide range of issues. You can expect your object to be ruined if it comes loose, and you might even ruin your printer since the obstruction will interfere with the rising and falling of your build plate.
To avoid damage to your print and your printer, always use a PAD.
A PAD will stick to the build plate, keeping objects glued down – or up, in this case. In addition, since it will be the first part of your model to print, it will only harden as your model gets heavier and more prominent, which can keep your objects strong.
When printing simple and small objects, try to create PADs as wide as the broadest part of your 3D model. Still, for taller and heavier prints, try to increase your PAD size accordingly.
Doing so will ensure that your model always has contact with the build plate, and it’ll ultimately ensure that your model stays strong and durable after curing.
Rotate Your Object
When printing with resin, you can rotate your object to a 15º to 30º angle to prevent damage.
Since resin layers need time to cure as they’re lifted from the vat, angling your model can increase the number of layers required to print, thus helping each layer cure before another one is added.
Failure to rotate your model on the z-axis could blow out flat, broad segments of your object, resulting in a devastating printer failure and a waste of materials.
Use a PAD With Thick Support Tips for Curving Objects
Curving objects need support to stay in shape during the printing process, and using a PAD with many thick-tipped spikes can help.
PADs are some of the best supports for resin 3D printing since they ensure that your object is securely fastened to the build plate. Creating a thin, two to five-layer PAD will go a long way in ensuring that your print has structural integrity, so always consider incorporating one into your design.
In addition, connecting tons of tiny, straight spikes to your PAD that’ll eventually form the base of your model’s shape is an excellent way to keep smaller irregularly shaped, curving, or “floating” objects where they need to be.
Naturally, adding more spikes can make post-printing processes more complicated since you might have to do some more sanding, but in the end, creating a solid structure with the first print often outweighs the tedium of sanding time.
When printing with resin, try to make your spikes thick with 0.4 to 0.5 mm (0.016 to 0.019 in) tips. Doing so will ensure that your model doesn’t come loose from the support during the printing process, which can be an issue with thinner support spikes.
Use Tree Supports for Taller and More Complex Prints
Complex and tall prints require more stability and strength than others since the pressure used to make thousands of layers of UV resin can warp or break models.
When you create supports for tall and complex prints, use a PAD with spikes and z-shape scaffolded crossbars, also called “tree supports,” to ensure that each detail makes it through the printing process.
Adding z-shaped crossbars to a standard spiked PAD can keep each spike secure, crucial for printing tall objects or very detailed, irregular shapes like arms or thin towers. This tree supports branch out, helping to create an interlocking web of constant contact.
When you print taller objects, always design long bars that rise parallel to your model. Then, connect the model to the straight bars with diagonal spikes placed at centimeter-long intervals to ensure that the entire structure has tons of support while it prints and cures.
Tips for Designing Your Supports
Once you have designed a 3D model, you’ll probably be excited to send it over to your printer right away. However, developing an efficient support system is essential if you want your object to turn out as planned.
When designing a support system, increase contact points, create suitable PADs, and choose a sturdy contact shape and depth.
Let’s go into these support concerns and get down to the details so that you can optimize your design for strength and efficiency.
Increase Points of Contact
When it comes to resin 3D printing, the more points of contact you have, the more likely it’ll be that your model comes out of the printing process intact.
Deciding precisely where to put these contact points is more challenging than it may seem, though. As a general rule, try to place a point of contact on your model at every one-centimeter (0.39 in) interval, with additional supports on delicate or floating components of your print.
If you’re concerned about detailed or intricate parts of your model, place extra contact points adjacent to them. That way, you know that they won’t break or fail during printing.
Create Suitable PADs (Rafts)
Ensuring the base you choose from your print is the right size and shape is crucial for keeping your model from falling off the build plate.
Most slicers offer base options such as cylinders, squares, cones, and skates. I usually recommend using a skate or cone base since they provide plenty of contact area for your model, but they have sloped edges that are easier to pry off of the build plate.
However, base shapes without sloped edges are better for heavier objects since they have more contact with the build plate. So, if you’re worried about your model falling off, go with a flat shape.
Another point of interest is the size of your base. You should always ensure that your platform is a bit larger than your printed object to maintain strong build-plate adhesion. Still, at minimum, be sure that your base is at least as wide and long as the largest dimension of your model.
Choose a Sturdy Contact Shape and Depth
When designing contacts, it’s essential to ensure that they’ll stay affixed to your model.
Most contact points can either be sharp or rounded.
Sharp contact points look like spikes, and they can be embedded into your model, or they can sit on the surface of your printed object.
Spikes are best for printing objects with geometric and straightforward parts that don’t need tons of support to stay in shape.
Round contact points can either be exceedingly weak or incredibly strong, depending on the contact depth.
If you want the most reliable contact point, use a round one that intersects with your model, leaving only half of the spherical end protruding. This design creates a fixed joint between your object and the point, fusing them with the utmost security. However, the downside to this design is that sanding off a semi-sphere of resin is unpleasant.
The weakest contact point is a sharp, tiny spike. These are best for miniature geometric models since they’re more of a crutch and don’t offer much strength.
There are tons of in-between options, all of which offer more or less strength and security, so try to create secure points of contact on fragile sections of your print, and use weaker points on the more solid components.
Final Thoughts
Overall, always use supports when 3D printing with resin. Doing so can save you tons of money and frustration since unsupported objects are far more likely to fail, potentially breaking your printer in the process.
When designing supports, it’s always essential to use a PAD or raft, and if your objects are more complex, you can also use tree supports and spikes with varying contact point shapes and depths to keep your models strong, secure, and stunning!
- Written by:
- Ben
- Last updated:
- 11/23/2023
About Ben
I started 3D printing since 2013 and have learned a lot since then. Because of this I want to share my knowledge of what I have learned in the past years with the community. Currently I own 2 Bambulab X1 Carbon, Prusa SL1S and a Prusa MK3S+. Hope you learn something from my blog after my years of experience in 3D printing.