Lithophanes are embossed artworks where you add light from behind to view it in all its glory. Thanks to 3D printers, you can now creatively transform your photos into lithophanes, giving them a breathtaking third dimension. But should you 3D print lithophanes vertically or horizontally?
You should 3D print lithophanes vertically rather than horizontally. Although you can print them horizontally, printing them vertically gives the lithophane more detail, a better gradient, and a higher resolution. Fused filament fabrication produces better lithophanes when printing upright.
If you’ve never tried printing a lithophane, I’ll explain why and how to 3D print them. I’ll explain why you should always 3D print lithophanes vertically.
Why Vertical 3D Printing Is Best for Lithophanes
Printing lithophanes allows you to turn your photos and pictures into 3D objects. It works because the lighter areas of your image have fewer printed layers. This allows more light to pass through from behind. Darker areas (shadows) have more layers, blocking the backlight.
It sounds simple, but the effect looks surprisingly beautiful and fascinating. Also, you can choose between flat lithophane prints and curved lithophanes (to use as lampshades, for example). They make for great gift ideas!
After selecting your photo and your 3D printer is ready to go, you might be wondering which orientation to use. Should you print your lithophane horizontally or vertically? For higher quality results, you want to print vertically.
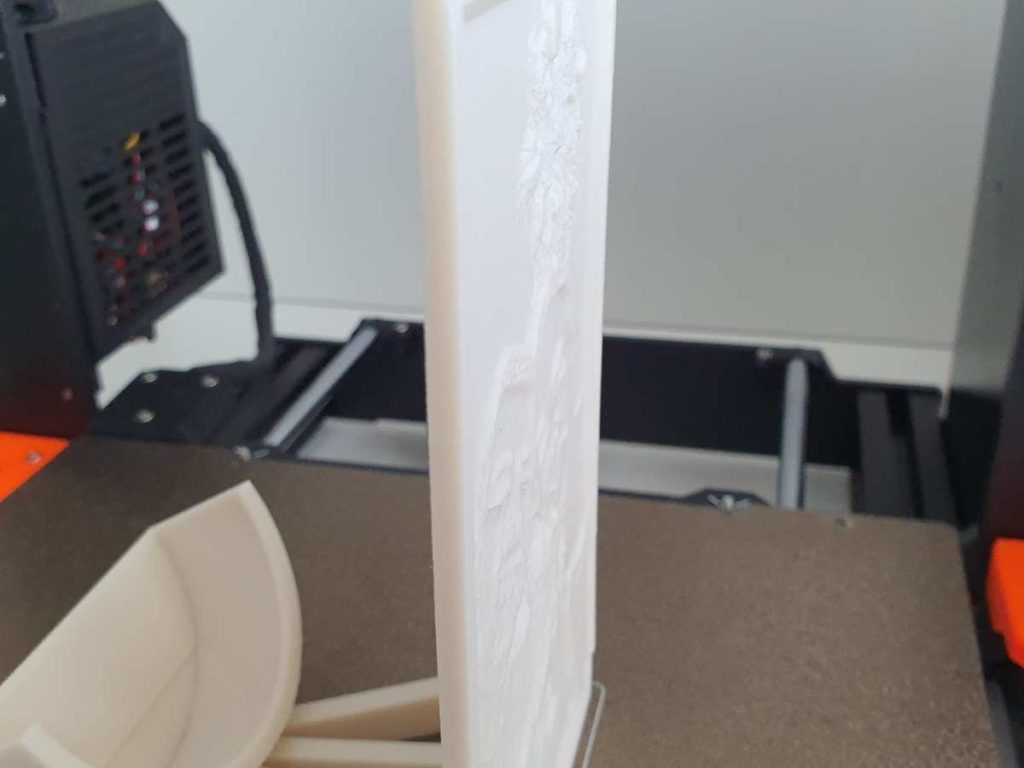
Having your lithophane standing upright produces the best result. According to Core Electronics, “due to the mechanics of fused filament fabrication, a better print result will occur when the lithophane is printed standing upright.” You can check out their full YouTube video below:
Your 3D printer uses fused filament fabrication (FFF) to create objects. Because this technique works by joining higher layers with lower layers, you’ll get the best detail in your lithophane when printed vertically.
If you choose a horizontal orientation, your image may droop because there isn’t sufficient support beneath it. A vertical print gives the top layers a sturdier foundation.
Additionally, on many 3D printers, the Z-axis (vertical) has better accuracy than the X-axis (left and right) and Y-axis (back and forth).
Your lithophane will lie flat on the printer bed and finish faster if printed horizontally. But the quality will not be as excellent as a vertical print. While using a vertical orientation takes longer, it makes for a more satisfying end result.
The vertical orientation results in more intricate detail, higher resolution, and better-looking gradients on the finished lithophane. And as the diameter of the nozzle restricts the detail of your FFF-printed objects, you want to give your prints the best chance to achieve the best detail.
How to 3D Print Your Lithophane Vertically
There are many great websites that can generate a lithophane model from your image. For example, Nested Cube offers an Image to Lithophane software called 3dp.rocks — it’s free and easy to use.
There’s also a site called Lithophane Makers, where you can generate models for hearts, lampshades, lightboxes, globes, and more. These options are creative and fun to experiment with, but you might want to select a simple, flat design when making your first lithophane.
And it’s probably best to start with a small print. With practice, you’ll learn which printer settings produce the best results.
Lithograph-generating software works by transforming your image into a monochrome heightmap. It also inverts the picture. You then import this model into your slicing software to tweak how your lithophane rendering will be 3D printed.
In your slicing software, you can adjust the settings to print vertically. Always make sure the picture is inverted for your lithophane to print correctly. The darker areas will have more filament layers, preventing light from passing through. Lighter areas will be more shallow.
How to 3D Print the Highest Quality Lithophanes
In addition to using a vertical orientation, how else can you ensure your lithophanes are of the best quality when finished?
Here are some tips and tricks to 3D print the best lithophane possible:
- Choose photos that have high contrast. Lithophanes look best when there’s a lot of contrast between highlights (light) and shadows (dark) in the image. You need to select an image that looks great in greyscale.
- Use the slowest printer speed. A slower pace means the printer has enough time to put in its best effort. You’ll have to wait longer, but it’ll be worth it!
- Use the smallest nozzle size. As mentioned above, the diameter of the nozzle affects print quality. Tinier nozzles result in more nuanced detail but take longer to complete the job.
- Set your print to have the finest layers possible. As you want your image to contain the greatest detail, you should choose the smallest layers possible. Thinner layers mean higher resolution images.
- Add a brim to the bottom of your piece. A brim at the bottom will stabilize the object when printed vertically. It’ll also act as a stand when you display your print. You can also add discs to the bottom for extra stability.
- Use white and light-colored filament. While you can use a darker filament, a light color will allow light to pass through easier. If you need to stock up on your supplies, try this PLA 3D Printer Filament from Amazon.
- Set the infill to 100%. You want to avoid gridded lines, so set your infill to 100% to create a solid lithophane.
- Keep practicing. You can always retry with tweaked settings without breaking the bank. 3D printing is affordable, especially with options such as the Official Creality Ender 3D Printer from Amazon.
Conclusion
The results look fantastic whether you want to create lithophanes to give them as gifts or experiment with new 3D printing techniques. There’s a wide range of forms your lithophanes can take, giving your image a new life with a third dimension.
You can attain a higher resolution with finer gradients and details by printing your images vertically. Although the process takes longer than a horizontal orientation, you’ll be happier with the higher quality of a vertically printed object.
Follow the advice above, and your lithophane will turn out perfectly!
- Written by:
- Ben
- Last updated:
- 11/22/2023
About Ben
I started 3D printing since 2013 and have learned a lot since then. Because of this I want to share my knowledge of what I have learned in the past years with the community. Currently I own 2 Bambulab X1 Carbon, Prusa SL1S and a Prusa MK3S+. Hope you learn something from my blog after my years of experience in 3D printing.