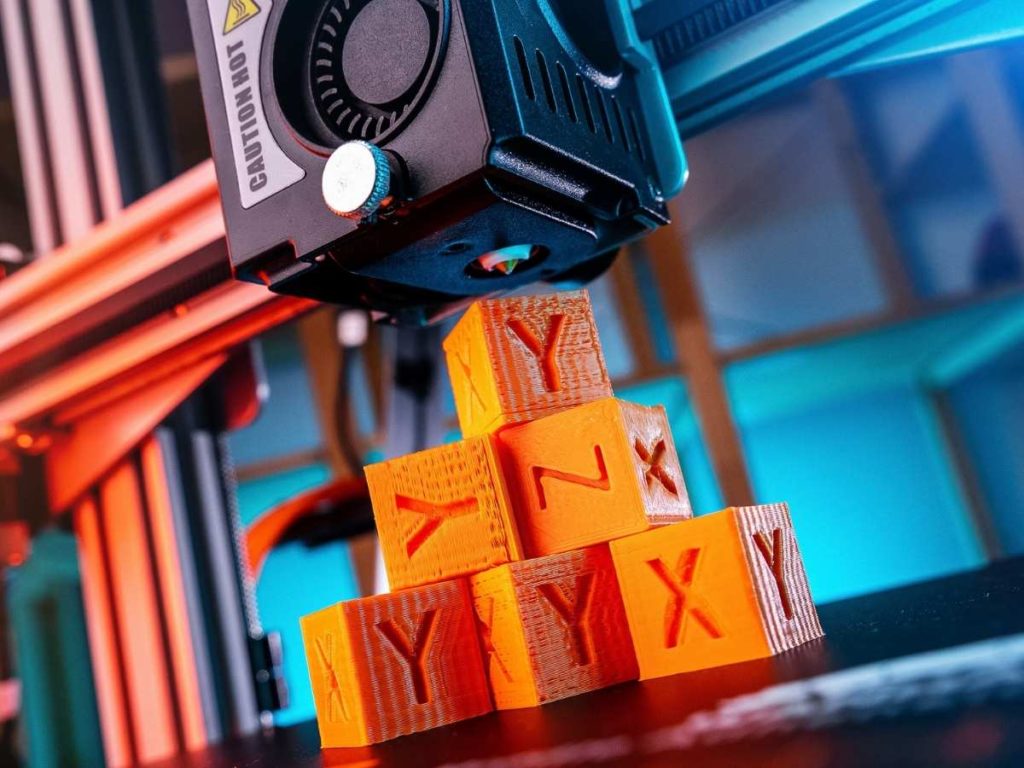
Owning a 3D printer can be a rewarding experience. However, 3D printers aren’t immune to mechanical problems, and having one of the axes stop moving is arguably the most common one. Luckily, this issue is relatively easy to fix if you know what’s causing it.
A 3D printer’s Z, Y, or X-axis may stop moving due to loose nuts, inadequate lubrication, binding with the lead screw, a loose Z coupler, or faulty wiring. It can also occur due to a worn-out drive belt, a broken stepper motor, or a short circuit in the motherboard. The Ideal fix depends on the cause.
This article will discuss the specific causes of 3D printer axes issues and their fixes. Keep reading for a comprehensive troubleshooting guide.
3D Printer Z Axis Not Moving
The Z-axis is a core component of the 3D printing process. It is the primary mechanism that drives the extruder head up and down to deposit layer upon layer of filament. If it isn’t working correctly, you won’t be able to print objects properly.
The z-axis is responsible for lifting the print head off the bed, moving it in 3D space, and dropping it back down to start a new layer. It is crucial that this axis is aligned correctly and moves as smoothly as possible.
3D Printer Z Axis Not Moving: Causes
Many different factors can lead to issues with the z-axis movement, but loose nuts and screws are the primary culprits.
Let’s tackle each culprit separately.
Loose Nuts
Over time, nuts and screws can become loose, causing the axis to fall down. This usually results from wear and tear over time or the screw not being tightened enough.
Loosening screws or nuts will lead to warping at the bottom of your print and may damage your printer’s end effector. They can also contribute to heat creep.
In some cases, the axis may continue to fall even after tightening all four corners. If that happens, check for warped parts.
Binding With Lead Screw
Loosened screws will cause the lead screw to bind up with the attached threaded rod and wear down your threaded rod at an increased rate. Looseness between these two components will result in slippage of your Z-axis, so take care to tighten them properly.
Loose bearings or sloppy linear bearings are other issues that lead to problems with your Z-axis stability.
Inadequate Lubrication
Inadequate lubrication can also cause your Z-axis not to move. When the printer is running, it’s moving back and forth over the bed. If the lead screw isn’t well-lubricated, it will cause friction on both the lead screw and threaded rod, causing it to get stuck.
A Loose Z-Coupler
The Z-coupler is a small part in the 3D printer that links the vertical rods together. It keeps the rods from moving up and down and allows them to move side to side with precision. If the z-coupler is loose, it can cause the Z-axis of your 3D printer to malfunction.
3D Printer Z Axis Not Moving: Fixes
There are several ways to fix a 3D Z-axis that’s not moving:
Tighten Loose Nuts
The quickest fix is to loosen the eccentric nuts on the top and bottom of the z-axis. This allows the screws to move more freely, allowing the axis to move more freely.
So when you put your printer back together, tighten all four nuts so that there’s a small gap between them and the screw heads. If you’re wondering why you need to do this, the reason is this allows for some up and down movement of the axis.
Fix Z-Axis Binding
If the Z-axis frequently stops in the middle of prints, you need to fix binding issues. Loose screws can cause binding, resulting in the loss of connection between lead screws and threaded rods, or simply cause slipping/falling down of the Z-axis. Looseness in couplers can also cause a binding issue, resulting in loss of connection between two components.
Lubricate the Z-Axis
The problem with the Z-Axis arises when it starts getting sticky. This happens when the plastic builds up and blocks the movement of the axis. It is an issue that you’ll likely experience at some point if you own a 3D printer.
Make sure you grease your lead screws properly. The loosening of nuts and screws can be reduced by proper lubrication. Make sure you are using the correct type of grease, as too much or too little may reduce performance.
Adjust Z-Coupler
The Z-Coupler is responsible for the coupling of Z-rods and the smooth movement of your Y-axis. Loose nuts on the lead screw make it impossible for them to turn smoothly, leading to stoppages. Loosening continuously causes more slipping up. So, tighten all nuts on the lead screws.
Wiping away dust from the Z-Coupler will also help you reduce axis slippage issues without lubricating the rods repeatedly.
3D Printer X-Axis Not Moving
The X-axis is one of the most critical parts of the printer because it allows the layer to move down uninterruptedly. This is what allows the layering process to work. If the parts weren’t printed on top of each other, you would end up with a big mess instead of something worthwhile.
3D Printer X-Axis Not Moving: Causes
A 3D printer X-axis may stop moving due to several reasons:
Short Circuit in Motherboard
If your Motherboard is faulty, you’ll have a hard time printing anything because the X-axis won’t work correctly or at all. The Motherboard manages all of your printer’s movements.
It’s responsible for sending signals to the driver boards and communicating with them to ensure all motors are working correctly. If there’s a short circuit in this all-important component of your printer, there will be issues with every motor connected to it, and all engines will suddenly stop working at once.
Damaged Wiring
If your 3D printer’s moving platform ends up getting stuck on the x-axis, check if the wiring is damaged. When a wire becomes loose or disconnected, it can cause a short circuit, which leads to motor failure and faulty prints.
If the cables get loose or damaged somehow, they may not send signals as they should. This can cause the X-axis (and anything else that depends on it, such as your extruder) to get stuck.
A Broken Stepper Motor
The stepper motor is responsible for moving the extruder in the X and Y-axis. If your stepper motor is faulty, you’ll have a hard time trying to print anything.
First, test the motor with the power on. If it doesn’t move at all, then you need to replace it. If it does move, but too slowly, you need to adjust the current in the motor. This can be done by increasing or decreasing the voltage in your 3D printer settings.
A Worn Out Drive Belt
A worn-out drive belt can cause many different issues with your 3D printer. The drive belt is a small yet crucial part of your 3D printer. If it gets worn out or broken somehow, the X-axis will have a hard time working. You should replace the belt if you notice any tears or other damage.
3D Printer X-Axis Not Moving: Fixes
There are several potential fixes to a 3D printer X-axis not moving:
Replace Your Faulty Motherboard
If your printer displays the “x-axis is getting stuck and not moving” error, but the extruder motor still runs, the problem is likely a motherboard fault. Unfortunately, most faulty motherboards can’t be fixed. The only solution in such a case is to replace it.
Replace Damaged Cables and Tighten Loose Wiring
It is not always easy to tell if your cables are damaged. If you’re having trouble figuring out if they are, try swapping them out with some spares and see what happens. If the problem goes away, one of your cables is damaged and needs replacement.
Take a look at all of the parts that keep everything held together and make sure they’re tightly fastened (or replace them if necessary). Also, check to see if anything is loose before reconnecting any cables.
Replace Faulty Stepper Motor
Most 3D printers use stepper motors for their X-Axis. If a stepper motor fails, then your printer will no longer move in that direction. If there’s nothing wrong with your power supply and everything else is working correctly, you most likely have a problem with one of your stepper motors. Replacing them should solve this issue.
Replace Worn Out Drive Belt
If a worn-out drive belt is the problem, all you have to do is remove the belt from the pulley and either replace it with a brand new one or clean off any debris on it (if any). Tighten up the belt again and re-attach it to ensure that everything works properly.
It’s not hard to do this repair yourself if you have a basic understanding of how 3D printers work. If you don’t feel confident repairing yourself, contact a local shop to help you out.
3D Printer Y-Axis Not Moving
The Y-axis is also referred to as a carriage or gantry. A pivot point makes the 3D printer move by serving two essential functions: providing movement to the extruder head and controlling it.
3D Printer Y-Axis Not Moving: Causes
Several issues may cause your Y-axis to stop moving:
Incorrect Stepper Motor Wiring
There are a few reasons why your 3D printer’s Y-axis may get stuck and stop moving, but the most common cause is incorrect wiring of the stepper motor.
If you recently connected your 3D printer to a power source with too much voltage, faulty wiring is likely the reason the Y-axis is no longer moving. Exceeding the stepper motor’s voltage limit results in overheating, which subsequently damages components such as connectors and even PCB boards.
Faulty Y-Axis Motor or Stepper Driver
If your stepper motor or stepper motor driver is faulty, it will prevent the y-axis from moving. The wires leading to either your y-axis motor or stepper driver may be disconnected or broken. Ensure they are securely plugged in and test them for proper functionality.
You can test your stepper driver by connecting it to a different axis (one that works properly). If the axis motor (of the newly connected axis) moves without any problems, your stepper driver is functioning properly. In other words, your y-axis motor needs to be replaced.
Pulley Not Securely Attached
If the pulley is not securely attached to another component, it may make a clicking noise when the y-axis moves. Worst case scenario, the Y-Axis may not work at all.
The belt itself can also be at fault. If there are any cracks in the belt, it can cause problems with its movement on the pulley. Make sure that your belts are properly secured to the pulley.
Loose Drive Belt
When your 3D printer is not moving the Y-axis, it is essential to check if the belt has become loose. Specifically, check if the belt has come loose from one of the pulleys. A broken motor driver could also cause the problem.
Fixes
Reset the Wiring
Remove all the cables and wiring, and reconnect all of them. A loose or faulty cable may cause the y-axis to fail. Check all your cables and plugs for any damage, then fit them back into their original place.
Replace Faulty Motor or Stepper Driver
If one of these components is faulty, replace them as needed. Defective components should be replaced with original manufacturer parts only. Otherwise, constant snapping will occur, and damage to other components can result from using non-manufactured parts.
Secure the Pulley
Check your pulleys to ensure they are tight; if any of them are loose, pulley with a screwdriver. If this fails to fix the problem, replacement parts may need to be purchased for this situation.
Tighten Drive Belt
If the driver belt is loose, it can be tightened by hand. You can also tighten the belt by tightening the screws holding it in place. If this fails to fix the issue, replacement components may need to be purchased for this situation.
Conclusion
3D printers can be a lot of fun. Unfortunately, they often require a lot of maintenance and upkeep to ensure they continue to work correctly.
If your printer is not responding to commands or stops working altogether, this troubleshooting guide should help identify the issue and get it moving again. If it doesn’t, the problem is likely too complicated to fix by yourself, and it might be time to contact a professional for help.
- Written by:
- Ben
- Last updated:
- 11/23/2023
About Ben
I started 3D printing since 2013 and have learned a lot since then. Because of this I want to share my knowledge of what I have learned in the past years with the community. Currently I own 2 Bambulab X1 Carbon, Prusa SL1S and a Prusa MK3S+. Hope you learn something from my blog after my years of experience in 3D printing.