Most 3D printing enthusiasts are used to troubleshooting visible lines on the X and Y axis, but sometimes, you can get unsightly ridge lines on the Z-axis. These bands are a sign that there is something wrong with your printer settings or your printer’s parts, and it’ll take a bit of recalibration and adjustment to get rid of Z-banding.
When your 3D prints have vertical lines or Z-banding, your 3D printer’s Z-axis rod, coupler, or stepper motor may be loose, bent, or misaligned. In addition, uneven print surfaces and extrusion issues such as a clogged nozzle or temperature inconsistencies can contribute to Z-banding.
If you want to diagnose and fix the issue causing your 3D prints to have ridged lines going up the Z-axis, read until the very end. I’ll walk you through the reasons it might be happening, going from most likely to least likely, and show you the solution. Let’s get troubleshooting!
Your Z-Axis Rod or Lead Screw Is Bent or Loose
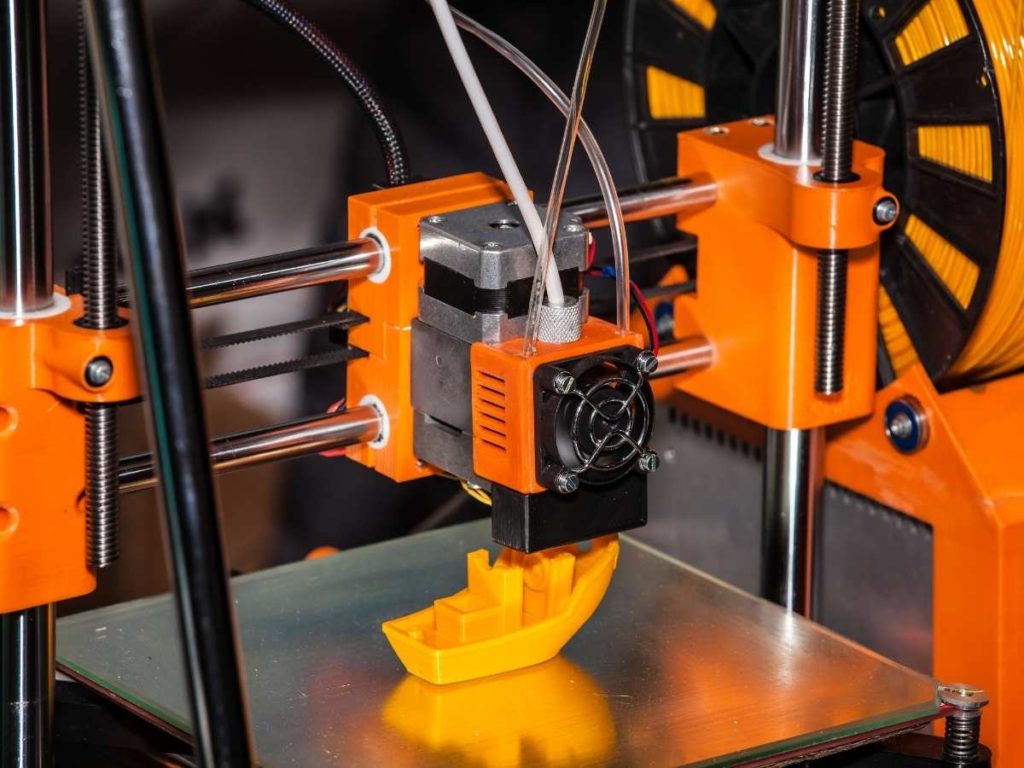
Z-wobbling, one of the leading causes of Z-banding, occurs when your Z-axis rod (also called the lead screw) is misaligned, bent, or loose. This rod is a long screw that your print head will travel on to achieve the right Z-axis height.
Any bends or looseness in your lead screw will cause your print head to wobble as it prints up the Z-axis, giving you consistent ridges of the same size.
In addition, there are several ways to test for this issue. Let’s go through the steps and see if the Z-axis rid is the root of your ridges:
- Test the rod for looseness. Gently attempt to wiggle the Z-axis rod. If it moves or seems loose, you’ve found the problem.
- Check for bends in the screw. If your rod was not loose, take it off your printer and attempt to roll it across an even surface. If the screw resists rolling, it may be bent.
Lead screw issues are prevalent on Ender 3 printers, but they can happen on any 3D printer with a Z-axis rod coupler.
How To Fix
If your rod is loose, you’ll need to tighten or stabilize it. Start by screwing the rod’s mounts tightly into your printer frame and see if that fixes the issue.
If tightening the screws doesn’t do the trick, you can add a rod stabilizer like this Zeelo Z-Axis Leadscrew Bearing Holder (available on Amazon.com). This stabilizer fits the Ender 3 and Ender 3 Pro, but you can easily find various styles online. It is quite an upgrade from the stock parts, and I recommend getting one since a stabilizer will help prevent bends and looseness in the future.
If your lead screw is bent, you can try to straighten it by bending it with your hands, but this rarely works. You’ll likely need to find a replacement part that fits your 3D printer.
The Z-Axis Rod Coupler Is Uneven
The Z-axis rod coupler is the small, round cylindrical piece that you’ll find near the bottom of your Z-axis lead screw. This component raises and lowers your print head as you print, allowing the nozzle to move up and down.
However, if this piece is uneven, has bent threads on the inside, or isn’t tight enough to stay fixed on the lead screw, you’ll experience Z-banding with even, consistent ridges.
How To Fix
If the rod coupler has worn out or is uneven, you will likely need to replace it. However, before you go shopping, try tightening the small screws on the side of the coupler and do a test print. Sometimes these screws can get loose, resulting in uneven layer lines and ribbing.
If tightening the coupler does not work for you, you have two options: you can purchase a new coupler or print one yourself.
Most people find that 3D printed couplers last longer than their metal counterparts since printing your own can allow for more precise details. In addition, the flexible materials can compensate for unevenness in the rod, reducing your chances of developing Z-banding in the future.
However, if you only have one 3D printer and that printer is the one experiencing Z-banding issues, you probably won’t be able to print a detailed, smooth coupler at home.
Note: If you are interested in printing a coupler for your printer, check out this youtube video from Helmreich Enterprises. They made a new coupler for the Prusa i3, and you can find the STL file for it in the video’s description.
If you don’t want to print a new coupler, you can always find replacement parts online. You may also be able to get one for free from your 3D printer manufacturer if you are still under warranty. Just be sure to get the right size for your Z-axis lead screws.
The Z-Axis Stepper Motor Is Loose
Just like how a loose Z-axis rod will affect the smoothness of your prints, a loose Z-axis stepper motor will cause ribbing. This stepper motor is in charge of moving your printer nozzle along the Z-axis, but if it jiggles as you print, your print will have Z-bands that look even and consistent.
How To Fix
The stepper motor connected to your Z-axis lead screw should be firmly attached to your 3D printer’s frame. Otherwise, you’ll get lumpy prints. When attaching the stepper motor bracket to the printer frame, you can’t tighten it too much. So you should tighten the screws as much as possible, then check for any improvements with a test print.
Your Nozzle Is Clogged, or the Temperature Is Inconsistent
Minor clogs in your 3D printer nozzle can cause extrusion issues, resulting in occasional, inconsistent, and uneven Z-banding. In addition, erratic temperatures can cause rapid cooling, then heating, giving you bumps and lumps in your layers.
Unlike the other issues on this list, extrusion-issue-related Z-banding won’t give you regular dips and ridges in your 3D-printed object. Instead, if there is a problem with the nozzle or temperature, the banding won’t be uniform and won’t affect as many layers.
How To Fix
Fixing extrusion-related issues is pretty simple. First, you’ll need to clean out the printer nozzle. If you found any blobs or excessive filament residue in your nozzle, a clog was likely the cause of your Z-banding.
If the problem persists, you may have a temperature-related issue on your hands. Temperature issues that cause Z-banding are rare, but they are most common in older 3D printers.
If nothing else on this list has worked for you, and you suspect that your print temperatures have become unstable, you may be able to fix the issue by PID tuning the hot end. Tuning is quite a process and requires you to send commands to your 3D printer through G-code, so I recommend only doing this as a last resort.
If you want to PID tune your printer to ensure that the temperature stays consistent, check out this helpful tutorial from BV3D:
Summary
Vertical lines in your 3D printed objects usually result from a Z-axis misalignment. However, extrusion issues can also result in inconsistencies in your layer thickness.
To fix the ribbing in your 3D printed objects, investigate, straighten, and stabilize your Z-axis lead screw, coupler, and stepper motor. If any of these parts seem bent or defective, you will need to replace them.
If these fixes don’t work for your 3D printer, you may need to clean out the nozzle or PID tune your printer for a more even extrusion.
- Written by:
- Ben
- Last updated:
- 11/23/2023
About Ben
I started 3D printing since 2013 and have learned a lot since then. Because of this I want to share my knowledge of what I have learned in the past years with the community. Currently I own 2 Bambulab X1 Carbon, Prusa SL1S and a Prusa MK3S+. Hope you learn something from my blog after my years of experience in 3D printing.