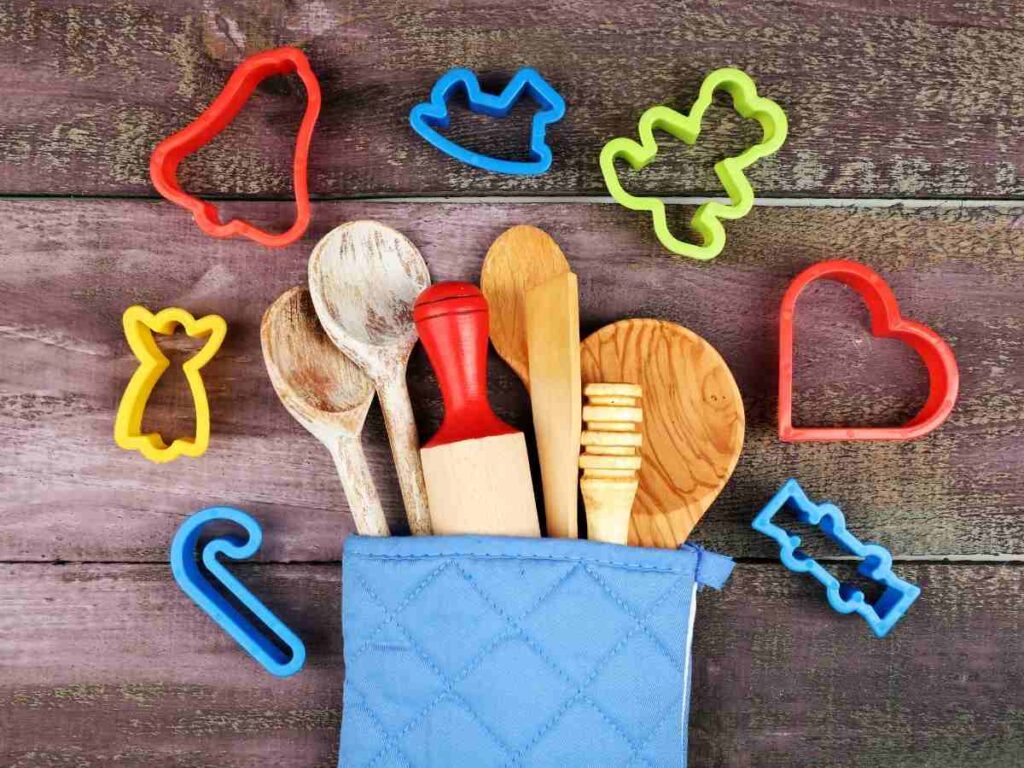
Sealing is a way to ‘block’ the gaps in a 3D model. This process is vital for items that come in contact with food, such as cookie cutters. If the surface is left unsealed, bacteria may grow in these ‘holes’ — thus contaminating your cookie treats.
Here’s how to safely seal your 3D-printed cookie cutters:
- Use food-grade filaments.
- Choose the right nozzle type and size.
- Increase the flow rate.
- Apply a food-safe seal.
Besides these tips, cleaning your 3D printer is also recommended, checking the PTFE tube, and using a direct drive extruder. These preparations will help minimize the gaps (and possible contamination) on the cookie-cutter surface. Learn more about these processes by reading below.
Use Food-Grade Filaments
When it comes to printing items that come in contact with food, safe sealing isn’t enough. It would be best if you made sure that the items are made with food-grade filaments as well. Here are the best products to use for making cookie cutters:
Polylactic Acid
Also known as PLA, it’s a biodegradable filament made of cornstarch derivatives. You can use it to print cookie cutters at a low temperature of 158°F (75°C).
One of the best things about PLA is that it rarely deforms during cooling. It happens to exude a sweet scent, too!
While PLA is suitable for cookie cutters and other products whose surfaces touch the food, it’s less durable than other filaments. This is why it’s essential to seal it with food-grade material, the likes of which will be discussed below.
Polyethylene Terephthalate
Popularly known as PET, it’s a food-safe filament often used in making water bottles. It’s glossy and doesn’t require a heated printer bed (which is perfect if you don’t have one.)
Flexible yet robust, PET doesn’t produce harmful fumes like other filaments. However, you need to protect this filament from humidity.
Polyethylene Terephthalate Glycol-Modified
This other type of PET filament is known in 3D printing circles as PET-G. It’s made with glycol, giving it a transparent appearance.
Compared to PET, PET-G can be used at lower temperatures. It flows faster than the former, too.
While PET-G is both food-safe and weather-resistant, it needs protection from humidity as well.
Choose the Right Nozzle Type and Size
Apart from choosing food-safe filament, it would help to use the correct nozzle. This is the part of the printer that extrudes the filament.
First, you should pick the right nozzle size. To reduce the gaps where bacteria can thrive, utilize a bigger 0.6 mm (0.023 in) nozzle. This creates a larger layer height of 0.4 mm (0.015 in) than the standard 0.2 mm (0.007 in).
A bigger nozzle will create thicker walls, reducing the chances of ‘holes’ on the surface.
It’s also good to use a stainless steel nozzle instead of a brass one. It won’t contaminate the product with lead, which often occurs with the latter.
Increase the Flow Rate
Like using a bigger steel nozzle, increasing the flow rates can reduce the gaps in 3D printed cookie cutters.
Doing so will result in overlapping layers, essentially reducing the number of holes on the printed model. Again, this will help prevent bacteria from thriving in the cookie cutter.
Apply a Food-Safe Seal
After printing your cookie cutter, make sure to dip-coat it in food-grade silicone or epoxy resin. The following discusses this further:
- Silicone is cheap and easy to use, making it a popular item amongst new 3D printing enthusiasts. It’s durable since it can withstand temperatures ranging from -63 to 350°F (-53 to 177°C.)
- Epoxy is another food-safe seal that can make your cookie-cutter more durable. This product is also heat-resistant, meaning it can withstand the temperatures inside the dishwasher. Most epoxy resins come with a clear coating and casting resin, which you can mix in a 1:1 ratio.
After mixing these two parts, you can readily apply them to your cookie cutters. Make sure to cure the layer for 3–4 days before using the product.
Tip: No matter what seal you use, make sure to apply it in a well-ventilated area.
More Tips on Creating Food-Safe 3D-Printed Cookie Cutters
Sealing is a great way to keep bacteria away from the cookie cutter’s surface. However, it doesn’t hurt to be overly cautious. You don’t want organisms to contaminate your finished product, after all.
Here are 3 tips that can keep your cookie cutters food-safe:
Clean Your 3D Printer
Cleaning the nozzle is essential, primarily if you’ve used the steel nozzle before.
Make sure to brush the hot end rigorously for 3–4 minutes. That way, you can free it from all the dirt and remaining filament.
It’s also vital to keep the extruder clean. Remember: it’s responsible for drawing, melting, and pushing out the filament.
Here’s how you can clean your extruder through the cold pull method:
- Remove the Bowden tube if there’s one in your printer.
- Heat the hot end to the required temperature of the cold pull filament.
- Feed the filament to the nozzle until it squirts some material.
- Apply pressure to the filament strand to ‘cool’ the hot end.
- Release the tension once the hot end temperature is 60°C (140°F).
- Heat the nozzle again and pull out the filament. The remaining dirt and debris will be ‘stuck’ here.
Check Your Polytetrafluoroethylene Tube
A PTFE tube is a component that leads the filament towards the ‘hot end’ of the nozzle.
While it’s generally food-safe, printing at extreme temperatures can deform this tube. This means it can contaminate your cookie cutters right before you seal them.
At 200°C (392°F), PTFE emits toxins that are more potent than those used in World War I!
To prevent contamination and protect your health, make sure to check your PTFE tube before using it. You may want to replace a damaged one right before you start with your project.
Install a Direct Drive Extruder
If you find changing PTFE tubes often bothersome, a good alternative is using a direct drive extruder.
This is mounted directly on the printer head, pushing the material directly onto the device’s hot end. It eliminates the need for a PTFE tube, which could contaminate your cookie cutters.
Final Thoughts
Sealing a 3D-printed cookie-cutter keeps the surface bacteria-free. When doing so, make sure to use food-grade filaments and sealing material.
- Written by:
- Ben
- Last updated:
- 11/23/2023
About Ben
I started 3D printing since 2013 and have learned a lot since then. Because of this I want to share my knowledge of what I have learned in the past years with the community. Currently I own 2 Bambulab X1 Carbon, Prusa SL1S and a Prusa MK3S+. Hope you learn something from my blog after my years of experience in 3D printing.