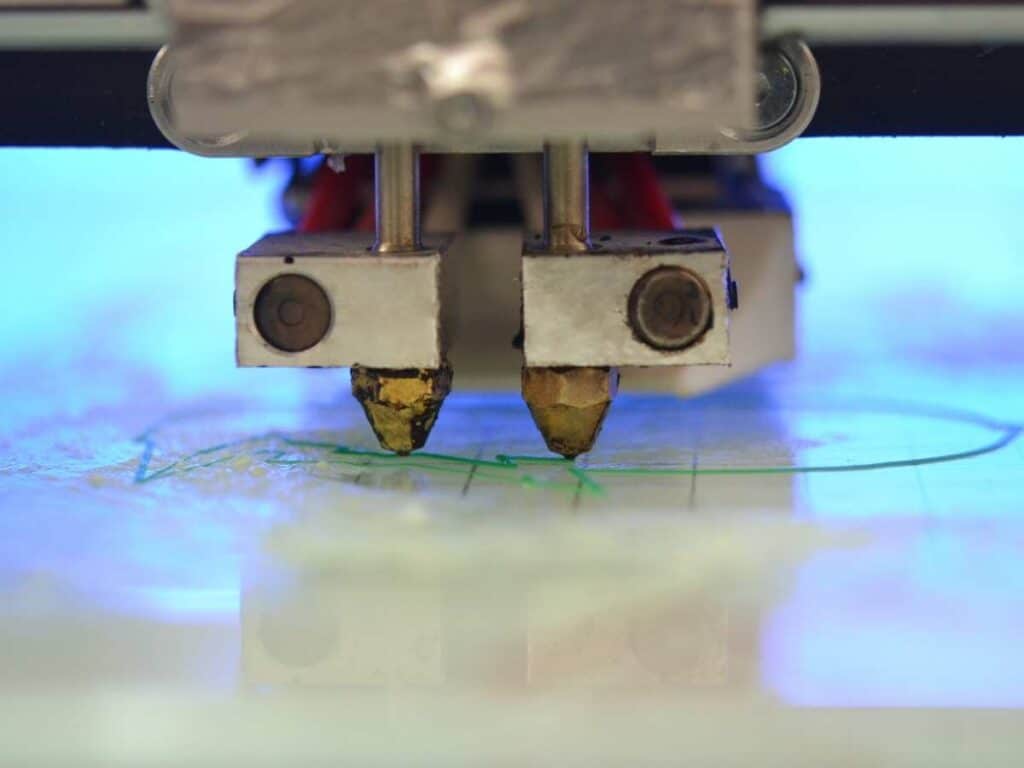
The discovery that your 3D printer nozzle is dragging can be alarming. A dragging nozzle can cause the finished surface to be rough, create smooth lines in top layers, and ruin the final product. So, is there a way to fix it?
When a 3D printer nozzle keeps dragging, start by checking the heated nozzle temperature and the z-axis settings. Next, make sure that the whole device is level and adjust the nozzle gap if necessary. You may also need to calibrate the feed to prevent over-extrusion.
I will cover a few of the most common causes of 3D printer nozzle issues, along with how to fix them to avoid any future problems. Please keep reading for more information about 3D printer nozzles and what to do when they’re dragging.
How To Check the Nozzle Temperature
Improper nozzle temperature is one of the factors that can cause the nozzle to drag. The extrusion rate may be too high or too low if a nozzle is not set up correctly.
There are multiple ways to check the temperature of your nozzle on a 3D printer, depending on what tools you have available. Below, we’ll cover two of the most common ways to check the nozzle temperature.
Use a Thermocouple Probe
The most straightforward method of verifying that the nozzle is clear is by using a thermocouple probe like the 3D Printer thermistor from Amazon.com. It is waterproof and has a range of 32-842°F (0-450°C). This allows the user to get an accurate reading of the real temperature inside the nozzle.
If you don’t happen to have a thermocouple probe laying around your office or workshop, there are plenty available at relatively low prices on Amazon.
Use a Contactless Laser Thermometer
Another method of checking the temperature of the heated nozzle on a 3D printer is by using a contactless thermometer. This does not yield the same level of accuracy as a thermocouple probe; however, they are more commonly found in homes and workplaces.
Contactless thermometers, such as the Etekcity Lasergrip from Amazon.com, are slightly more expensive than thermocouple probes but offer pin-point accuracy between -58-716°F (-50-380°C). Contactless thermometers also provide an additional element of user safety compared to thermocouple probes.
How To Adjust the Z-Axis on a 3D Printer
The first layer of plastic laid down will dictate the quality of the rest of the build. If the initial layer is considered “zero,” the z-axis can be adjusted by raising or lowering the initial level.
A negative z-offset will place the initial layer lower, while a positive z-offset will elevate it.
When the z-offset is positive, the heated nozzle is brought closer to the print surface. Turn the knob counter-clockwise (negative) to lower and clockwise (positive) to elevate the initial level.
Setting Up the Initial Layer
The “perfect setting” for the initial layer of your print is dependent on the project. For example, it’s often recommended to start with a thicker first layer to help it stick to the build plate for bigger items.
If the desired outcome is a pressed, compacted base, it is recommended by Simplify 3D to set the z-value at -0.05mm.
How To Level Your 3D Printer
One of the next factors to check is whether or not your 3D printer is level. If you’ve noticed that your nozzle keeps dragging close to the back of your build, chances are, the bed is not level.
Be sure to clean the nozzle and the print surface before undertaking the project.
You’ll need a few supplies, including:
- Paper
- Screwdriver
- Heat gloves
- Cloth
- Soap
- Isopropyl
- Razorblade
For the bed leveling process, be sure to use either entirely hot or entirely cold settings. Once the settings have been adjusted, it’s time to level your printer.
- Tighten down the screws on each corner and be sure not to cinch them too tight. Roughly halfway screwed in will allow for more room to work.
- Home the z-axis. If the z-0 is too far away from the bed, try loosening the screws. If all the screws have been loosened all the way and the bed is still too far from the z-0, try adjusting the minimum endstop.
- Jog the printhead and then run the printhead over the bed-leveling screws using the menu or interface. Insert the piece of paper between the bed and the printer’s nozzle to check its movement.
- Loosen the screws until you can feel a slight resistance. Keep in mind; the paper shouldn’t be trapped in place. If the paper cannot be pulled out, the nozzle is too close.
- Now you’re ready to start a print. You can make minor adjustments to the initial layer while the printer.
Adjusting the Nozzle Gap
Altering the Z position is not done as frequently as bed leveling; however, it can be a handy tool if you’ve ensured that the bed is level. There are two main ways to alter the z position:
- Creating a fixed value. This process can only be done during printer calibration.
- Setting the “first layer height.” This is done prior to the print job and allows for the printer’s settings to be customized to a print job based on the various qualities of the print.
How To Tell if the Nozzle Gap Is Too Small
If the gap between the nozzle and the print layer is too small, it can cause the nozzle to drag and damage the machine and the print. If the nozzle gap is too small, the first layer may also be too thin.
Filaments will extrude onto the build plate if the gap is too thin, which may cause the issue. This can cause the filaments to gather on the nozzle, causing a blockage that may damage the printer.
Conclusion
3D printers are intricate machines, which means that their maintenance requires a careful touch and the right knowledge. If you notice that your printer nozzle is dragging, there are a few possible issues.
You can check your nozzle temperature, bed level, and z height, making adjustments and testing the settings until the issue is solved. If you’re new to 3D printing, check the online forums for more open-source tips from tech geniuses across the world.
- Written by:
- Ben
- Last updated:
- 11/11/2023
About Ben
I started 3D printing since 2013 and have learned a lot since then. Because of this I want to share my knowledge of what I have learned in the past years with the community. Currently I own 2 Bambulab X1 Carbon, Prusa SL1S and a Prusa MK3S+. Hope you learn something from my blog after my years of experience in 3D printing.