Trying to decide whether to print inside-out or outside-in can be difficult, especially if you’re printing a very ornate object and want the finished product to be as high-quality as possible. Each option has attractive attributes and things that could potentially cause issues in prints. There’s a clear consensus on which method is better, though.
Printing inside-out provides a more aesthetically and dimensionally accurate result than printing outside-in. Inside-out prints are better because start blobs from nozzles end up inside the object. When printing inside-out, the last layer is undisturbed and naturally has a smoother surface.
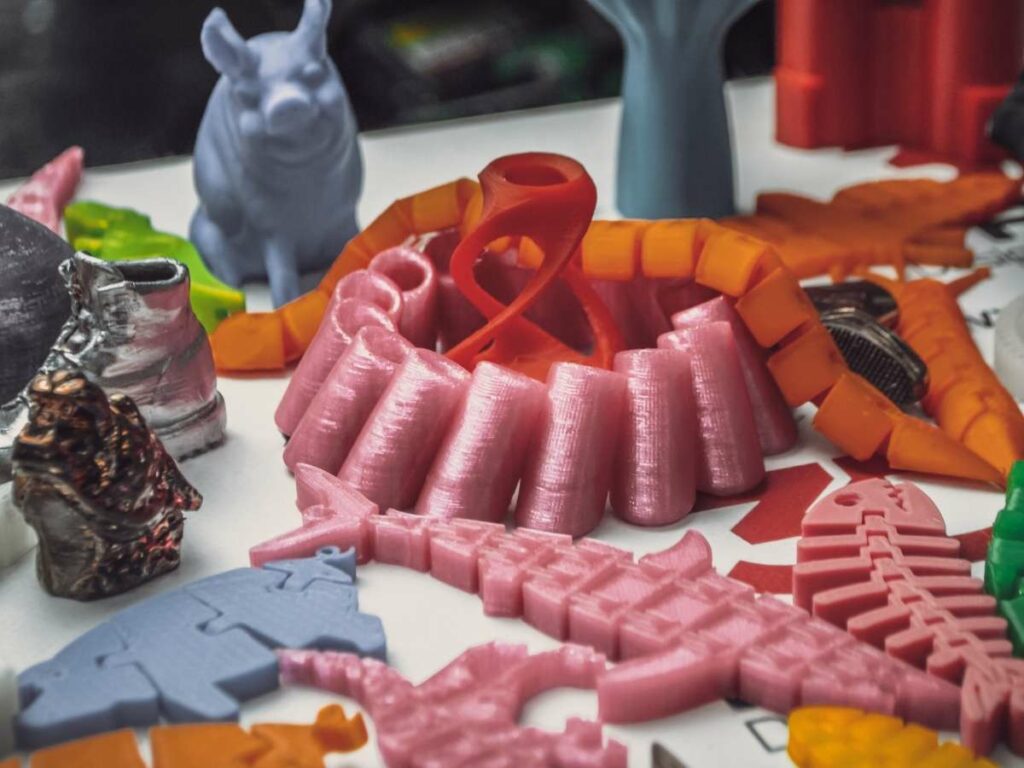
In the paragraphs below, I’ll go into more detail about the differences between printing inside-out and outside-in, the uses and benefits of each 3D printing method, the drawbacks and reasons why people avoid each way, and when it’s appropriate to use each technique. As you read, you’ll understand why printing inside-out is better.
Printing Outside-In: The Pros and Cons
Printing outside or printing the outside layer of the print first and then working towards the inner layers is suitable for specific shapes and objects. However, printing this way increases the chances of developing visual faults in your model and is generally not preferred by most users.
So, let’s weigh out the pros and cons of this printing technique and discuss when it is most suitable for a project.
The Pros
- It is the best method for printing inward curves. If the object you’re printing has a lot of inward curves, it is okay to print outside-in and print the outer layers first to ensure that all the inward-facing curves on your project are smooth and dimensionally correct.
- It sometimes results in better support structures. If the exterior surfaces of your object come into contact with your supports, this printing method will strengthen the supports.
The Cons
- It often increases the chances of artifacts and flaws on the outer surface of your print. While this printing method is generally more susceptible to start blobs from the nozzles and other visual defects since the first layer is the outside layer. If there are any blobs or adhesion issues on these layers, they will show on the surface of your object.
When To Use Outside-In Printing
Most people are trying to get the highest quality prints possible, which is why this method is so unpopular. It puts the finished product at so much risk for visual flaws by printing the outside layer first and then working towards the center.
The outside-in printing method is only suitable for certain types of surface printing, some overhangs, and, as I said above, printing objects with inward curvature. These are the only situations when it’s better to print outside-in.
Printing Inside-Out: The Pros and Cons
There are many positive things about printing using the inside-out method. Apart from providing the cleanest outside surface level on your prints, it can perform better with overhangs.
Here are the pros and cons of this method, as well as advice on when to use it:
The Pros
- The print looks cleaner. Most 3D printer users agree that if you want the highest quality finish on the outside surface of your objects, you will need to print it inside-out. That way, the last layer printed is the outside and stays undisturbed. Printing outside-in is the inverse, exposing the outside surface to much potential damage during the printing process.
- It reduces the appearance of seam and layer lines. Inside-out printing provides a smooth finish and never has the raised seam you sometimes see on outside-in prints. This seam is created on outside-in objects when the printhead changes layers. An unsightly line like that is not something you’ll ever have to worry about with inside-out printing.
- The print is usually much more durable. Inside-out printing can also provide more substantial objects by allowing you to print objects in a way that is more structurally sound. Printing from the inside out makes reinforcing objects and overhangs a lot easier.
- It results in stronger overhangs. Overhangs are easiest to achieve with low layer height, low print speed, low temperature, and an inside-out print order. Inside-out is the best way to print overhangs since these structures are less likely to droop or curl up when they have interior reinforcement. In addition, they’ll be dimensionally and visually crisp and durable.
- It’s easier to incorporate some support structures. If you have to add reinforcements to your print to make it more structurally sound, it will be much easier to do so from an inside-out perspective instead of outside-in. That’s because your printer will print the most significant structures first, then radiate out, connecting support structures to the base.
The Cons
- It may still produce flaws. You can end up with minor bumps or artifacts in your print from when the print head moves over an area or up to the next layer. These are usually only minor visual imperfections.
When To Use Inside-Out Printing
If you’re printing many overly ornate objects, you’ll want to print from the inside out to make the entire process easier for yourself.
Printing inside-out gives you the benefits of more manageable and better overhangs, better outer curvature printing, and smooth final layering.
Printing inside-out will give you a more durable finished product by making it easier to add reinforcements to your projects. It’s much harder and nearly impossible to add reinforcements when printing from the outside-in.
So, the benefits of printing inside-out heavily outweigh the drawbacks, especially for projects with a lot of minute detail.
Conclusion
If you want your prints to be smooth looking and feeling, structurally sound, and visually ornate with lots of overhangs and different angles and curvatures, then you need to print from the inside out. Creating sturdy overhangs that don’t droop or curl up is also more manageable when printing from the inside out.
There’s a time and a place for printing outside-in, mostly when printing inward curves, but in any other situation, it’s better to be printing from the inside-out than outside-in.
- Written by:
- Ben
- Last updated:
- 11/22/2023
About Ben
I started 3D printing since 2013 and have learned a lot since then. Because of this I want to share my knowledge of what I have learned in the past years with the community. Currently I own 2 Bambulab X1 Carbon, Prusa SL1S and a Prusa MK3S+. Hope you learn something from my blog after my years of experience in 3D printing.