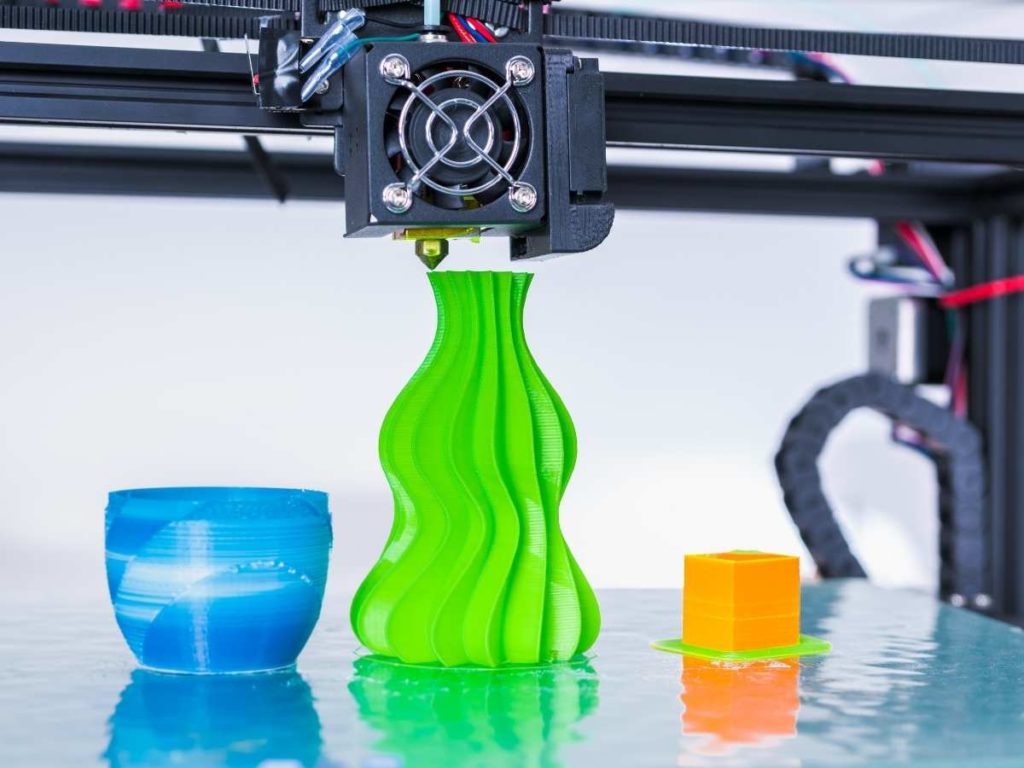
Vases are one of the most popular things to print with a 3D printer, but without the right design, printing setup, and processing, your vase will likely leak. Still, if you follow the proper steps, making your 3D printed vases waterproof is simple– so, let’s talk about it.
Here’s how to waterproof a 3D printed vase:
- Pick Your Filament and Wall Thickness
- Optimize Your Design for Watertightness
- Pick a Waterproof Sealant for Your Filament
- Apply Your Waterproofing Agent
- Test the Vase and Re-Seal any Gaps
Let’s go through these steps together and optimize your vase for a watertight, leak-free finish. I’ll teach you some tips and tricks I’ve learned from making vases over the years and talk about how you can make your 3D printed objects hold water better using some simple techniques.
1. Pick Your Filament and Wall Thickness
Some filaments repel water better than others, making creating objects like vases, cups, and other liquid receptacles easier. Still, there is a way to make almost any filament more water-resistant.
According to an experiment done by the pro printers over at Prusa, when printing a single-layer vase, ABS, CPE, PP, ASA, and CP are the most watertight filaments. On the other hand, single-layer PLA, nylon, and PETG leak much more.
However, when testing vases with 3-mm-thick walls with 2 to 8 perimeters, all filaments performed similarly in retaining water. So, when printing a vase made with any filament, it is always best to keep the walls thick and use as many perimeters as you can so that less water can escape.
Still, if you don’t want to print a thick-walled vase or only have PLA or PETG, you will need to choose a thicker waterproofing agent and apply a bit more of it in post-processing when we get to steps 5 and 6.
2. Optimize Your Design For Watertightness
Before you print, you will also need to adjust your model to ensure that it will be primarily watertight straight off the print bed.
Some programs, such as PrusaSlicer and Cura, have a setting called vase mode, which allows you to create a solid model that will print the perimeter of your object with a constant spiral of filament, leaving a hollow center. This setting makes designing vases, cups, parts, and bottles simple, so I recommend using it.
For a guide on how to use this mode in Cura, Prusa, and FreeCad, check out this video from Make With Tech on Youtube:
If you want to use Prusa, check out this guide.
Still, regardless of whether your slicer or CAD program has this feature, you will likely need to make some adjustments to ensure that your print has no artifacts or error spots.
When printing a vase, try to:
- Keep the layer heights low. Most websites will tell you that tall layers will increase waterproofing, but they are wrong. Low layer heights of around 0.15 mm or smaller can minimize the gaps created when your nozzle moves from the infill to the perimeter of your print. Dense, shorter layers can also adhere together a bit better, which can ensure that your vase is sturdy.
- Raise print temperatures. Raising your print temp by about 5º C (9º F) can keep your filament a bit gooier as you print, which will allow each layer to run a bit, filling holes and gaps before you begin the next layer.
3. Pick a Waterproof Sealant for Your Filament
Not all waterproofing agents work well on all filaments, and some are better for certain types of leak holes than others– I learned this the hard way.
So, here are some of the best waterproofing agents for 3D printed vases and some links to the products (available on amazon.com) that I always use to coat my watertight vases and parts:
- Silicone Conformal Coating from MG Chemicals. This spray-on silicone coating is thin but tough and only takes around 2 hours to cure on PLA, PP, and PETG. Cure times can be as low as 10 minutes for other filaments like ABS! This sealant is perfect for transparent vases, too, since it dries on clear and offers a fast finish perfect for impatient people like me.
- Plasti-Dip. (Does not work on ABS) Plasti-Dip is a spray-on rubber sealant that is clear and flexible, and it is fantastic for sealing smooth vase interiors. It coats well with one spray, making cleanup simple. However, Plasti-Dip does not stick well to rough surfaces, and it won’t work with ABS filaments, so only use it with smooth, sanded vases made with filaments other than ABS.
- Epoxy Resin like this Amazing Clear Cast. Epoxy resin is an excellent sealant for any vase, and you can also add pigments or glitter to the resin to add extra dimension and color to your vase. The only downside is that mixing, pouring, and allowing the resin to cure is time-consuming, but the results are usually worth it.
- Elmer’s Rubber Cement. Rubber cement is fantastic for sealing up cracks, holes, and flaws of any size since you can apply more in some areas than others. This thick paste works well, but you have to paint it on, so it isn’t ideal for vases with small mouths that might be hard to get a brush into.
- Clear Spray Paint like Rust-Oleum Universal Clear. Clear varnishes like this have incredible staying power. Still, it can take many coats to fill up large holes, so this spray is better for 3D prints with tiny leak holes.
One other way to seal up the inside of your vases is to coat the inside with melted wax, which is a simple, cheap way to do the job. However, wax doesn’t have the staying power of these other products, so it is best for vases that you only use occasionally or that you won’t leave water in for a very long time.
4. Apply Your Waterproofing Agent
Now that you’ve chosen and procured your waterproofing agent, it’s time to apply it.
If you are working with a spray-on or resin sealer, be sure to wear a filtering face mask, glasses, and gloves for safety purposes.
Follow the instructions on the product label of your sealant, then allow it to cure. Suppose the sealer is too thick or clumpy. In that case, you can wait a few minutes after application, then remove the excess by pouring some of it out (when working with wax or resin), or you can evenly distribute the excess sealer around with a paintbrush or with your hand while wearing a disposable glove.
5. Test The Vase and Re-Seal Any Gaps
Now that your vase is sealed and cured give it a test run. Pour water into it over a sink or waterproof container to see whether it is properly sealed or not.
If not, you may need to apply another coat of sealant to your vase. If not, you are all done! Congratulations! Now you can fill your vase with fresh flowers and enough water to keep them looking beautiful for weeks.
Conclusion
To waterproof a 3D printed vase, you will have to ensure that your design is ideal for a waterproof container, then add a waterproofing agent to the interior to add an extra layer of watertight protection. I hope that this guide has helped you design, print, and finish your first fully waterproof vase!
- Written by:
- Ben
- Last updated:
- 11/16/2023
About Ben
I started 3D printing since 2013 and have learned a lot since then. Because of this I want to share my knowledge of what I have learned in the past years with the community. Currently I own 2 Bambulab X1 Carbon, Prusa SL1S and a Prusa MK3S+. Hope you learn something from my blog after my years of experience in 3D printing.