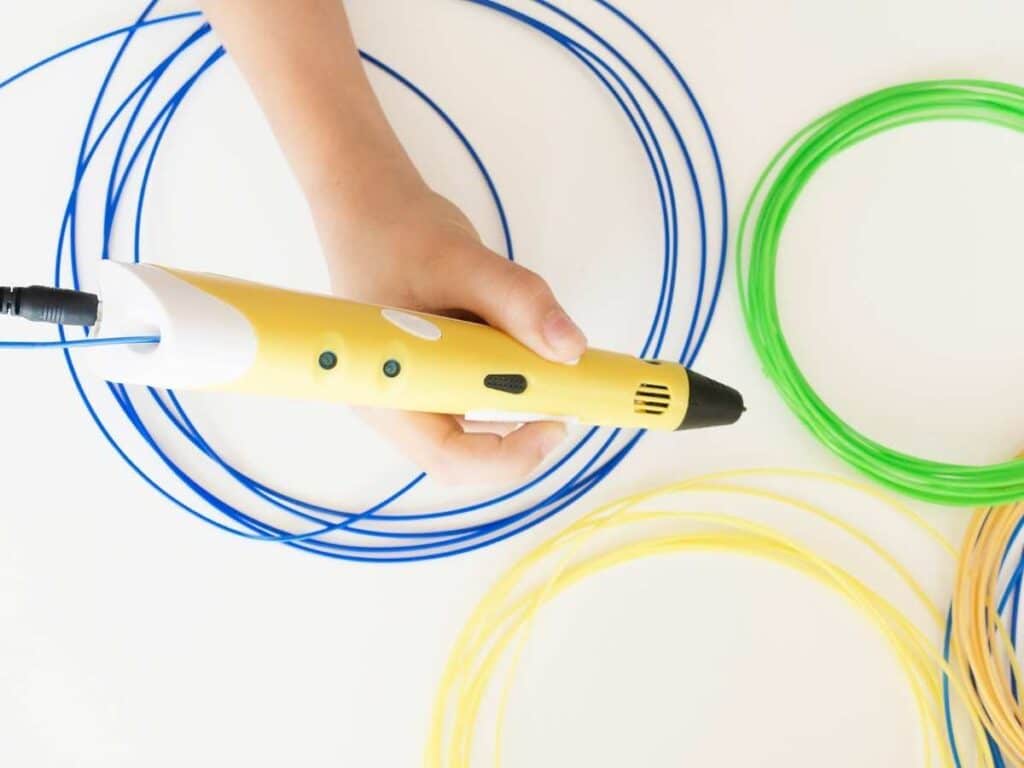
3D printing pens are handy little gadgets that allow you to unleash your creativity. They’re an incredibly affordable gizmo that introduces you to the world of 3D printing. But a common annoyance with 3D pens is that their nozzle gets clogged easily.
Here’s how to unclog and clean your 3D pen nozzle:
- Break up stuck filament with a needle.
- Do the atomic cold pull method.
- Drive cleaning or nylon filament through the 3D pen.
- Remove and clean the surface of the nozzle.
- Use a solvent to clean the nozzle.
A 3D pen is useless if its nozzle is clogged or dirty. This article will explain how to thoroughly clean your 3D pen nozzle so that you can get right back to crafting new projects. You’ll also learn how to keep the nozzle clean in the future.
1. Break Up Stuck Filament With a Needle
The simplest method to unclog a 3D pen nozzle is to use a needle.
Every 3D printer in the world gets filament stuck in the hot end occasionally. That’s why cleaning needles are a must-have part of your 3D pen toolkit.
It’d be a great idea to get a 3D Printer Cleaning Kit from Amazon.com. You get a pair of very sharp precision tweezers to get the filament out. More importantly, you get nozzle cleaning needles with ridges to get more filament out.
If you don’t have nozzle cleaning pins, don’t fret. You can also use a sewing needle, but be careful.
If you push it in too hard, you may damage the Teflon tube.
Here’s how to get the stuck filament out with a needle:
- Heat the nozzle up to working temperature. Somewhere between 410 to 482 °F (210 – 250 °C) will work best for most types of filaments.
- Carefully put the needle a few millimeters into the nozzle and then take it out. Repeat this a few times.
- Test whether you unclogged the 3D pen nozzle by feeding more filament through it.
- If no filament is coming out, repeat step 2.
Don’t get stressed out if there’s no filament flowing out of the nozzle. It probably just means that you have a particularly bad clog. Solve it by increasing the temperature as far as it can go on your 3D pen.
If there’s still no filament coming out, then the filament likely isn’t stuck in the nozzle but elsewhere.
Open the 3D pen to check where the problem lies. You can probably do it with a regular screwdriver and nothing else.
Check if the filament got stuck in the white PTFE tube.
If everything seems fine, remove the nozzle completely and push your needle into it. You should be able to get it all the way through.
2. Do the Atomic Cold Pull Method
You finally got some filament flowing through your 3D pen nozzle again. However, this doesn’t mean that it won’t get clogged again in minutes.
That’s why you need to do the cold pull method, often called the atomic pull or atomic clear. It involves inserting filament into the nozzle and manipulating the temperature to get the clog to clear.
The method is typically used on full-size 3D printers. But nothing is preventing you from using it on your 3D pen.
As the name of the method suggests, you pull the filament out when it’s cold. However, “cold” doesn’t exactly mean “room temperature” in this case. It’ll still be relatively hot.
You can use any type of filament for a cold pull. I recommend that you use the same filament you usually do. It’ll stick to the one that’s clogged way better.
Otherwise, use nylon filaments. Most professionals swear by them for atomic clear.
Here’s how to do a cold pull:
- Warm up the 3D pen nozzle to the operating temperature of your filament material.
- Cut the filament at a 45-degree angle with scissors to get a pointy end.
- Feed the filament into your 3D pen. Ideally, you should get some filament flowing through the nozzle.
- Lower the temperature to about 158 – 194 °F (70 – 90 °C).
- Push the filament continuously as the nozzle cools down. Don’t use too much force because the filament can snap.
- When the 3D pen has cooled down, tug the filament out.
Note that you may need to experiment with the temperature slightly. This depends on how accurate the temperature reading is and the type of filament you use.
You may need to repeat the atomic pull a couple of times to get all the gunk out.
Be careful when pulling the filament out. If you don’t do it correctly, the filament will snap and get stuck in the nozzle.
If that happens, heat the nozzle up and pull the filament out with tweezers.
3. Drive Cleaning or Nylon Filament Through the 3D Pen
Thanks to the first two steps, your 3D pen nozzle should be unclogged entirely.
It’s time to shift our focus to the cleaning part now.
To do this, we’ll use cleaning filament. It’s somewhat similar to nylon, but it’s better suited to clean your nozzle thoroughly.
If you don’t have it, use nylon filaments instead. It won’t be as good, but it’ll get the job done.
The cleaning filament will pick up any leftover filament gunk, residue, and dirt when you feed it through the 3D pen.
You can get eSUN Cleaning Filament from Amazon.com. It’s top-notch quality, and it’ll surely get your nozzle unclogged and squeaky clean.
You should use cleaning filament at least once a week for maintenance cleaning.
It’s especially important to run a piece of cleaning filament through before you switch to another material. Mixing filament types is maybe what got the nozzle clogged in the first place.
So, how do you use cleaning filament?
Load the cleaning filament into the 3D pen, heat it as far as it can go, and extrude it until it runs clear on the other end.
That’s pretty much it. You’ll see a ton of nasty stuff come out in the beginning.
4. Remove and Clean the Surface of the Nozzle
Your nozzle is now unclogged and completely clean from the inside. However, the outer part of the nozzle can get extremely dirty too.
And when it’s dirty, the filament will extrude more slowly. It’s also harder to work with the 3D pen.
Moreover, the filament will pick up small specks of dust and other dirt on the surface of the nozzle. This, in turn, compromises the structural integrity of your projects.
One of the easiest ways to clean the nozzle is to use a damp cloth or wet wipe while it’s still hot. Wipe it down, but be careful. Use multiple layers of fabric to prevent burns.
But this only works if the nozzle is slightly dirty. If it’s so dirty that it turns black, you’ll have to do a more thorough clean.
You can remove the nozzle on most 3D pens by removing the top part. Yank the nozzle out by pulling on it straight.
Clean the nozzle with a wire brush. I like to hold the nozzle with pliers for a strong grip.
But only use brass bristle brushes for the nozzle. Brass is softer than steel so that it won’t scratch the nozzle.
And the scratches are more than just esthetics, too. A scratched nozzle will slow down filament extrusion and get dirtier faster.
Once the nozzle is completely clean and shiny, reassemble your 3D pen.
5. Use a Solvent To Clean the Nozzle
Since 3D pens are considered hobbyist gadgets rather than tools, most of them use PLA.
PLA is short for polylactic acid, and it’s the most popular thermoplastic for 3D printing. It’s easy to work with, melts at low temperatures, and dissolves in several chemicals.
ABS is another popular material, and it also has a low chemical resistance.
If you’re using nylon, dissolving it in chemicals is almost impossible.
Cleaning your nozzle with a solvent is relatively easy. We’ll focus on PLA because that’s most likely what you’re using with your 3D pen.
PLA dissolves in acetone, methyl ethyl ketone, sodium hydroxide, and several other chemicals.
I recommend that you use acetone because you probably already have it. It’s in most nail polish removers.
Here’s how to clean your 3D pen nozzle with chemicals:
- Put the nozzle in a small plastic bowl.
- Pour in nail polish remover so that the nozzle is completely submerged.
- Set it aside and wait for 12-24 hours.
- Scrub the nozzle with a brass wire brush. Use gloves to protect your hands from the corrosive acetone.
- Rinse the nozzle under cold water and allow it to dry completely.
- Reassemble your 3D pen.
Ways To Prevent 3D Pen Nozzle Clogging in the Future
Clogging is inevitable with current 3D printing technology. But there are some steps that you can take to cut it down significantly.
So, here’s a few tips that’ll lower the chances of nozzle clogging.
Use the Right Temperature
By far, the most common reason why filament gets stuck in the nozzle is inappropriate temperature.
For example, the hot end gets warm enough to melt the filament. But the nozzle isn’t hot enough yet, so the cold nozzle solidifies the filament before it gets a chance to leave the pen.
Give your 3D pen at least five minutes to heat up before you start using it.
On the other hand, the filament will melt before leaving the pen if the temperature is too hot. This will lead to clogging on the hot end part of the nozzle.
That kind of mess is extremely difficult to clean up. So, only use the temperature recommended for your material.
For PLA, use the 365 – 400 °F (185 – 205 °C) range. You’ll get the best results with no clogging.
Keep the Filament Clean
Contaminants on your filament will build up very fast in the 3D pen. The filament should be clean and dry before use.
Any dust that enters the nozzle will get permanently stuck there.
So, wipe down your filament with a wet wipe or a dry cloth before use. Ensure that there’s as little dust as possible.
Use High-Quality Filament
Low-quality materials are always a bad choice when it comes to 3D printing.
Cheap filaments are one of the most common causes of clogging.
It’s always worth spending a few extra bucks on the good stuff. Your projects will be of higher quality, and there’ll be less clogging.
This high-quality Overture PLA Filament from Amazon.com is tangle, bubble, and clog-free, so it’s perfect for your 3D pen.
Run Cleaning Filament When Swapping Materials and Maintenance
Whenever you swap out the filament in your 3D pen, you must clean the nozzle first.
Run a bit of cleaning filament through the nozzle until it comes out clean.
But you should also do maintenance cleans as well. This largely depends on how much you use the 3D pen.
As soon as you notice a minor change in extrusion thickness or how fast it comes out, clean the nozzle. It’s better to be safe than sorry.
Ensure the 3D Pen Tip Is Set Correctly
The tip of your 3D pen holds the nozzle and the hot end. Everything in the 3D pen has to align very precisely to work correctly. If it isn’t, clogging will happen.
So, screw the tip all the way in. You can double-check that the filament and the hot end line up correctly by opening the 3D pen.
If they don’t, adjust the Teflon tube slightly.
Final Thoughts
There are several ways to unclog and clean your 3D pen nozzle. The easiest method is to push a needle into the nozzle to break up the stuck filament.
However, it may not be enough. And since you can’t run cleaning filament through a completely clogged nozzle, an atomic pull is the next best thing.
Use cleaning filament to finish the cleaning process. It’ll pick up all the gunk and residue inside the nozzle.
Once the nozzle is clog-free, a brass wire brush paired with an acetone soak will clean the outer part of the nozzle.
- Written by:
- Ben
- Last updated:
- 11/23/2023
About Ben
I started 3D printing since 2013 and have learned a lot since then. Because of this I want to share my knowledge of what I have learned in the past years with the community. Currently I own 2 Bambulab X1 Carbon, Prusa SL1S and a Prusa MK3S+. Hope you learn something from my blog after my years of experience in 3D printing.