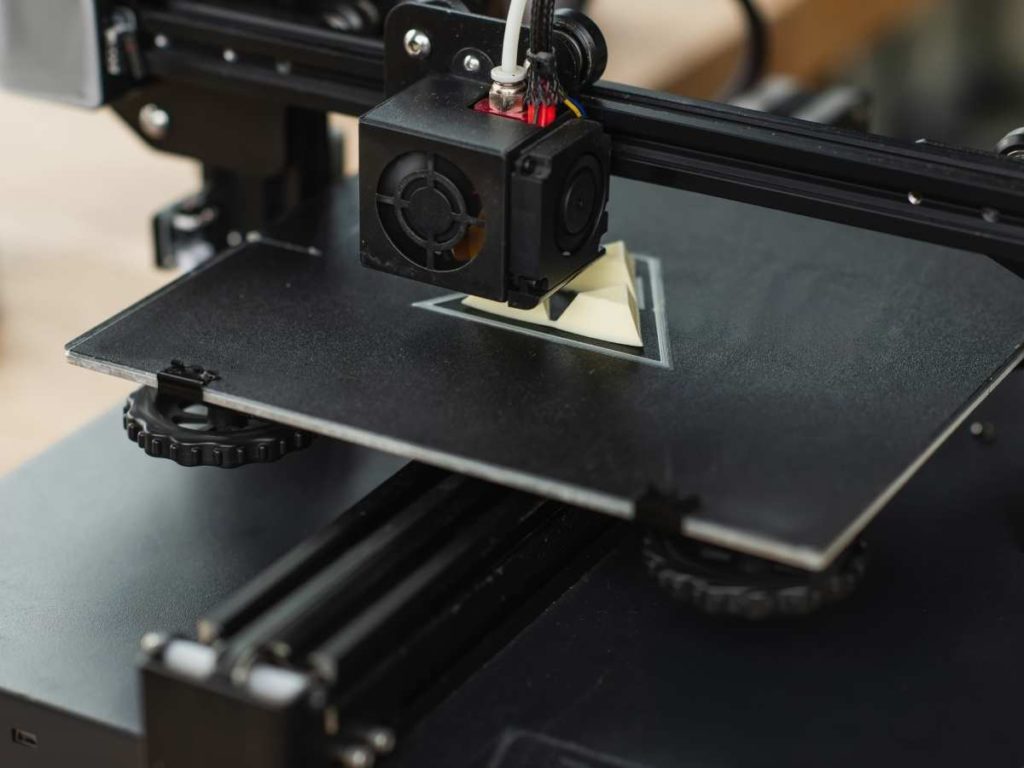
Sometimes after finishing a 3D print, you’ll find filament stuck on the printing bed. You won’t want to leave it there, as it can build up over time or get in the way of making other prints. Fortunately, there are several solutions to remove this annoying residue.
Here are ways you can remove the excess filament from the printer bed:
- Pull off the filaments manually.
- Use dental floss.
- Use a scraping tool.
- Heat the printing bed.
- Freeze the printing bed.
- Run the bed under cold water.
- Use acetone or isopropyl alcohol.
- Check the bed calibration.
- Use a flexible plate.
Regardless of your bed material and filament type, there are simple ways to clear your printer bed for your next 3D print. If your printer bed looks like a war zone, here are some excellent methods to get rid of those pesky leftover filaments.
1. Pull Off the Filaments Manually
The most straightforward method to dislodge filament residue is to remove it manually from your printer bed. If it’s not deeply adhered to the surface, taking hold of a corner or edge may be enough to dislodge the offending filaments.
Often if you get a good enough grip, the filament will peel away without much fuss. Just ensure that you check your bed temperature as you don’t want to burn your fingers. If a good, old-fashioned pull does not dislodge the filament, you might need to try other options.
2. Use Dental Floss
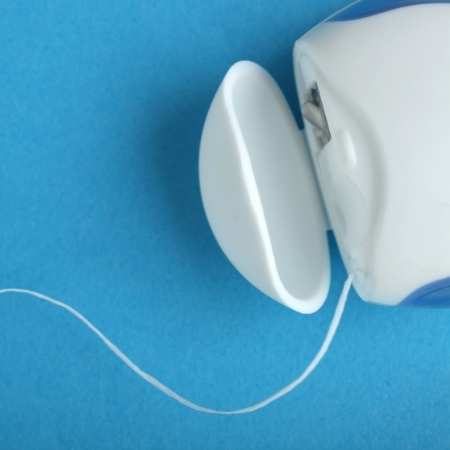

While it might sound strange, dental floss is another standard method to remove stuck filament. Draw out a piece long enough to loop around the bottom of the filament, then move it back and forth like a saw.
Dental floss is a common item in most households and a cost-efficient way to remove printer material. You should feel the dental floss start to wear through the filament. Eventually, it should pop off easily.
Using dental floss is also a gentle option for your printer bed surface and eliminates the potential scratches that may result from metal scrapers. If the gentle flossing action doesn’t dislodge the filament residue, you might need a scraper.
3. Use a Scraping Tool
Next, you can try using a scraping tool to remove the filament. Often, 3D printers come with specially designed flat blades or spatulas that are perfect for eliminating filament. These scrapers allow you to work the edges of the filaments and dislodge the residue.
Being gentle with your printer bed surface, leverage your scraper to the point where the residue adheres to the bed. Then work your way under the residue until the filaments begin to loosen from your printing plate.
As you slide the tool under the material, you should feel it start to weaken. As it does, you should be able to apply enough force to pop it off the bed.
Sometimes, it can be easy to lose the scraper that comes with your 3D printer. It also might not be strong enough to remove the filament.
If residue is an everyday hassle, you should consider investing in a printer bed scraper kit such as the AMX3d Utility Tool Kit (available on Amazon.com).
This stainless steel three-piece tool kit set offers blades of varying shapes to remove filament residue from a number of nooks and crannies. That way, you can choose an edge with the perfect shape for removing your unique filament. It’s also affordable and rated highly at 4.5 stars over 200 reviews.
4. Heat the Printing Bed
Heating the printing bed is another simple way to remove excess filament. At a specific temperature (it’s different depending on the type of plastic you used), the filament will “let go” of the bed, letting you pull it off.
For example, stuck PLA softens at its glass transition temperature of between 60-65°C (140-149°F), and in a softened state, it’s easy to dislodge from the printer bed surface.
Filament reacts well to heat, which is why we can print with it in the first place. However, that same feature also makes it very easy to melt the filament off the printing bed when it gets stuck.
You’ll need to be careful not to burn yourself if you decide to use this method. Make sure to use a tool or wear heat-safe gloves when interacting with a hot printing bed.
Research the particular melting point of your chosen materials and raise the bed temperature to the correct level. As filament generally warms up quickly, you don’t need to heat it for very long.
In short, heating the bed is one of the simplest methods that you can use. Many printers have this feature available already, so you won’t need to go out of your way to do it.
5. Freeze the Printing Bed
However, you can also lower the temperature of the printing bed to remove the print. Cool temperatures make the plastic contract or shrink, loosening its connection to the plate so you can dislodge it easily.
You can chill the printing bed by placing it in the freezer for a few minutes. You need not leave it in the freezer for long as you only need to lower the temperature of the printer bed for this method to work.
Once you remove it from the freezer, it should be a lot easier to pull the filament off. That said, this method isn’t always practical since not everyone has a large enough freezer to hold a printing bed.
If that’s the case for you, you do still have options. You can quickly chill the printing bed by using a can of compressed air on it. The compression causes stored air to become very cold, making it perfect for this task. Even if you haven’t used compressed air before, it’s simple.
Simply aim the can at the excess filament and spray it for a few seconds at a time so you don’t waste all the air. The filament should cool enough to shrink slightly and let you leverage it off the bed.
Overall, we know that filament reacts to changes in temperature and can use this to our advantage. Chilling the filament will make it much easier to remove in a solid piece.
6. Run the Bed Under Cold Water

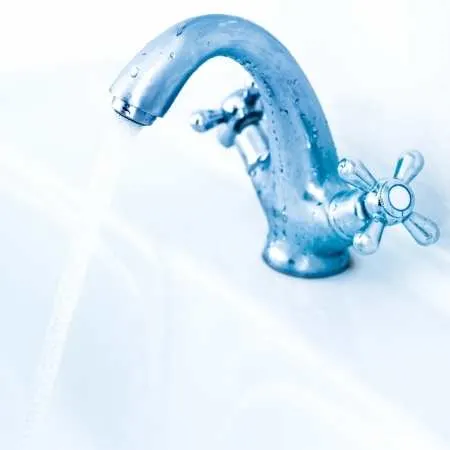
Running the bed under cold water is another way to cool the filament down enough to remove it. Simply spray the bed or put it in the sink. Make sure you give the water a few minutes to work before you try removing it.
As the water cools down the filament and the bed, they should shrink. As the filament shrinks, the two parts should pull away from each other, making it possible for you to remove the plastic.
This method is another easy one, as long as your printing bed can fit under a water source. However, if you’re working with large-scale 3D printing, this wouldn’t be a practical solution.
7. Dissolve the Filament With Acetone or Isopropyl Alcohol
You could try dissolving the filament with a solvent as a last resort. You could apply the solvent directly or place it in a spray bottle if the position of the residue is awkward. Acetone and isopropyl alcohol are the two most common options for filament removal.
The process is a relatively simple one:
- Start by applying some solvent.
- Leave it for a few minutes until the residue loosens.
- Once loosened, use a tool to lift the filaments from the printer bed gently.
- Clean the printer bed of solvent residue.
- Make sure that you wear gloves and wash your hands after using solvents.
However, solvents should be the last resort when other methods of loosening the residue have failed. Solvents can damage the print bed if left for too long. It’s best only to use a small amount, right where the print material is stuck. Make sure to clean off the bed after using solvents to protect your printer bed surface.
If you’re using PLA filament, only certain solvents can dissolve it. These include:
- Ethyl acetate
- Propylene carbonate
- Methylene chloride
- Pyridine
- Acetone
Some solvents work better at dissolving certain kinds of filament. You should research your materials to ensure that you’re using the suitable solvent for the job.
8. Check the Bed Calibration
If the problem keeps happening, make sure that you check the bed calibration. The first filament layer affects how well the project sticks to the bed. If the first layer is too forceful, it can stick easily.
You’ll want to make sure the bed is leveled and not leaning to either side. Then, check that the filament comes out in an even layer, indicating that it’s not too close to the nozzle. When the nozzle presses against the bed, you’ll run into all sorts of problems.
Overall, check the printing bed often. The printing bed can even warp from the heat, so you’ll need to make sure that it’s even in between prints. Taking a second to check can save you a lot of time and problems with sticking. Plus, having an uneven printing surface causes other filament problems.
9. Use a Flexible Plate
Lastly, you can try upgrading to a flexible plate. It’s beneficial, especially when your work keeps getting stuck on the bed. Some types of filament stick too easily to certain surfaces.
Flexible plates are build surfaces that you set on the printing bed. All you need to do is lift and bend it — the 3D object should pop off! There are so many options for building plates online that you’re sure to find one that fits your 3D printer well.
That said, you don’t need to have one of these build plates to make good quality work. However, they’re good to have if you have recurring issues with stuck material. Ultimately, it’s good to have a flexible plate on hand, even if you don’t use it with every one of your prints.
Why It’s Important To Remove Filament
Sometimes, the filament can stick in a very fine residue, but that does not mean it won’t cause complications, particularly in subsequent prints. Even if the residue appears negligible, you should ensure that your printer bed is free from all traces and contaminants.
It could reheat and bind with your new projects when you leave excess filament. If you’re printing objects with two different colors, it can leave behind marks that stand out.
So, if you want your 3D prints to turn out successfully, it’s always a good idea to keep your printing bed clean and free of filament.
How To Prevent Filament Sticking to the Bed
If it seems like filament sticks to the printing bed every time you print an object, you’ll need to address the issue at some point. More often than not, a dirty printing bed is behind the sticky residue, and you may solve the problem with a proper clean.
Oils and residue from your hands can cause the filament to stick to the bed. You should consider wearing gloves when handling the bed to prevent this from happening. You should also wipe down the printer bed as a routine procedure.
The filament can also stick to dust and leftover material. In other words, it’s a good idea to check out the printing bed before making any new object. If it doesn’t look spotless, take a moment to wipe it off before starting.
What You Can Do With Excess Filament
If you have a lot of scrap filament, you can still use it. You won’t need to throw out the material that sticks to the bed. If this happens often, you could be wasting a lot more filament than you realize.
You can send the scrap to a recycling center, compost PLA, or meltdown the material to reuse it. Overall, you have plenty of options when it comes to recycling filament. You should avoid throwing it away when you can to reduce your carbon footprint.
Final Thoughts
If your 3D printer is constantly leaving excess residue, you may need to troubleshoot the cause behind it. However, if it’s just small traces, you could use any of the above methods to keep your printer bed clean and filament-free. Ultimately, keeping your printing surface scrupulously clean is key to avoiding residue issues.
- Written by:
- Ben
- Last updated:
- 11/22/2023
About Ben
I started 3D printing since 2013 and have learned a lot since then. Because of this I want to share my knowledge of what I have learned in the past years with the community. Currently I own 2 Bambulab X1 Carbon, Prusa SL1S and a Prusa MK3S+. Hope you learn something from my blog after my years of experience in 3D printing.