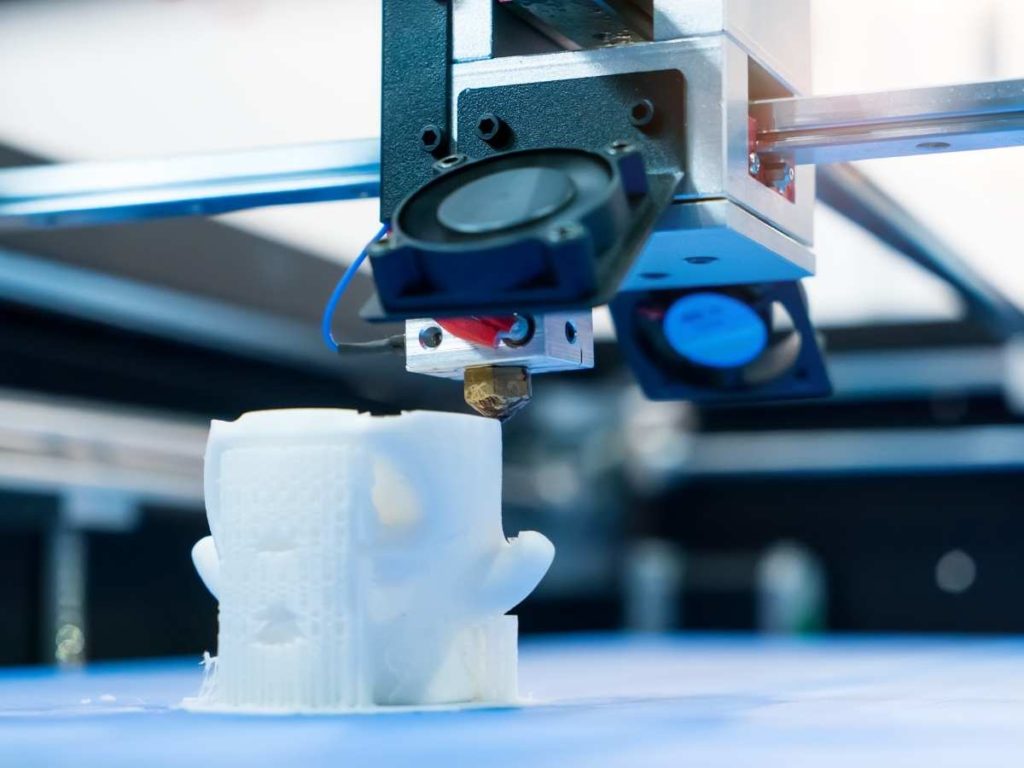
Do your 3D printed layers look off? Whether dealing with various layer heights, lumps, bumps, or other extrusion issues, ensuring that your filament is feeding freely through your extruder is essential. In addition, keeping your printer’s extrusion settings appropriate for your nozzle can help you keep your prints looking uniform and clean.
Here is how you can fix inconsistent layers in 3D printing:
- Check for tangled filament
- Unclog the extruder
- Change the extrusion settings
- Use higher-quality filament
- Change the layer height
- Resolve heat creep issues
- Check the extruder gears
- Contact the manufacturer
You’ll need to be somewhat familiar with your 3D printer to troubleshoot it – many similar parts are in different places or operate differently in varying models. If you’re ready to fix inconsistent layers, keep reading! Everything is in this article.
1. Check for Tangled Filament
The very first problem that you need to check for is tangled filament. A tangle or twist will invariably result in a jam or inconsistency in how your extruder can feed the filament through the nozzle, primarily if your extruder features a Bowden tube.
Start by checking that the filament spool is feeding into the printer correctly. You should be able to spin it easily with the filament unwinding without sticking. If there’s a sticky spot or twist, see if you can manipulate the filament on the spool with your hands. If the twist or tangle is bad enough, you may have to take your filament out and rewind the spool.
2. Unclog the Extruder
Next, minor clogs in the extruder can also cause problems. Filament build-up in the nozzle doesn’t always block the filament’s path entirely. If the clog is small enough, it will allow the filament to pass, but it might cause some layers to be smaller or lumpier than others.
If you suspect that a clog is the cause of your layers’ unevenness, wait for the machine to cool entirely and see if you can pull the stuck filament out. Then, remove the nozzle and clean it out carefully.
Lastly, you can try using a cleaning filament. These filaments are tacky, picking up dust and debris as they travel through the machine. You’ll want to ensure that you find a cleaning filament in the correct size for your 3D printer.
A good option would be the NovaMaker 3D Cleaning Filament from Amazon.com for printers that require 1.75 mm filaments. It won’t clog your printer and can pull out any buildup that might have been causing problems.
3. Change the Extrusion Settings
It’s also essential to check your extrusion settings through your printing software. Each nozzle is different, so you should always change these settings when swapping out the nozzle.
The setting you’ll want to focus on first is the extruder width since it can vary significantly between models. When you have the extruder width set to be smaller than the nozzle diameter, you’ll get very inconsistent layers.
For the material to flow through efficiently, you need the extrusion width to be as close to the nozzle diameter as possible. You can always upsize the extrusion width, but you never want to go under the nozzle’s diameter. Otherwise, the filament flow will be very uneven.
If you aren’t sure what the nozzle’s width is, it’s usually easy to find out through a Google search. Put in the model’s name and see what turns up.
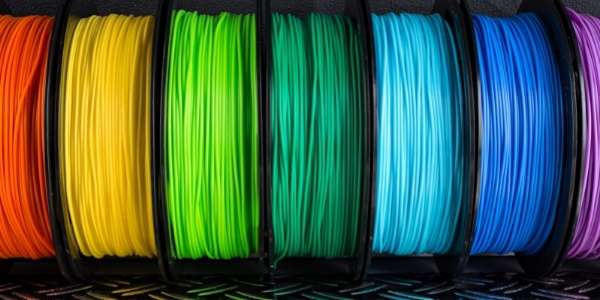
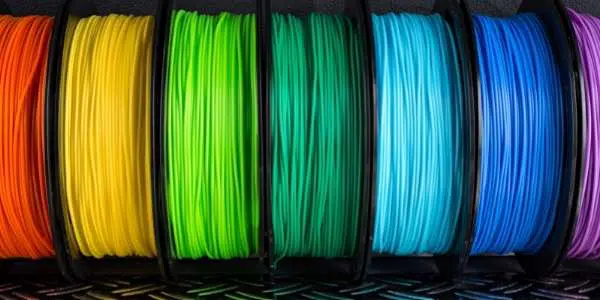
4. Use Higher-Quality Filament
Next, using low-quality filament can also cause printing problems. The low-quality filament may consist of various materials that don’t heat evenly, causing your layers to be very inconsistent.
Some low-grade filament also isn’t the same thickness throughout. That makes it much harder for the nozzle to grab and extrude it properly.
If you’re having trouble figuring out the problem, check your filament and read up about it on the internet. Looking at other user reviews can also help you determine whether the issue is related to your printer or if it’s the filament fault.
If your material is degrading or not high-quality, it may not be worth using. Instead, you’ll want to replace it since doing so will save you a lot of hassle.
5. Change the Layer Height
The layer height you use can also cause inconsistent layers to form. You can check the layer height in your 3D printing software settings.
When printing at a low height, there may not be enough space for the filament to leave the nozzle. If the layers are too close, they can push on each other as material exits the extruder, leading to clogs.
If the layer height is too high, the filament may hit the previous layer, then sit on it unevenly. It could also drip or create stringing.
Overall, changing the layer height can help a lot. You’ll want to do some test prints first and see what works the best for you since it can vary among different types of filament and printers.
6. Resolve Heat Creep Issues
Heat creep can also be a significant contributor to uneven layers. Heat creeping happens when your hot end gets so hot that it warms up the entire extruder and the filament inside it, causing premature melting and damage to your extruder.
Ensure that your machine has enough airflow surrounding it to fix this issue. You also can try speeding up your printer since printing too slow can cause the filament to melt before it reaches the nozzle end.
You might also want to check that your extruder’s cooling system (fans or water cooler) is functioning correctly. If broken or clogged, you will need to fix or replace them before resuming your print.
7. Check the Extruder Gears
Malfunctioning extruder gears can cause a lot of issues. You’ll need to clean them to remove dust or melted filament, then check that the tension is correct. If it’s not, the filament will slip through it, creating inaccurate pressure in your entire extruder. These issues lead to inconsistent over and under-extrusion, creating wavy, irregular, and unsightly layers.
8. Contact the Manufacturer
As a last effort, you’ll want to reach out to the manufacturer. They can help you with troubleshooting your unique 3D printer. Plus, if the problem results from a broken part, they may send you replacements.
If you have a warranty on the 3D printer, you’ll want to use it instead of throwing it out. Often, manufacturers will fix problems for you.
Conclusion
To summarize, you can fix your printed layers by checking the following on your machine:
- Tangled filament and clogs
- Extruder and layer settings
- Signs of heat creep
- Mechanical parts like the gears and fans
If all else fails, you should reach out to the company and see if they can assist you.
- Written by:
- Ben
- Last updated:
- 11/23/2023
About Ben
I started 3D printing since 2013 and have learned a lot since then. Because of this I want to share my knowledge of what I have learned in the past years with the community. Currently I own 2 Bambulab X1 Carbon, Prusa SL1S and a Prusa MK3S+. Hope you learn something from my blog after my years of experience in 3D printing.