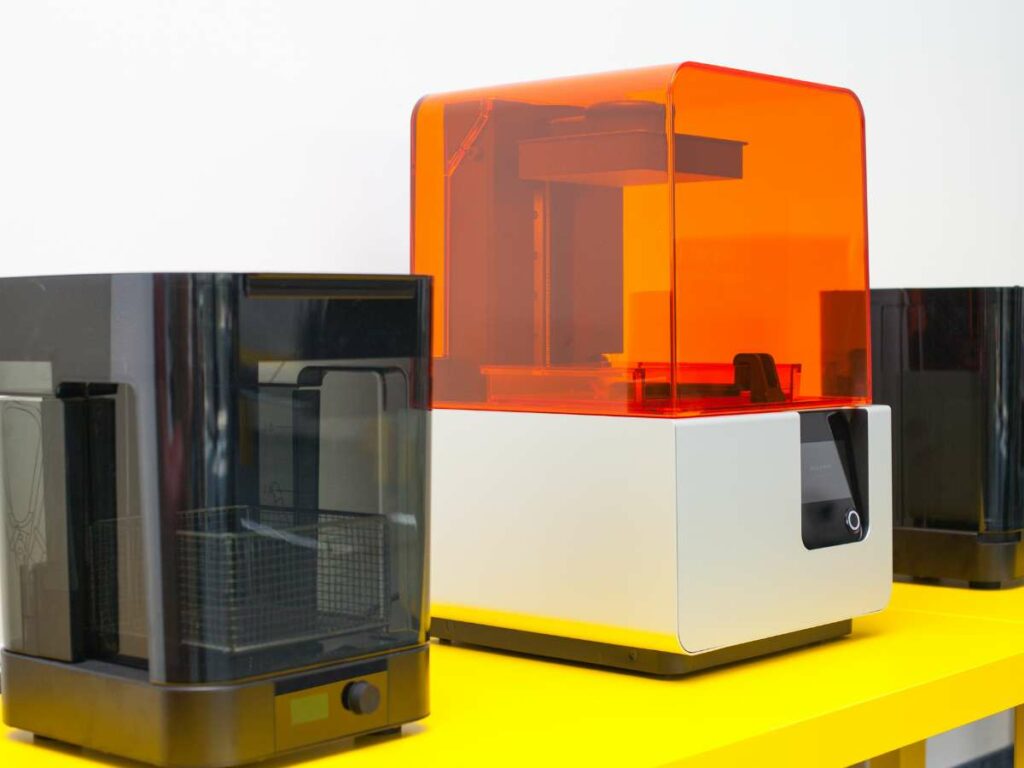
If you’ve ever tried to 3D print with resin, you know that it can be a bit of a messy process. One of the most frustrating things that can happen is a print failure. Not only do you have to start your print over from the beginning, but you also have to clean up the resin vat before you can continue.
After a failed print, you can clean your resin vat by removing the liquid resin and scraping away the leftover cured pieces with a blunt scraper and isopropyl alcohol. Finally, rinse the vat with water and dry it with a cloth towel.
In this article, I’ll give you a step-by-step guide on how to clean a resin vat after a failed print and some other handy tips.
1. Wear Protective Gear
When cleaning a resin vat, it’s essential to wear protective gear, such as gloves, goggles, and a mask. That is because there is a risk of exposure to chemicals and other substances that can be harmful to your health.
So, gear up before you attempt to clean out anything.
2. Set Up a Workstation
When draining resin from your 3D printer’s vat, it’s easy to make a huge mess. So, I always recommend setting up a workstation with some easy-to-clean surfaces before you begin removing your failed print.
You can cover a table or bench with paper towels, a waterproof tablecloth, or newspaper to keep spills from spreading. I often lay down brown paper bags from the grocery store or flattened cardboard boxes to protect my tables and floors from leftover resin.
Any kind of material that you don’t mind messing up will work, though.
Then, I recommend grabbing some isopropyl alcohol and a roll of paper towels to keep on hand. If you get some of the resin on your skin or spill it, having a handy way to clean up will be a lifesaver.
3. Disassemble the Vat From the Printer
Removing the vat from your 3D printer before cleaning it is critical. Otherwise, you risk damaging other parts of your 3D printer while cleaning.
The steps for removing your vat will vary depending on your 3D printer’s model, so check your printer’s owner manual for specific instructions to release yours.
4. Filter Out The Salvageable Resin
Before removing the clunky half-cured resin pieces in your vat, you can pour any leftover liquid resin back into your resin bottle for later use.
To do so, use a filter, like a fine mesh sieve and a funnel. These tools will prevent lumps and clumps from returning to your resin bottle.
Once you have put your sieve and funnel over the lip of your resin bottle, you can pour all the liquid resin from your vat back into it.
5. Use a Blunt Scraper To Remove Resin From the Vat
If you’ve ever failed a print, you know the worst part is removing all the excess resin from the vat. It’s time-consuming and frustrating, but it doesn’t have to be! With the right tools, you can quickly remove resin and ready your vat for the next print.
One of the best tools for removing resin is a blunt scraper. This type of scraper has a wide, flat blade that is perfect for getting into all the nooks and crannies of the vat. Plus, the blunt blade won’t damage the vat itself.
To use a blunt scraper, simply insert the blade into the vat and scrape away the resin. You may need to use a little elbow grease, but the process should be relatively quick and easy. Once you’re finished, dispose of the scrapped resin in a bin.
6. Use a Toothbrush or Any Other Soft Brush To Remove Stubborn Residue
When it comes to stubborn resin residue, there are a few things more frustrating than trying to remove it from your vat. No matter how much elbow grease you use or how hard you try to scoop the resin with a scraper, all the resin just won’t budge.
The good news is that there is a tool that can help you remove stubborn resin residue quickly and easily: a toothbrush. Yes, that’s right – a toothbrush!
Toothbrushes can scrub away plaque and other buildup from teeth. They are more than up to removing stubborn resin residue. In addition, they are much softer than other scrubbing brushes, so they won’t damage your vat.
You can also opt for other soft brushes, but make sure they are soft enough not to erode the surface of your vat.
7. Clean the Vat With Isopropyl Alcohol and a Lint-Free Cloth
Isopropyl alcohol is a highly effective cleaning agent that can remove various contaminants, including oils and inks. It is also an excellent way to clean your vat after a failed print.
To remove resin from your vat, follow these simple steps:
- First, make sure that your work area is well-ventilated.
- Next, soak a lint-free cloth in isopropyl alcohol and wring it out so that it is damp but not dripping.
- Then, carefully place the cloth over the top of the resin and wait a few minutes for the alcohol to start dissolving the resin.
- Once the resin has dissolved, use the cloth to wipe it away.
- Repeat this process until you have wiped away all the resin from the vat.
The above steps also effectively remove oils and inks from your vat.
8. Rinse the Vat With Warm Water or Cure It With UV Light
After removing resin residue from a vat with isopropyl alcohol, it is important to rinse it afterward to remove all traces of the alcohol.
To rinse the vat, you must fill it with warm water and empty it a few times. You can then use a clean towel to remove any remaining water from the vat.
After cleaning and drying the vat, you can reassemble it to the 3D printer for your next printing project.
Final Thoughts
If you find yourself with a failed resin print, don’t despair! With a little time and effort, you can clean the resin vat and get it back in working condition.
First, remove the failed print and as much excess resin as possible. Next, clean the vat with isopropyl alcohol and a soft cloth. Finally, rinse the vat with warm water or cure it with UV light for three minutes. With these simple steps, you’ll be up and running again in no time.
- Written by:
- Ben
- Last updated:
- 05/21/2023
About Ben
I started 3D printing since 2013 and have learned a lot since then. Because of this I want to share my knowledge of what I have learned in the past years with the community. Currently I own 2 Bambulab X1 Carbon, Prusa SL1S and a Prusa MK3S+. Hope you learn something from my blog after my years of experience in 3D printing.