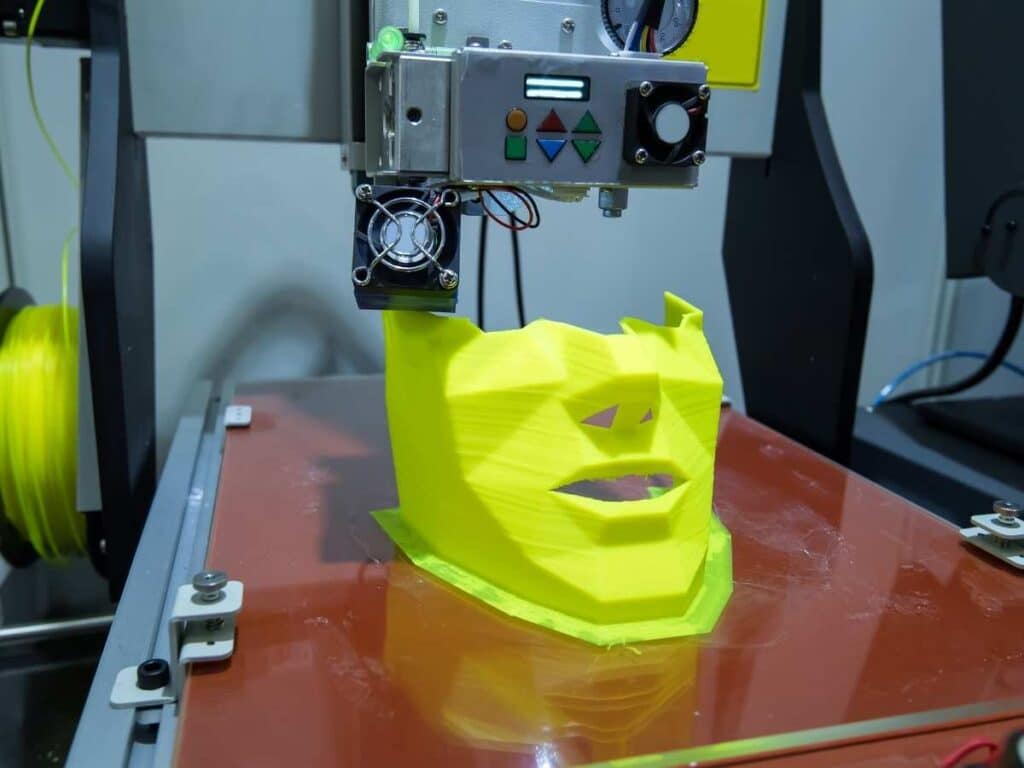
Have you ever been at a cosplay event or convention and had the unfortunate occurrence of the armor pieces that you 3D printed falling off due to faulty attachment? 3D printed armor pieces are typically made of foam, which cannot be attached with regular adhesives, such as tape. If you plan on wearing armor pieces for multiple hours while moving around, then you’ll need to have a reliable method to attach them securely.
Here’s how to attach 3D printed armor pieces:
- Determine how you want your armor pieces attached.
- Use a strong adhesive for long-lasting attachment.
- Gather materials you wish to attach and equipment needed.
- Attach your armor pieces to your desired surface.
This article will take a closer look at each step and discuss the materials you’ll need. Once you’ve read through each step carefully, you’ll have a working knowledge of how to attach your 3D printed armor pieces you can apply to each time you have a convention or cosplay event to attend.
1. Determine How You Want Your Armor Pieces Attached
For attaching your 3D printed armor pieces, you can use a few different methods for attachment. To figure out which one is right for you and the armor pieces you’re working with, let’s go through each of the methods in detail.
Snaps or Buttons
If you want an easy attachment method that can be used repeatedly, sewing or gluing on snaps or buttons to your armor pieces and to the cloth you’re going to use will make a simple way of taking your pieces on and off when needed. This can also be an excellent method that’ll be used over and over.
Velcro
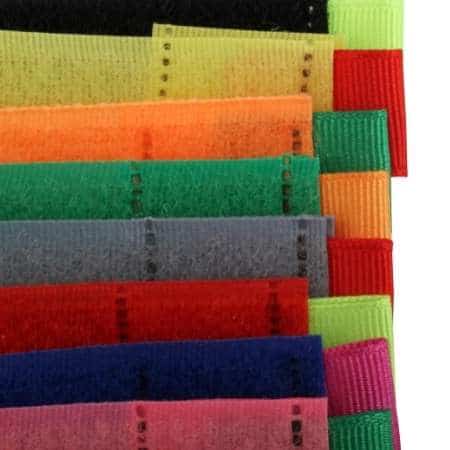

Velcro can work as a sturdy method of attaching your pieces to your costume and is an easy solution for when you want to take them off. Velcro strips or pads with self-adhesive on the backing will make attaching your armor pieces to your costume a quick and straightforward job. Depending on the quality of the velcro and the self-adhesive backing, these may last through multiple uses.
Hot Glue Gun
Using a hot glue gun to attach your armor pieces will effectively act as a strong adhesive that can last for multiple events. Although this glue will act as an excellent way to attach your 3D printed armor pieces, you may have difficulty detaching the pieces without tearing or doing other damage to your costume. If this is your first time using a hot glue gun, read the directions carefully before using it to avoid any injury.
2. Use a Strong Adhesive for Long-Lasting Attachment
Whichever attachment adhesive or method you choose, you’ll need to find the right product that’ll give you a quality hold and is meant to be used for this specific purpose. Here are a few products available on Amazon.com that’ll work well for attaching your 3D printed armor pieces:
- Sumind Metal Snap Fastener. This metal snap fastener has a wide range of uses and is suitable for many clothes and craft pieces. If you wish to use snaps for attaching your armor pieces, these can be a great solution if you have sewing experience.
- VELCRO Brand Sticky Back for Fabrics. If sewing isn’t your forte, you can use velcro as an easy and permanent solution to fastening and securing your armor pieces to your clothing.
- Adtech Hot Glue Gun. Having this multiple temperature hot glue gun around can be handy for quickly attaching your armor pieces to your costume. Just make sure you use this piece of equipment with caution.
3. Gather Materials You Wish To Attach and Equipment Needed
Before you begin attaching your armored pieces to make your costume, you’ll want first to gather everything you need so you won’t have to stop and run to the store in the middle of the process. If you plan to attach your armor pieces with a specific adhesive mentioned in previous steps, you’ll need to purchase these items before starting.
Whether you’re shopping at your local fabric store or ordering online, make sure you have everything well in advance of your cosplay event or convention, so you can have time to test the pieces and make sure they’re going to hold throughout your event.
You’ll also need to consider if you plan on attaching your armor pieces to clothes or if they will be attached as a whole piece that you place on top of your clothes.
Since you may be using adhesives that can get messy, you’ll want to designate and clear off a working space for your armor pieces. Once you’ve gathered all your necessary items and completed the printing of your armor pieces, then it’s time to get started with attaching your pieces to create your costume.
4. Attach Your Armor Pieces to Your Desired Surface
If all the materials are gathered, the workspace is prepped, and you’re ready to go, then it’s time to start attaching your 3D printed armor pieces.
To attach armor pieces using snaps or buttons:
- Choose the area where the fastener will be placed, and make sure they are lined up.
- Sew or glue on each button or snap where you want to attach the piece to the clothing.
- Once you’re finished, try on the finished pieces to make sure they’ll hold.
- Test the attachment by walking and moving around in your costume.
To attach armor pieces using a hot glue gun:
- Attach pieces carefully using the glue gun per the manual.
- Give it some time to allow the bond to dry and harden.
Velcro will be the easiest method to use for attaching:
- Place the sticky adhesive backing on the area where you’d like to make the bonding.
- Verify each side is aligned correctly so you won’t have a mismatched attachment.
Conclusion
Now that you know what you can use to attach your 3D printed armor pieces and how you can make the attachment using a variety of methods to choose from. Now you will have no problem making sure your armor pieces will be attached in a secure and trustworthy bond during your cosplay event or convention.
- Written by:
- Ben
- Last updated:
- 12/23/2021
About Ben
I started 3D printing since 2013 and have learned a lot since then. Because of this I want to share my knowledge of what I have learned in the past years with the community. Currently I own 2 Bambulab X1 Carbon, Prusa SL1S and a Prusa MK3S+. Hope you learn something from my blog after my years of experience in 3D printing.