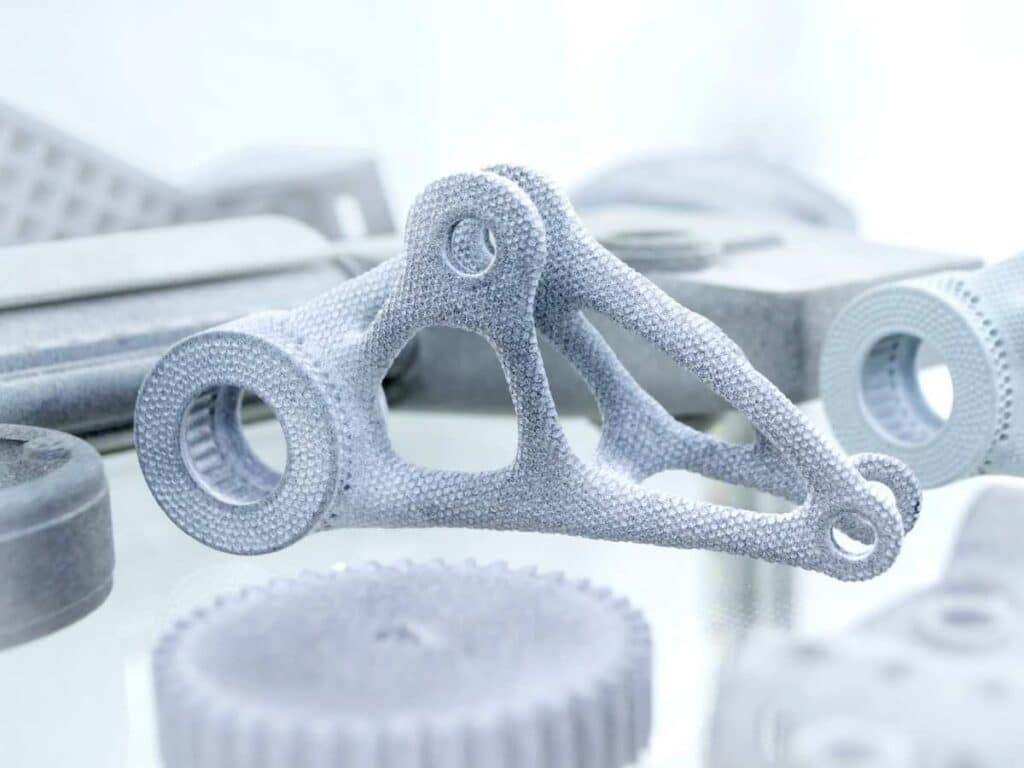
If you’re 3D printing parts with holes in them, such as screw holes or nuts and bolts, most designs incorporate some type of support structure, no matter what process you’re using. Using supports, however, adds cost, time, and effort to a printing project. With a bit of planning and creativity, however, it is possible to 3D print holes without the use of supports.
To 3D print holes without supports, you can take the following steps:
- Drill holes post-processing.
- Use differently-shaped holes.
- Reorient your model.
- Use slicing software with support blocker tools.
- Look for design hacks.
This article will take an in-depth look at these five methods in order to help you avoid the inconvenience and expense of 3D printing support structures.
1. Drill Holes Post-Processing
In terms of design complexity, the most straightforward, albeit least efficient, approach is to simply print a solid layer of material and drill holes into it afterward. While not the most elegant solution, this method avoids much of the difficulty of uncovering and implementing alternatives that may be overly intricate or elaborate for your needs.
Most plastics, such as PLA, or polylactic acid, one of the most popular 3D printing materials, can be drilled, as can metal and ceramics. The downside, however, is that PLA and other materials can be brittle and easily cracked. This is especially true when you start drilling holes into them.
Drilling can cause printed layers to split, and the heat produced by a drill can melt or burn plastic, damaging your model beyond repair. Drilled holes also tend to be weaker than those structures printed with holes. Moreover, drilling holes after printing adds time and labor to your build, defeating much of the purpose of avoiding support structures.
2. Use Differently-Shaped Holes
Another way to 3D print holes that will hold up without supports is to use differently-shaped holes. Sometimes, using holes that aren’t typically round-shaped will provide more stability for the overall model.
The two most common non-round shapes are chamfered holes and diamond holes. Let’s look at each of these in a bit more detail now.
Chamfered Hole
A rule of thumb when 3D printing overhangs without support structures is to make sure the angle of the overhang does not exceed 45 degrees.
By chamfering a hole, you’re replacing its curved edges with slightly angled edges of less than 45 degrees. In doing this, you can eliminate the need for supports. However, depending on your design requirements, a hole that isn’t entirely curved may not work for you.
In that case, you may try to use diamond holes instead.
Diamond Holes
Like chamfered holes, diamond-shaped holes can work for many applications, with self-supporting angles of less than 45 degrees. Diamond and chamfered holes can be made by any FDM printer and save time and material, not to mention frustration. They require less precision and can reduce print quality and consistency issues.
3. Reorient Your Model
Depending on your design, the need for support structures can sometimes be bypassed simply by rotating your model. This seemingly obvious solution can be easy for designers to overlook since we’re accustomed to conceiving and viewing models in an upright position. Experiment with orienting your model along different axes to see if a particular alignment will make additional support unnecessary.
4. Use a Slicing Software With Support Blocker Tools
A popular and often effective method of avoiding support structures on your 3D model is to remove them during the initial design process. 3D models are typically converted into instructions your printer can understand by processing them through 3D printing slicer software. This software divides your digital model into layers and translates the layers so they can be printed.
Slicing software also allows you to modify your model to optimize your build, converting solid areas to hollow ones to reduce infill or adjusting layer height. This software can also remove supports that have been automatically generated, provided it includes a support blocker tool.
Slicers that come with a support blocker allow you to remove supports from parts of the model where you do not want them. You can take advantage of this feature to work around support requirements, forcing the printer to print the model without them.
While this may sound like a risky approach, materials can’t be printed in mid-air, after all, and support scaffolds are there to prop up parts that are floating in space–your model may be capable of supporting printed holes to a greater degree than your design software thinks it can. It could be worth your while to print a test build with supports deleted to see if the holes in the actual finished model are accurate enough to be acceptable.
Of course, if you’re working with a tight budget or timeline, you may not have the luxury of printing test builds. You may also be working to precise specifications and not have much room for error. However, support blockers can be a relatively easy solution for printing holes without supports if you have the opportunity.
When choosing slicing software for your project, remember that not every slicer includes a support blocker tool. Some widely used slicers with the support blocker feature include:
- Ultimaker’s Cura
- Insight 3D by Computer Aided Technology
- Prusa’s PrusaSlicer
- BLADE from BigRep
Some of these apps, like Cura, are open-source and free. Make sure the app you choose will work with your 3D printer and is compatible with your regularly-used 3D formats (such as .STL, .OBJ, .X3D, and .3MF) and image formats (such as .BMP, .GIF, .JPG, and .PNG).
5. Look for Design Hacks
If you’re interested in exploring more creative solutions for 3D printing holes without supports, the Internet is an excellent source of imaginative design hacks to get around 3D printing limitations and problems. These hacks can seem complicated and intimidating at first glance, but they are not difficult to implement once understood.
Hexagon and Hole Design
One innovative solution offered by Shop3D for printing holes in printed parts, which is usable for many applications, uses three layers to create straight-line bridging before creating the hole. It takes advantage of the fact that slicing software (Cura in this example) instructs your 3D printer to extrude perimeters first, then infill.
The first layer creates a rectangular perimeter that will bridge the distance between the empty section of the model that will become the hole. A second layer adds additional structure to bolster the hole. Finally, the third layer creates a hole that is adequately supported and will not sag.
You can find detailed instructions and illustrations on the Shop3D website.
Maniacal Labs Design
Maniacal Labs is a company run by a pair of engineers who love to tinker with hardware and software designs and share their clever, elegant ideas with the world. They have developed an ingenious and intricate design for 3D-printed inset holes that do not require a support structure.
This design, which is demonstrated step-by-step in their YouTube video, is similar to Shop3D’s solution in that it involves multiple layers incorporating polygonal structures. Here, the polygons bridge chorded structures within the infill over successive layers, ultimately supporting the central hole. One advantage of this method is that it requires no post-processing.
If you’d like to learn more about this design hack, check out this Youtube video for yourself:
Design hacks like these can provide effective and innovative ways to achieve a printed hole that doesn’t require supports. While they do demand an initial investment of time and effort and very likely some trial and error to properly configure your slicer software, the investment can pay off in the long run.
Furthermore, the more often you use these hacks, the more second nature they become. The next time you need to use the hack, it shouldn’t take nearly as much time or misplaced effort to get right.
Why You Need Support Structures
When printing in 3D, you are creating a physical object from a three-dimensional digital model. Different printing processes achieve this by various means, most involving translating the digital model to physical form through many thin layers of materials, such as plastics, ceramic, resins, or metals.
As you build up the model, each new layer you print needs to be supported by a layer beneath it. As the model develops, if your design involves any parts suspended in open space, they may not have adequate support.
Overhangs, features that extend outward from the previous layer, may not be strong enough to support themselves. Bridges, which are extrusions of material that connect two points, usually need to be supported. Without proper support, your project may collapse from its own weight or warp from the high temperatures involved in the extrusion/fusion and layering process.
The two most popular 3D printing technologies, FDM (fused deposition modeling) and SLA (stereolithography), work in similar ways. While FDM uses thermoplastic filaments and SLA uses a curable liquid resin, each uses light or heat to deposit material in layers on a print bed and fuse the layers to build the object.
These technologies often call for support structures since the combination of weight and heat can cause the printed object to break apart or become distorted. If you’re printing an object with holes, warping can distort the hole and render it useless.
Downsides of 3D Printing Support Structures
Supports are typically removed mechanically by breaking off the support material with tools like a needle-nose plier, putty knife or by dissolving them in water or a detergent solution if the material is water-soluble.
However, removing support structures brings significant downsides to your project, including increased costs and added time and work. While the extra resources may be a minor addition to each model, they can add up to a significant expense.
Added Material Costs
Whether you’re a hobbyist or using 3D printing for industrial mass-production, reliance on support scaffolding consumes extra material beyond your design, material that you will end up scrapping.
Not only does this produce waste, but it adds to the cost of each model. Even if supports only constitute a small part of your model, the additional expense can be an issue for any budget.
Added Design Complexity
Using support structures in your design adds an extra layer of complexity to your project. You will need to choose the right material and structure design and configure the support placement on your model.
These preliminary tasks will all contribute to your planning time. If you’re adding a second material for your support, using two print heads adds the risk of errors or costly equipment failures.
Added Printing Time
Even a simple support structure will add to the amount of time your 3D printer’s print head needs to build up your model. The more complex or large the support is, the longer your build will take, and the less room you have to refine your work and deal with any last-minute problems.
Added Post-Processing Work
Using supports in your design will add an entire phase to your project since the supports will need to be removed before the model is complete. If you encounter any accidents or errors during this process, it will mean even more time spent troubleshooting and correcting.
For a commercial project, every bit of unexpected production time means added cost, a tighter schedule, and even more opportunities for expensive errors.
Added Risk of Damage
If your supports need to be removed with tools, this will entail time-consuming and often tricky manual work. Support structures can be challenging to remove and can leave marks on the model’s surface that will need to be repaired.
In some cases, removing the support can cause parts of the model to break off along with it. You can minimize risk to your build by avoiding the use of supports in the first place.
Key Takeaways
Incorporating holes into your 3D printed build without the use of support structures can be a complex and frustrating challenge. The nature of the materials you’re working with and the methods involved in the printing process can limit your flexibility and introduce costly problems to your project. You can use the strategies that I mentioned earlier to work around many of these limitations.
- Written by:
- Ben
- Last updated:
- 11/23/2023
About Ben
I started 3D printing since 2013 and have learned a lot since then. Because of this I want to share my knowledge of what I have learned in the past years with the community. Currently I own 2 Bambulab X1 Carbon, Prusa SL1S and a Prusa MK3S+. Hope you learn something from my blog after my years of experience in 3D printing.