Bed leveling — that dreaded step of the calibration process where everything could go wrong and mess up your prints for the foreseeable future. Although most people who 3D print despise the bed leveling process, it’s pretty simple, and there are several ways to do it, such as with paper or a feeler gauge. However, you might wonder if one is better than the other – let’s find out!
Bed leveling on a 3D printer with paper is highly cost-effective but takes time to master. Using a feeler gauge, on the other hand, adds to costs but is accurate and precise every time.
Not sure which method to use to level out your build plate? This article will give you all the information you need to make the best decision.
Why Do You Need To Level Your Print Bed?
You need to level your print bed to ensure that your print comes out correctly. If you neglect to level your print bed, your model may have uneven layer lines, warped edges, spaghetti-like sections, or other artifacts that might ruin your print.
Bed leveling is one of the first steps toward printing high-quality objects, and it’s necessary. So, don’t skip it; re-level your bed frequently to get the best results.
Which Method Should I Use – Paper or Feeler Gauge?
You should use paper if you do not have a feeler gauge or do not want to spend money on one. However, bed leveling is more straightforward and accurate if you have a feeler gauge.
To answer this question in depth, we need to understand each technique. Let’s look at the differences between the two methods and which would be right for you.
The Paper Method
The paper method is the most common technique for leveling a printing bed. It is cheap, fast, and simple once you have mastered it. The downside is that it takes time to figure out how to level with paper.
You need to get a “feel” for the perfect amount of friction between the nozzle and the paper. Failure to get this right the first few times often frustrates the designer.
The amount of friction needs to be perfect. The best way to know if it is correct is to move the paper back and forth between the bed and the nozzle. The paper should have some resistance, but not too much. You know the bed is level if all four corners have equal resistance.
Paper of 0.2 mm (.008 in) thickness is the best for bed leveling procedures. Many 3D printing manufacturers supply specially made paper for your leveling at a low cost.
The issue with using paper is that it is not 100% precise; you need to feel your way around and rely purely on your touch. You may have some failed prints in between finding the correct level.
The Pros of Paper Bed Leveling
- Cheap
- Simple
The Cons of Paper Bed Leveling
- It takes time to master
- Not always consistent
How To Level the Bed Using a Sheet of Paper
If you want to give paper leveling a shot, here’s how to do it:
- Preheat your printer to the required temperature.
- Lower the nozzle by turning the leveling knobs.
- Place the nozzle above any of the four leveling screws or points.
- Place an A4 piece of paper between the nozzle and the bed.
- Tighten the screws until you feel friction on the paper (the sheet should not bend at all).
- Once you feel the perfect amount of friction, your bed is level, and you are ready to start printing.
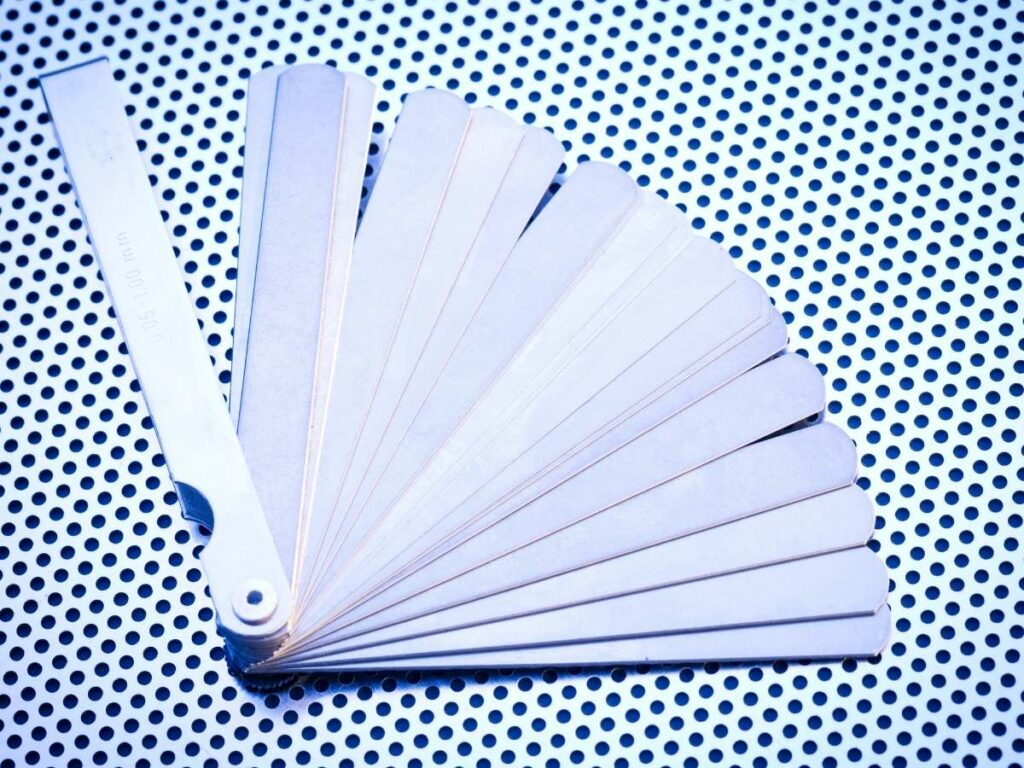
The Feeler Gauge Method
Feeler gauges make things easier when leveling out your printing bed. Instead of using touch to determine the perfect amount of friction, the indicator does it for you.
The downside is that you will need to purchase a feeler gauge and set it up. This process is a lot to tackle initially, but once you set it up, you’ll save tons of time when you need to relevel your bed.
Feeler gauges allow you to have a perfectly leveled build plate consistently. For example, you can set it at 0.1mm or 0.2mm (.004 – .008 in), and you will get precise results every time, thus eliminating any chance of defective prints.
If you are not using an automatic bed leveler, the next best thing would be to use a feeler gauge. They are consistently accurate, ensuring optimal printing results each time.
The Pros of Feeler Gauge Bed Leveling
- Consistent leveling
- Fast
The Cons of Feeler Gauge Bed Leveling
- You will have to buy a set of gauges and install them.
How To Level the Bed Using a Feeler Gauge
Here’s a rundown of how to level your bed with a feeler gauge:
- Preheat your printer to the required temperature.
- Lower the bed by turning the leveling knobs.
- Disable the stepper motors.
- Place the nozzle above any of the four leveling screws.
- Place the feeler gauge (most commonly 0.2mm) between the bed and the nozzle.
- Loosen and tighten the knobs until the gauge fits snugly.
- Repeat on all four corners.
- Now you are done and ready to print.
When Should You Level the Printing Bed?
You should level the print bed as often as you see fit. It’s best to relevel the bed every month or so, before starting a long or detailed print, after making any changes to your bed surface, and when you notice any inconsistencies in how your models look.
Some people prefer to err on the side of caution and level the bed before each print, and although this would prevent any mishaps, it can be time-consuming and unnecessary.
You should level your print bed regularly to prevent warping, poor adhesion, and other print defects. It is best to make minor adjustments every five to ten prints. Another time you should level is before the start of every large job (15 hours or longer).
The last thing any designer wants is a sizable print coming out distorted and flawed. Additionally, it is recommended to re-level the bed every time you change the build plate or nozzle temperature.
Signs Your Printing Bed Needs Leveling
- The filament isn’t sticking to the built surface.
- The height of the filament is not uniform.
- The width of the filament varies.
- The filament remains inside the nozzle in some areas.
- There are irregular gaps between layers of filament.
In Conclusion
Both paper leveling and feeler gauge leveling produce the same results. Choosing which is best for you depends on personal preference.
Feeler gauges provide precision and are often the preferred method for manual leveling in 3D printing, especially for novices, as there is no learning curve. Paper leveling is for you if you have some patience and are looking to save on costs.
- Written by:
- Ben
- Last updated:
- 07/26/2023
About Ben
I started 3D printing since 2013 and have learned a lot since then. Because of this I want to share my knowledge of what I have learned in the past years with the community. Currently I own 2 Bambulab X1 Carbon, Prusa SL1S and a Prusa MK3S+. Hope you learn something from my blog after my years of experience in 3D printing.