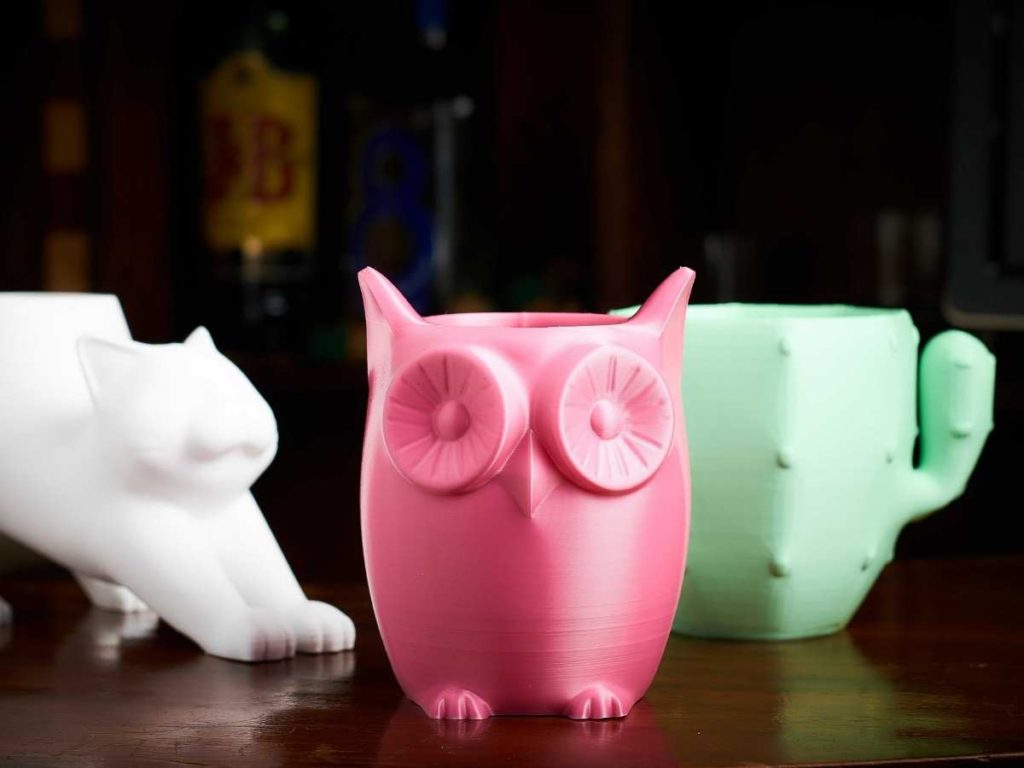
3D printers are amazing; you can use them to make just about anything. However, if you want to make something to hold water or go underwater, will a resin 3D print be watertight? Well, there are some caveats and a few variables at play.
Resin 3D prints can be made watertight. The liquid photopolymers are waterproof when hardened and cured, but you’ll need to ensure no cracks, holes, or gaps are on the print for it to be watertight. Also, cured resin 3D prints won’t absorb water, making them perfect for many purposes.
Read on as I go through everything you need to know about making your resin 3D prints watertight.
How 3D Prints Can Be Watertight
Watertight means that liquid won’t be able to enter or get out of the 3D print, which means they can hold water without leaking.
For them to hold water, you need to design them that way before they even make it out of the printer. You’ll need to look over your 3D design and try to determine if water can make its way in or out of your object.
Your 3D design and its slicer settings will determine how watertight the model becomes. Some objects will be harder to make waterproof than others, but nothing is impossible. You may need to experiment with your prints until you get it right.
How To Make a Resin 3D Print Watertight
Several factors go into making your resin prints watertight. You’ll need a few adjustments to your 3D print before you get it off of your computer’s software.
It’s worth noting that most 3D resins won’t be food-safe and are toxic! You won’t want to use this material to make watertight objects such as water bottles or other items you can drink from.
If you’re ready to make your first watertight print, you’ll want to start by modifying the design and adjusting the slicer settings accordingly. You’ll likely have to make changes in the codes to get your design as watertight as possible.
Here’s how to make resin 3D prints watertight:
- Choose the right material.
- Construct higher layers.
- Design strong and solid walls with bespoke infill.
- Modify the hardening and curing process.
- Finish with a resin coating.
- Test your watertight print.
Let’s explore each of these in detail:
1. Choose the Right Material
First, it’s a good idea to choose the right material. “Water-washable” resin will come with more waterproofing features than others. With this type of resin, it’s also much easier to clean your final prints since you can use water.
Water-washable resin is more resistant to water, preventing it from deforming when wet. However, you’ll want to add more measures to ensure your final print is watertight.
Also, do not subject your resin 3D prints to water before the models are completely cured. Ultrasonic cleaning and UV curing are fine, but not rinsing or testing the water-resistance of a fresh 3D resin print.
2. Construct Higher Layers
Next, you’ll want to increase the layer height. When you make your resin layers thicker, there’s no space between the layers, so there shouldn’t be any gaps. It’s also a good idea to thicken the print walls while you’re at it.
3. Design Strong and Solid Walls with Bespoke Infill
A resin 3D print needs solid walls to be watertight, which is a no-brainer. However, the walls or shells must be thick or strong, too.
You may want a 3D printed resin model to hold water, float, or be submerged. In all such scenarios, the object’s walls must be solid and strong to withstand the pressure. Thus, feeble walls are a nonstarter.
Also, you can opt for bespoke infill depending on the design and object’s intended utility.
For instance, you need a somewhat hollow infill to make the object buoyant. Sufficient air pockets inside a 3D printed resin model can keep the object afloat on water. A 100% infill may not make a solid object buoyant.
4. Modify the Hardening and Curing Process
Superfast cooling of freshly hardened 3D resin speeds up curing. Thus, the hardened part may not allow the subsequent layer of liquid photo-polymerizing resin to bond perfectly. However, you cannot have an unusually slow hardening or curing process inside a superhot enclosure.
Delayed curing leads unhardened resin to warp as it is dipped in the vat or tank for the subsequent layer. Warping and layer shifting or any structural irregularities lead to cracks, holes, or gaps. Such anomalies may impair the water-tightness of the 3D printed resin model.
5. Finish With a Resin Coating
Finally, before curing the object thoroughly, you’ll want to apply a coat of epoxy resin. With a clear coat of the material, you can trust that any small gaps will get filled in. For your safety, always wear protective gloves when touching the uncured print.
You can simply paint it with a clear epoxy resin. This process also smooths out the print, making it look more professional.
You can watch an example in this YouTube video:
Curing the piece will make it harder, stronger, and more resistant to water overall. You’ll want to take the time to ensure your piece cures as much as possible.
6. Test Your Watertight Print
After the print finishes curing, you’ll want to test it. Luckily, this step is straightforward. Simply submerge the print in water for a few hours, or let it float if the model is buoyant.
Take the print out and check for trapped water and cracks. If you see no signs of damage or leaking water, you’ve succeeded in making a watertight object. However, if there are cracks, the design needs some tweaking.
It’s alright if your print didn’t come out watertight on the first try. You’ll need to change the codes for your slicer software or try a different type of 3D resin. Also, you may focus more on the watertight seal on the print with clear epoxy resin.
Final Thoughts
To summarize, resin 3D prints can be watertight. However, you have to take steps to make sure no liquid can enter or leave your piece. You’ll likely need to make many adjustments to any designs you already have.
3D printers have a variety of uses–even more so when they’re waterproof. Ensure you always cure your resin objects and apply a clear coat of resin for the best results. As long as you spend the time on your project, it’s sure to turn out how you want it.
- Written by:
- Ben
- Last updated:
- 11/22/2023
About Ben
I started 3D printing since 2013 and have learned a lot since then. Because of this I want to share my knowledge of what I have learned in the past years with the community. Currently I own 2 Bambulab X1 Carbon, Prusa SL1S and a Prusa MK3S+. Hope you learn something from my blog after my years of experience in 3D printing.