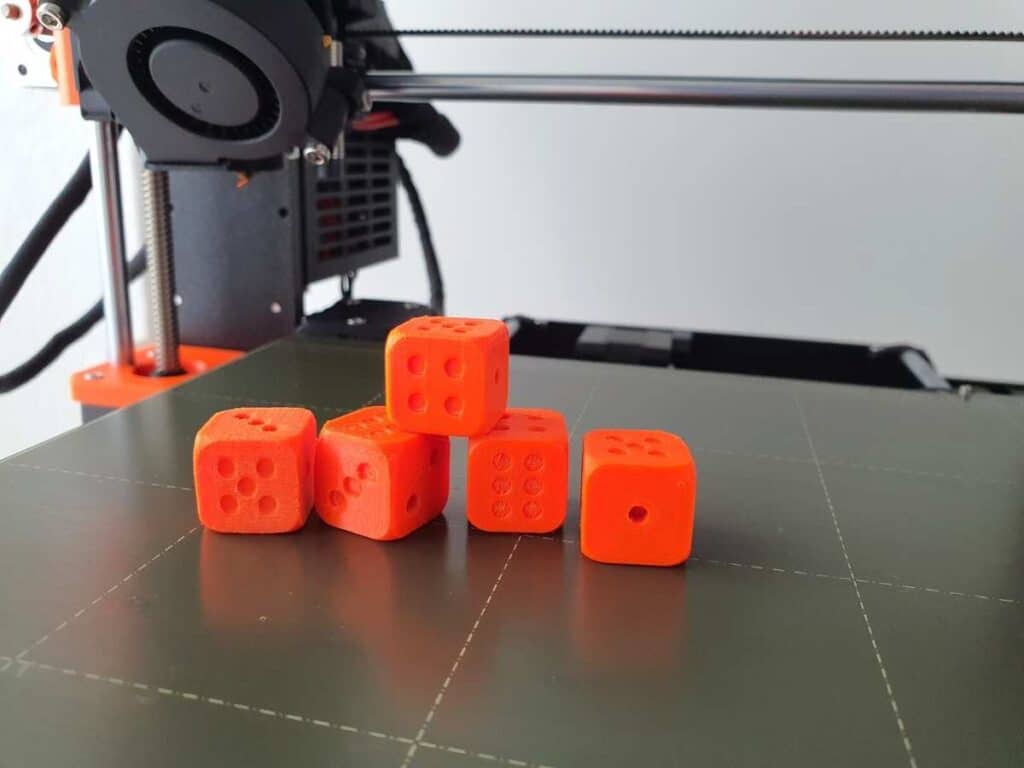
Dice are among the easiest items you can print with a 3D printer. Whether it is a six-sided cube or the ones with four, eight, 10, 12, and 20 sides used in Dungeons and Dragons, dice also make a good test print for first-time 3D printer owners. But are 3D printed dice balanced and fair?
3D-printed dice can be balanced or fair, but since they’re printed by layering instead of casting, they can also have minor imperfections on the surface. These imperfections can affect their balance and symmetry. The fairness of the dice also depends on the 3D printing technology that you use.
This article will talk more about the design and 3D printing considerations to make sure that your dice are balanced, fair, and symmetrical. This way, you can be sure that their chances of landing on any side are equal when you roll them.
Printing Considerations for Balanced Dice
When designing and 3D-printing dice, there are five things you need to consider to help you make sure that they’re balanced and fair.
These are:
- Print Technology
- Wall Thickness
- Type of Dice
- Precision
- Infill Settings
Print Technology
Print technology mainly refers to the type of 3D printer you are using to make your dice. There are three basic types of 3D printers: Fused Deposition Modeling (FDM), Stereolithography (SLA), and Solid Laser Sintering (SLS).
Each of them produces a different type of output because they print using very other methods and materials.
- FDM Printer: This 3D printer uses heat to melt and uses pressure to extrude thermoplastic filament. The extruded filament forms the 3D object layer by layer. It is the lower-priced option, so it’s also not surprising that it could create 3D objects that are of lower quality and resolution. But this printer is great for printing simple concept models and prototypes.
- SLA Printer: This printer uses light to cure the print material, which is photopolymer resin. It boasts a high level of accuracy and resolution, so it is excellent for printing patterns, tools, molds, and functional prototypes.
- SLS Printer: This printer fuses polymer powders using a powerful laser. It is relatively low-cost and does not require support. Plus, it is a high-productivity one. Moreover, an SLS printer has excellent mechanical properties and is ideal for custom manufacturing and making functional prototypes.
SLS and SLA printers are a bit similar, but you get a perfect surface with SLA and can print in various color combinations. You can reuse the resin with SLA, too.
Wall Thickness
Wall thickness refers to the size of your dice’s outer layers. With equal weight distribution, from the top to the base to the sides, there are also equal chances of the die landing on any side. So you need to make sure that the wall thickness for all the sides of your dice is exactly equal or even so that no side has more weight than the others.
You should also take into account the fact that many slicers make the base of the object thicker than the rest. As such, you will need to analyze and tweak the layers as presented in the slicing software.
Type of Dice
With games like Dungeons & Dragons, many other types of dice have emerged. Some types, like the cube or D6 and the D4, are relatively easy to print, but the more sides there are, the more likely you will experience issues.
Dice of smaller sizes are also more challenging to get right the first time because the more precise they need to be and the less room for error. As such, small dice with several sides are the hardest to print.
You may also be wondering what the fuss is about in designing and printing dice when all you need to do is decide how many sides you want and then print everything layer by layer.
Well, the thing is, you cannot just print dice that are entirely solid from the top layer to the bottom layer because they are just going to bounce around more. So principles of design dictate that there be some hollow portions inside.
Whatever type of dice you’re aiming for, you may not find your first print to your liking, so you’ll need to tinker with your settings and your design a bit before you would get your dice right.
Precision
If you have an FDM 3D printer, you may find getting a die with perfectly flat surfaces challenging. There are likely to be slight curves on the sides and bulges on the corners. This, however, can be remedied to an extent with your slicing software by configuring a slower print speed. However, you still can’t expect a perfect and flawless output.
Some people also configure their slicing software to print thick walls for their dice and add support materials, then just post-process the dice by sanding their surface to get them flat and even.
Infill Settings
A slicing software won’t automatically fill your 3D models entirely or make them solid with infill. It will, however, fill the inside of your 3D objects with specific patterns that will make them stable but at the same time will use less material and lessen their print time.
For instance, the honeycomb infill pattern is the default settings in the slicing tool Skeinforge. This pattern goes from bottom to top. If used in printing a die, this pattern will give it more probability of landing on the bottom or top side. Randomly infill patterns are more advisable if you want to print dice with a more balanced internal mass.
Factors That Can Help You Print Balanced Dice
Knowing the various considerations to print a balanced and even die with your 3D printer is the essential step in the process, but here are some more tips to help you successfully do it:
Know Your Printer and Material
Before you even start a 3D printing hobby, it is always a good idea to do your research and read up everything you can on the various types of printers to get the one that best suits your needs. You will also benefit from knowing the different print materials, like resins and filaments, that you can use with a particular printer and their properties.
For example, the materials used with FDM 3D printers suffer from non-homogenous shrinking, but if you know this property, especially how the combination of printer, filament, and temperature factor in, you would look into how you can compensate for it. This way, you can adjust your printer’s settings and tweak some stuff during the slicing stage.
Run a Test Print and Make Necessary Modifications
If you want to test the accuracy of your design and your printer, what better way to do that than to make a test print? Moreover, reading about your material won’t be enough. You will need to do a test print to see how that material really works.
In running a test print, you can make a 10x10x10-millimeter cube then measure the offset on each axis. This allows you to determine how much shrinkage happens to the material. You can also sand and paint your test print to see how the finished product would look.
Once you do your test print and you can tell whether the output meets your expectations or falls short with your 3D printing settings and conditions, you can make the necessary changes to your recipe.
Paint, Don’t Emboss the Numbers
Another thing that could affect your dice’s weight and balance is the dots or numbers on each side. While it actually depends on the size of your die and your 3D printer’s precision, embossed dots or numbers may not be the practical choice. Instead, paint the dots yourself.
Painting is also the better option if you need to sand down the surface since sanding preps the exterior for the painting job.
Painting your die after sanding could still show some ridges, so you might consider using a plastic-safe primer to help fill the tiny ridges and make the paint adhere better. You can then spray a clear sealer or fixative after painting to protect the paint from flaking or chipping off.
Moreover, if you are using ABS for your 3D printed die, you can smooth out its visible ridges on the surface by running it through an acetone vapor bath before painting.
You will need to be careful, though, as acetone can be flammable and hazardous, and it can irritate your skin. You will also need to heat the acetone in a well-ventilated or open space because its vapors can be quite toxic, and make sure that a fire extinguisher is within reach.
How To Check Your 3D-Printed Dice’s Balance
You can try a few methods to check whether your 3D-printed die is balanced, even, or fair.
Roll the Dice 100 Times
You can roll your die a hundred times and keep a record of the side or number it lands on or the side that faces up each time. After all the rolls, check the numbers, get the average, and see if these numbers are evenly distributed. If your die lands on one particular side way more times than it does on the rest of the sides, it could mean it’s slightly heavier on that side.
Use Saltwater To See How it Rolls
To do the saltwater trick, get a small jar, fill it with hot water, and add two tablespoons of salt. Cover the jar with its lid and shake it until the salt dissolves. Put in another two tablespoons of salt and shake the jar again. Add the same amount of salt, then microwave it on high for half a minute without its lid. Put the lid back on, wrap the hot jar with a dish towel, and shake it again.
Set the jar in a bowl or basin of cold water and allow it to cool down to room temperature. Once cool enough, drop your die in the water and note the side it lands on. Tip or swirl it with your finger and observe how it moves.
Do the tipping a few more times. A balanced die will move freely on different sides when you tip it again and again. But if it rolls on a particular side only and will only show one number facing upward regardless of how many times you tip it, that means it is not balanced.
Check out this video demonstrating how this saltwater test is done:
Try the Pearson’s Chi-Square Test
This particular test involves rolling your die five times the number of sides it has, tallying the number of times each side faces up then subtracting five from each tally. Square the difference for each tally and add up all the squares. If the total score is over 55, that means your die is unbalanced.
Joe’s Makerbot has done the Pearson’s Chi-Square test to check the balance of various dice and has found that most 3D printed dice have a sufficient balance. However, the top three most balanced dice in terms of infill are those with cone holes infill (chi-square test score: 12), worthless solid (12), and worthless infill (16).
Dice with customized infill (18), dual extrusion (20), balanced infill (22), and normal infill (24) are average. The least balanced are cone holes solid (28), customized solid (28), balanced solid (32), and normal solid (40).
Final Thoughts
Coming up with perfectly even or balanced 3D-printed dice is difficult even if you use a high-accuracy printer. That is because a lot of factors come into play and contribute to this balance or symmetry.
For one, the internal mass and infill pattern will affect the weight of each side of a die. Other factors include print technology, type of dice, wall thickness, and even post-processing. All these factors combine to create various recipes that make dice unique.
There are tricks, however, to printing fair and balanced dice. And there are ways for you to put them to the test.
- Written by:
- Ben
- Last updated:
- 11/23/2023
About Ben
I started 3D printing since 2013 and have learned a lot since then. Because of this I want to share my knowledge of what I have learned in the past years with the community. Currently I own 2 Bambulab X1 Carbon, Prusa SL1S and a Prusa MK3S+. Hope you learn something from my blog after my years of experience in 3D printing.